
CHECK OUT OUR FREE BEGINNER COURSE


Kurssi info
Kurssi info
In the course you learn:
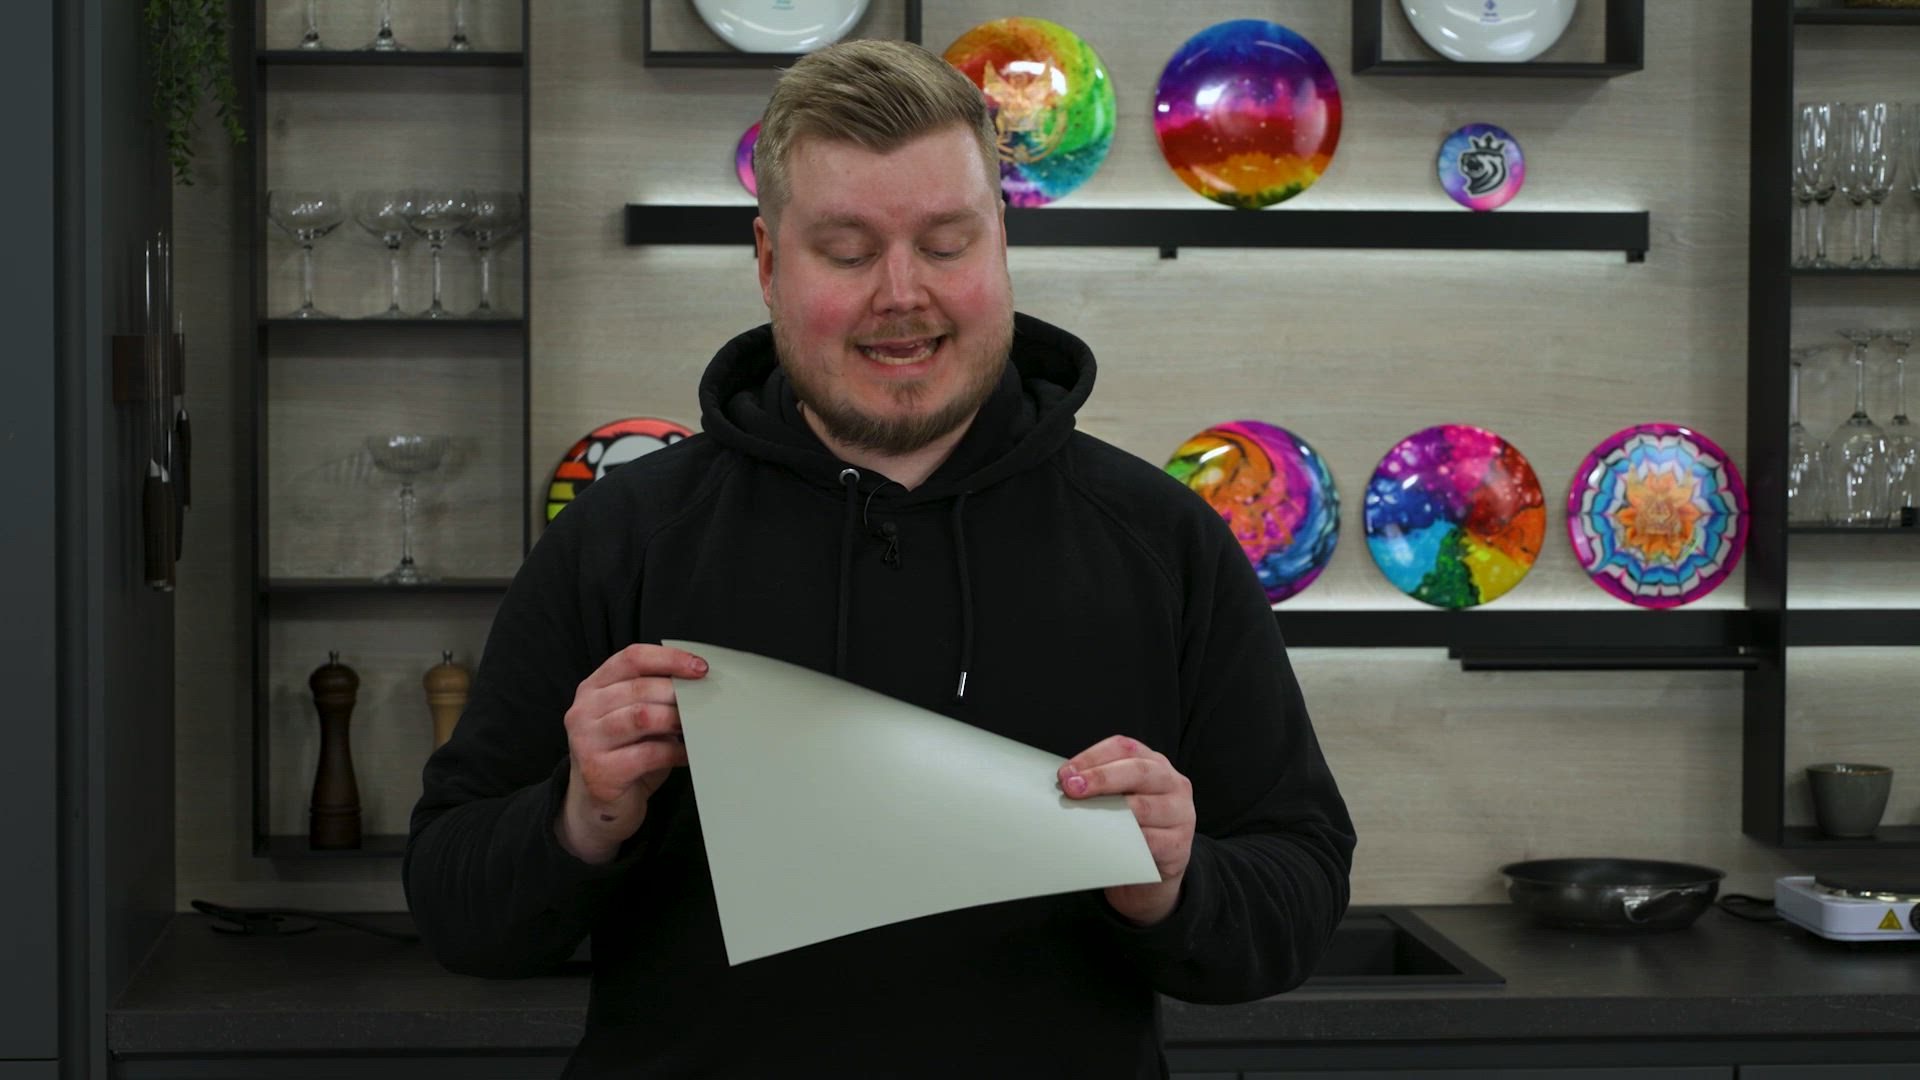
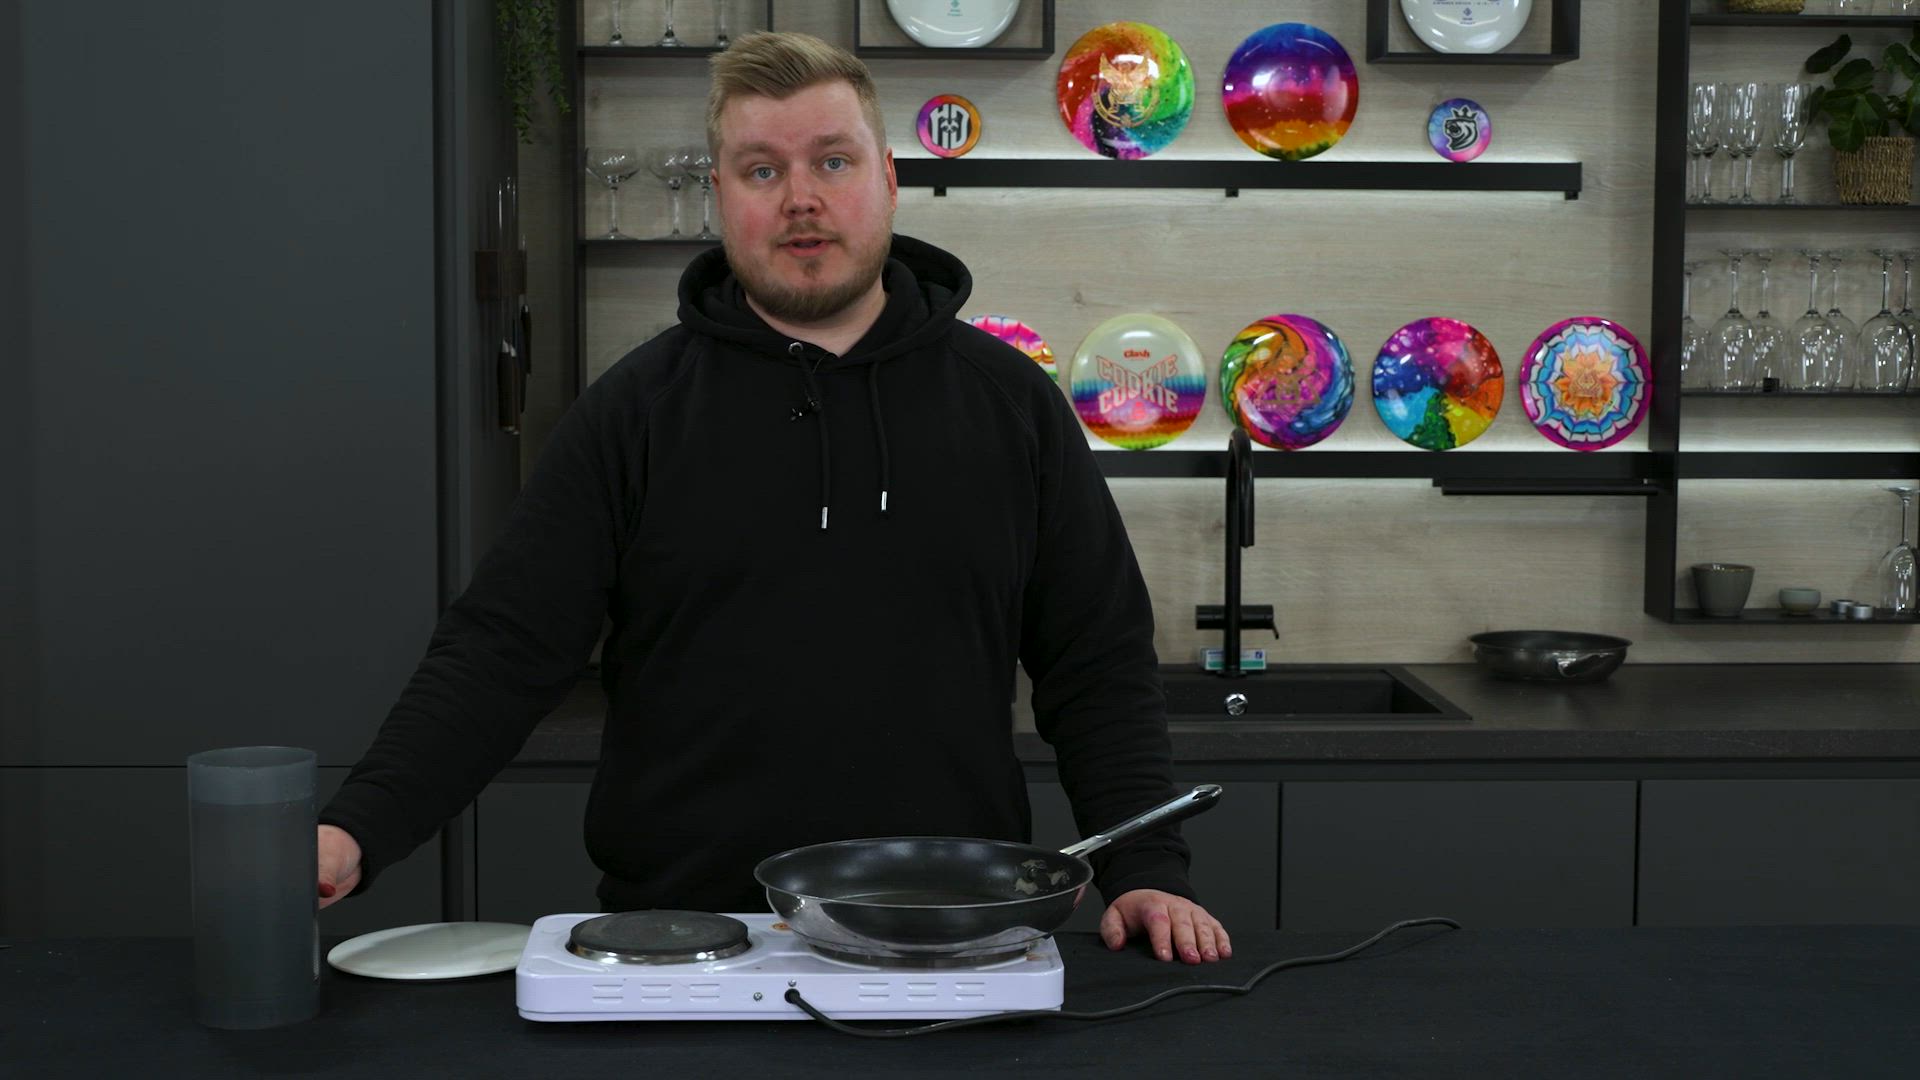
Learn the basic gear you need to get your discs dyed
See the basic techniques of disc dyeing
Experience some tips and tricks from a pro
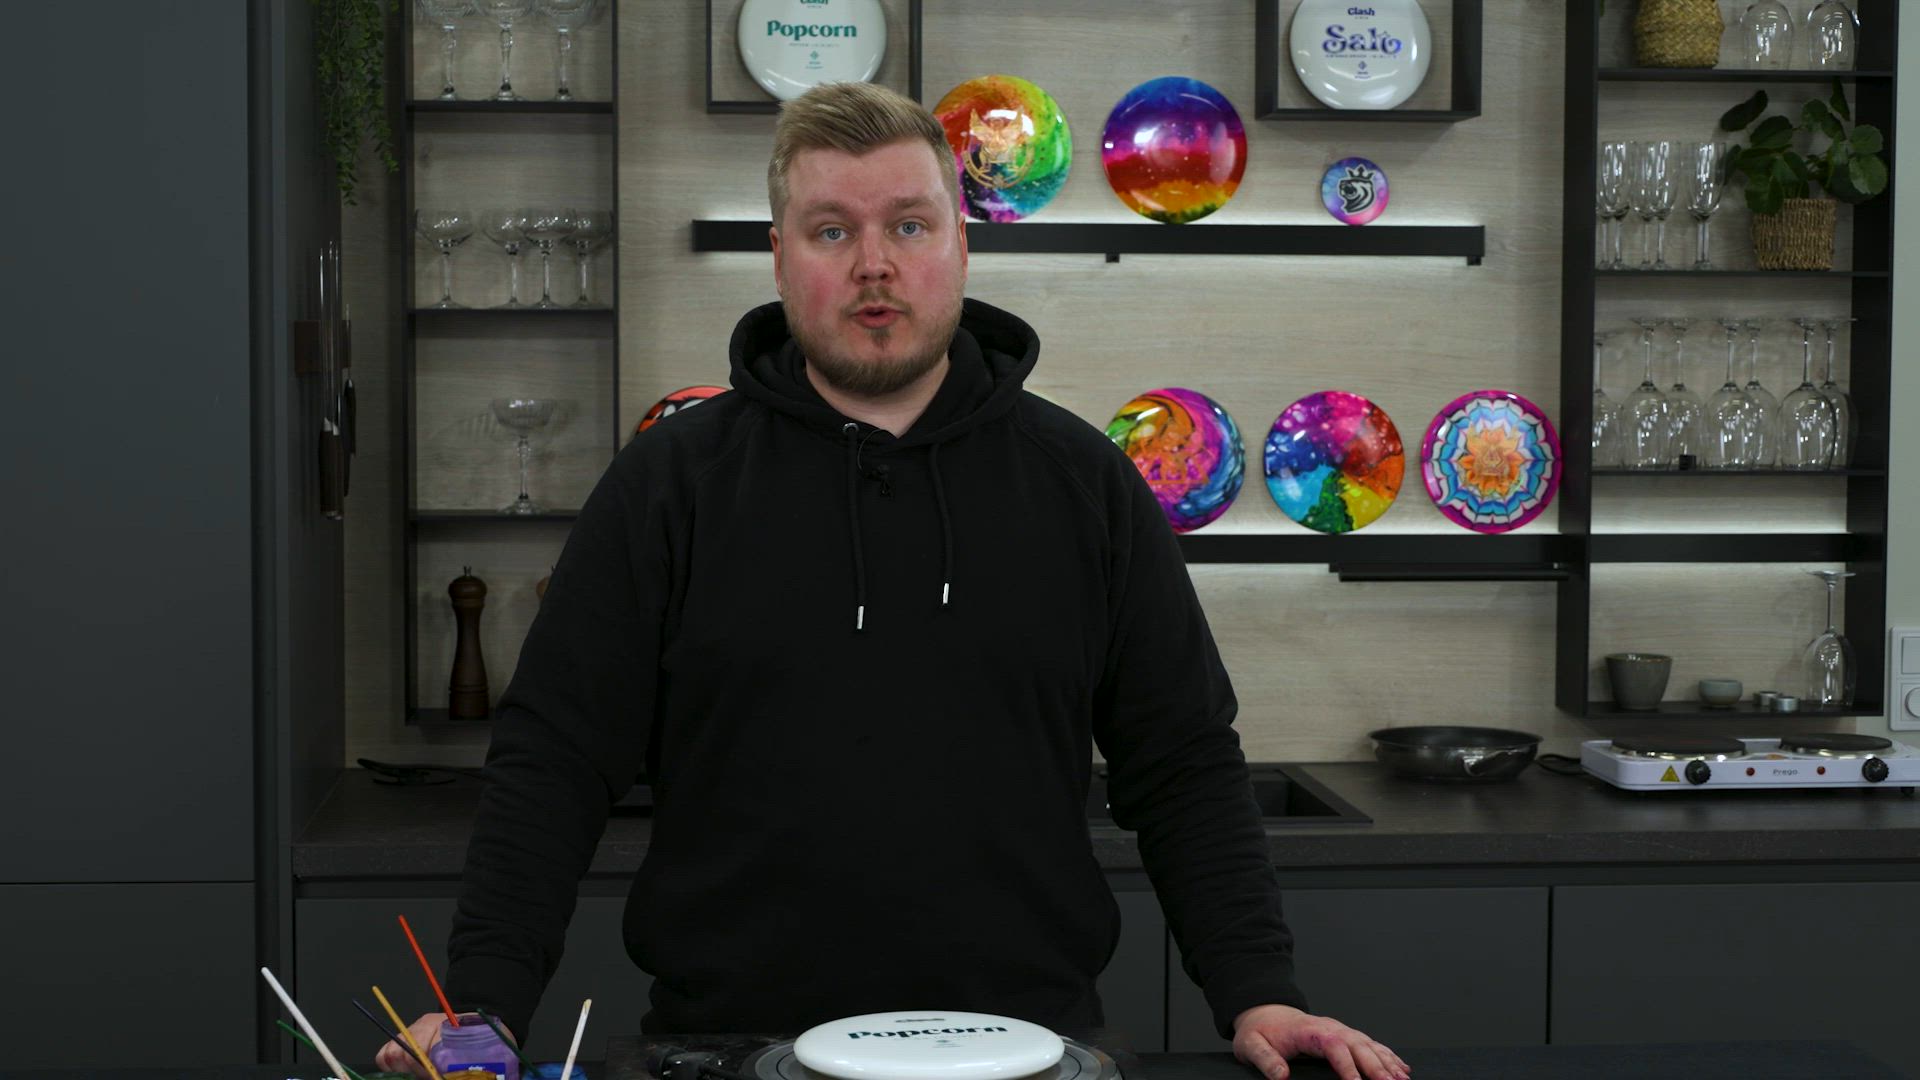
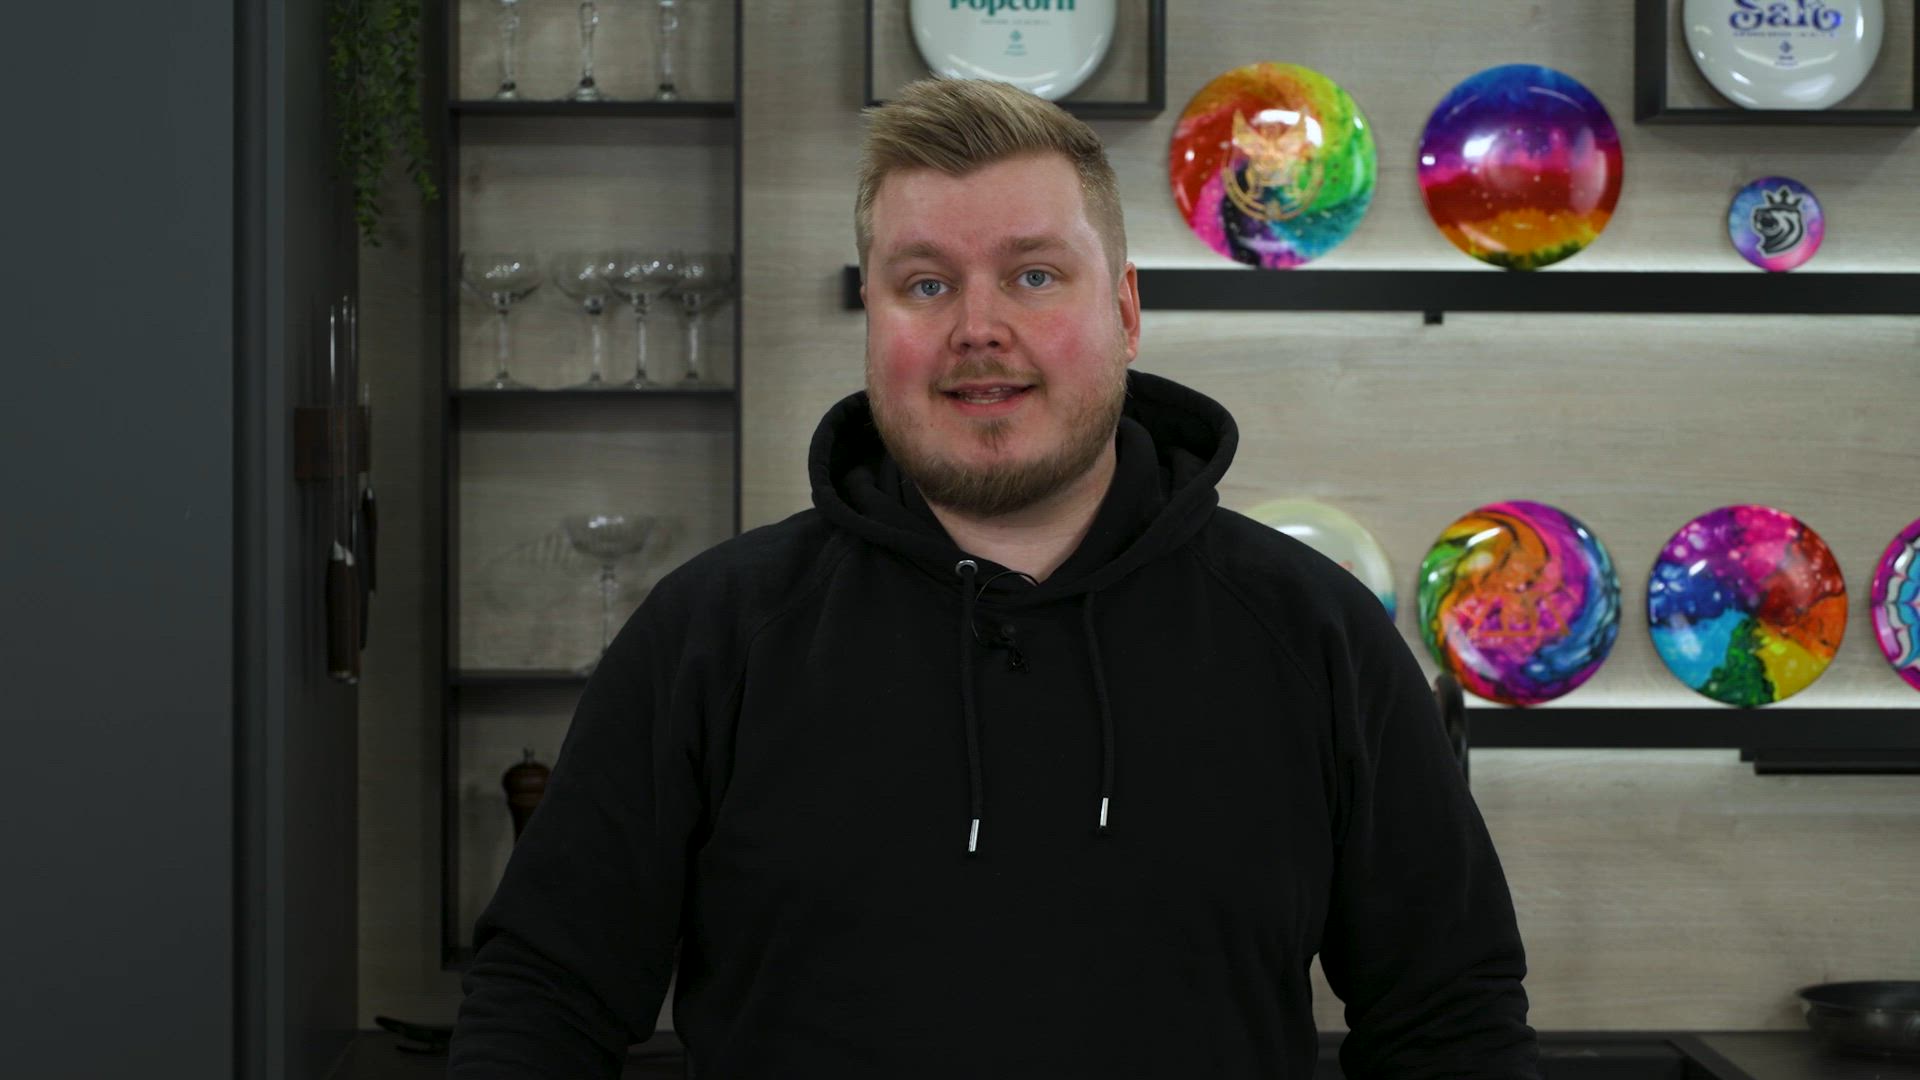
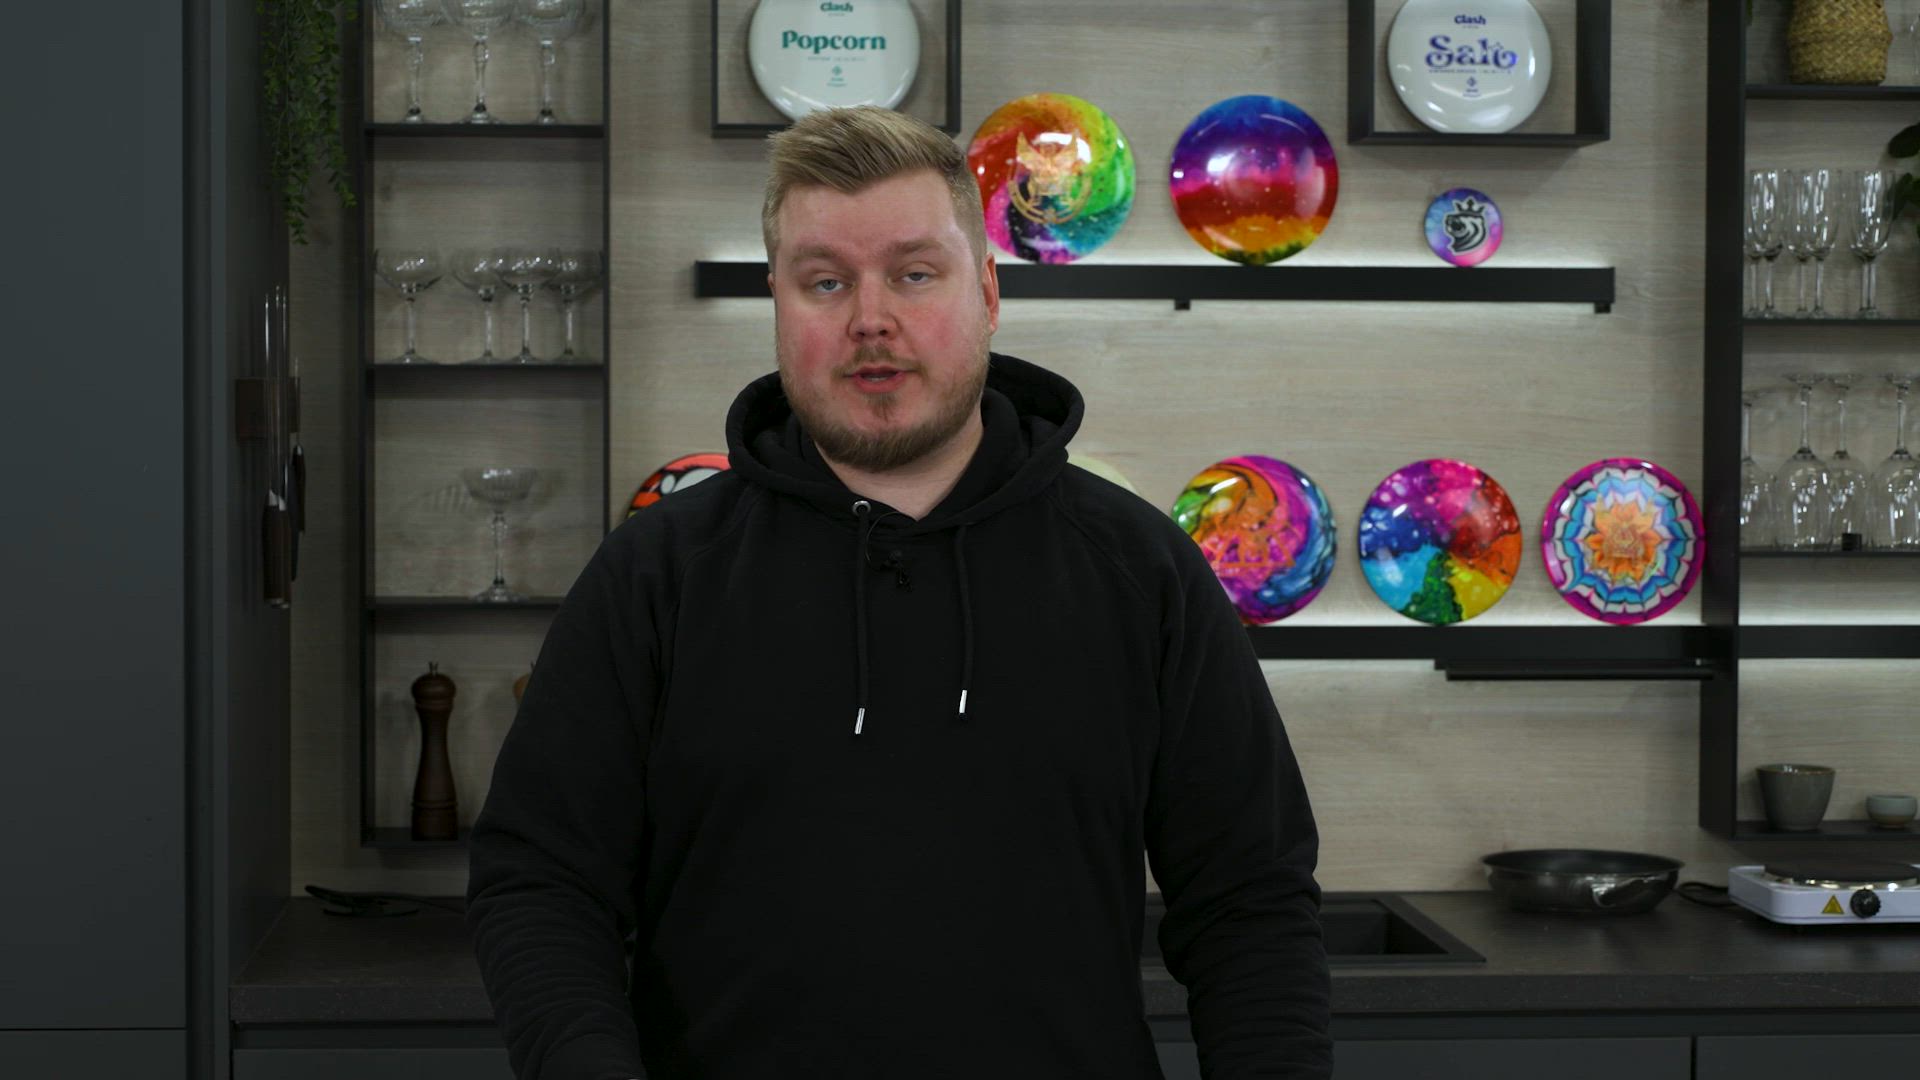
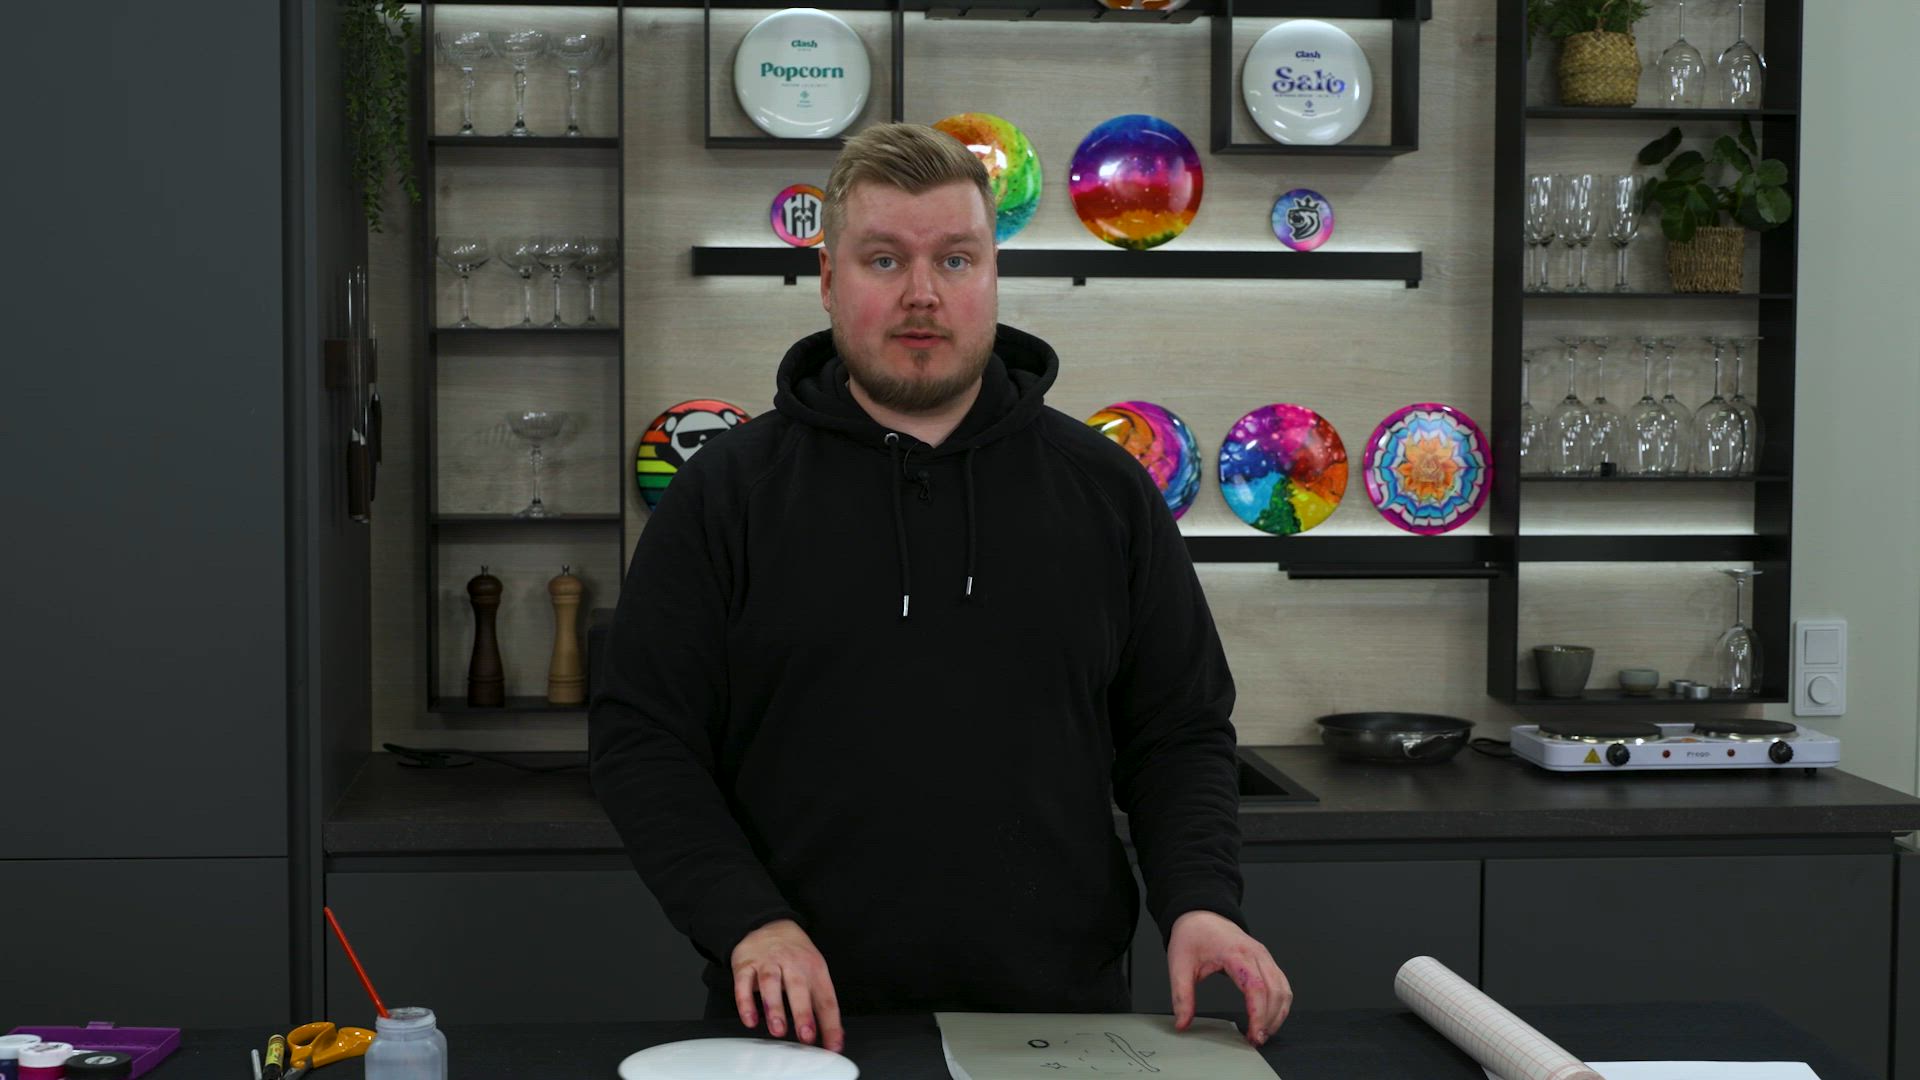
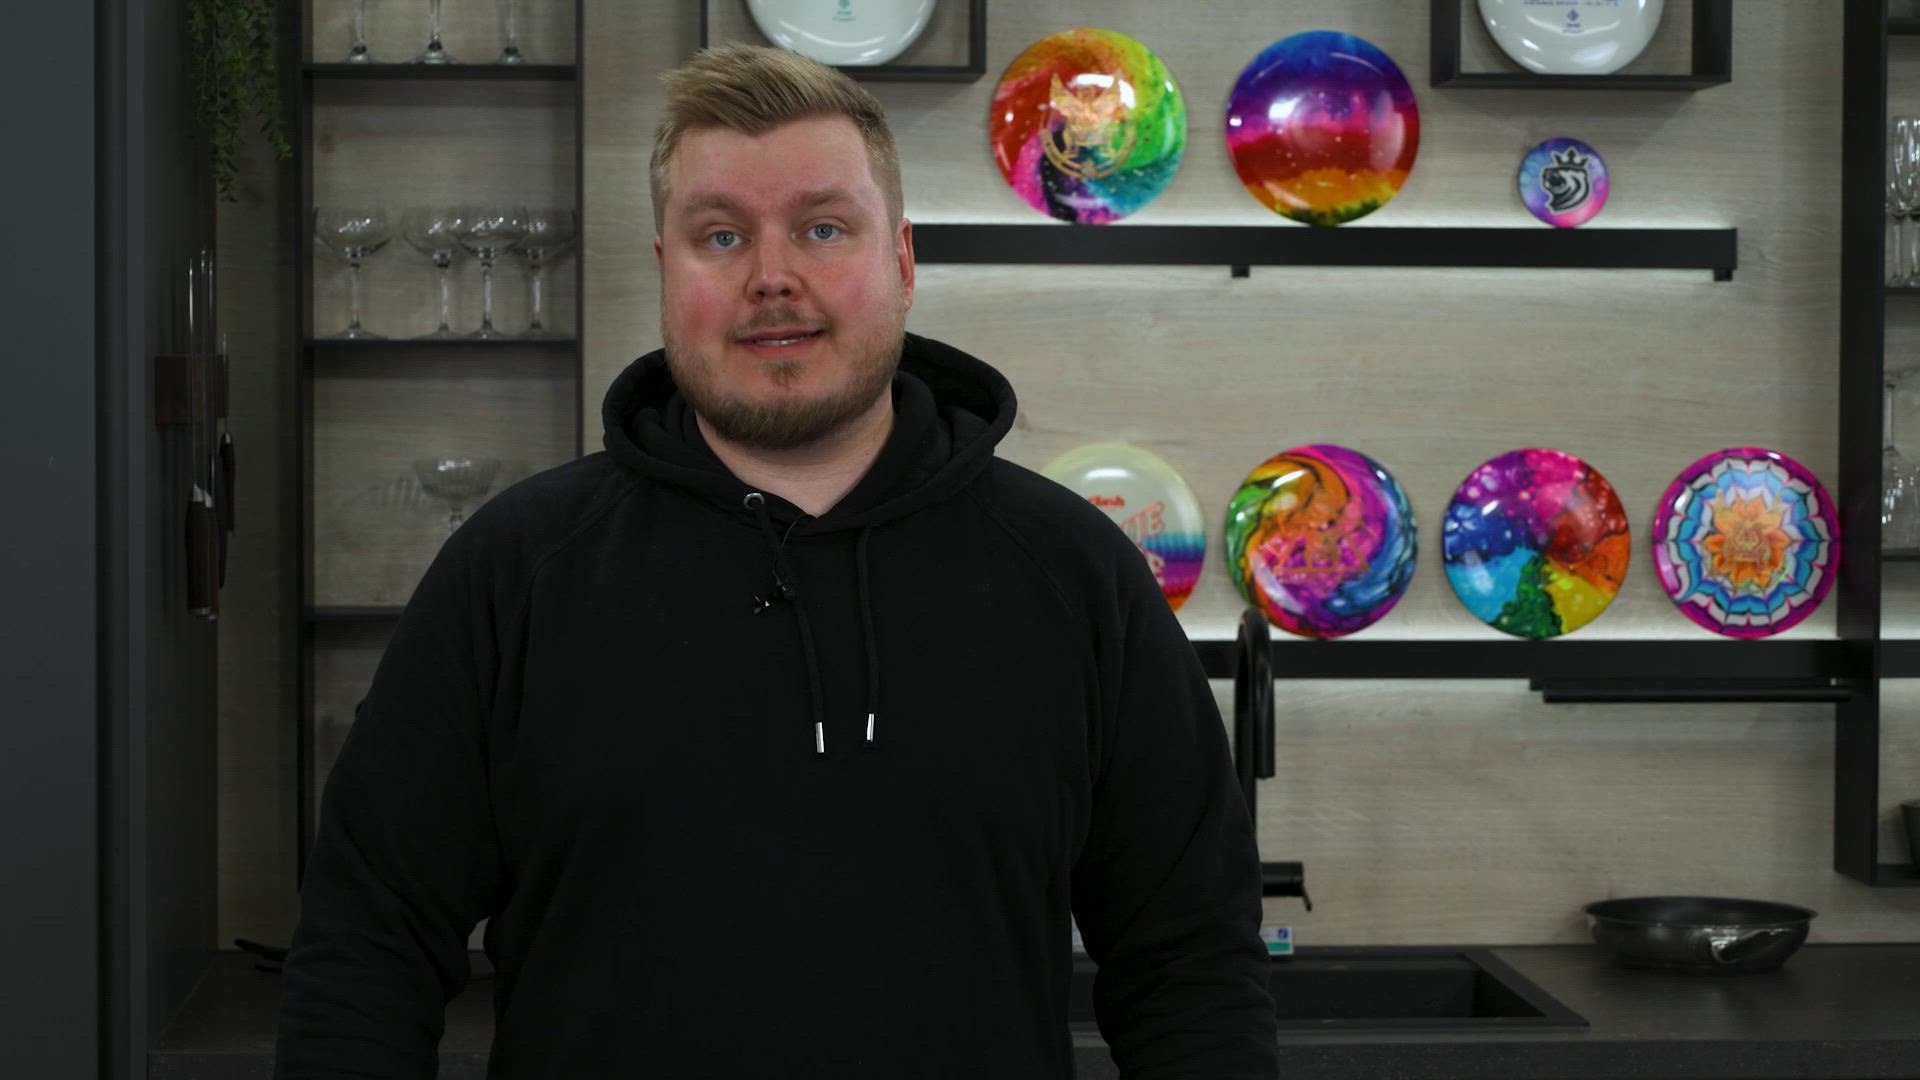
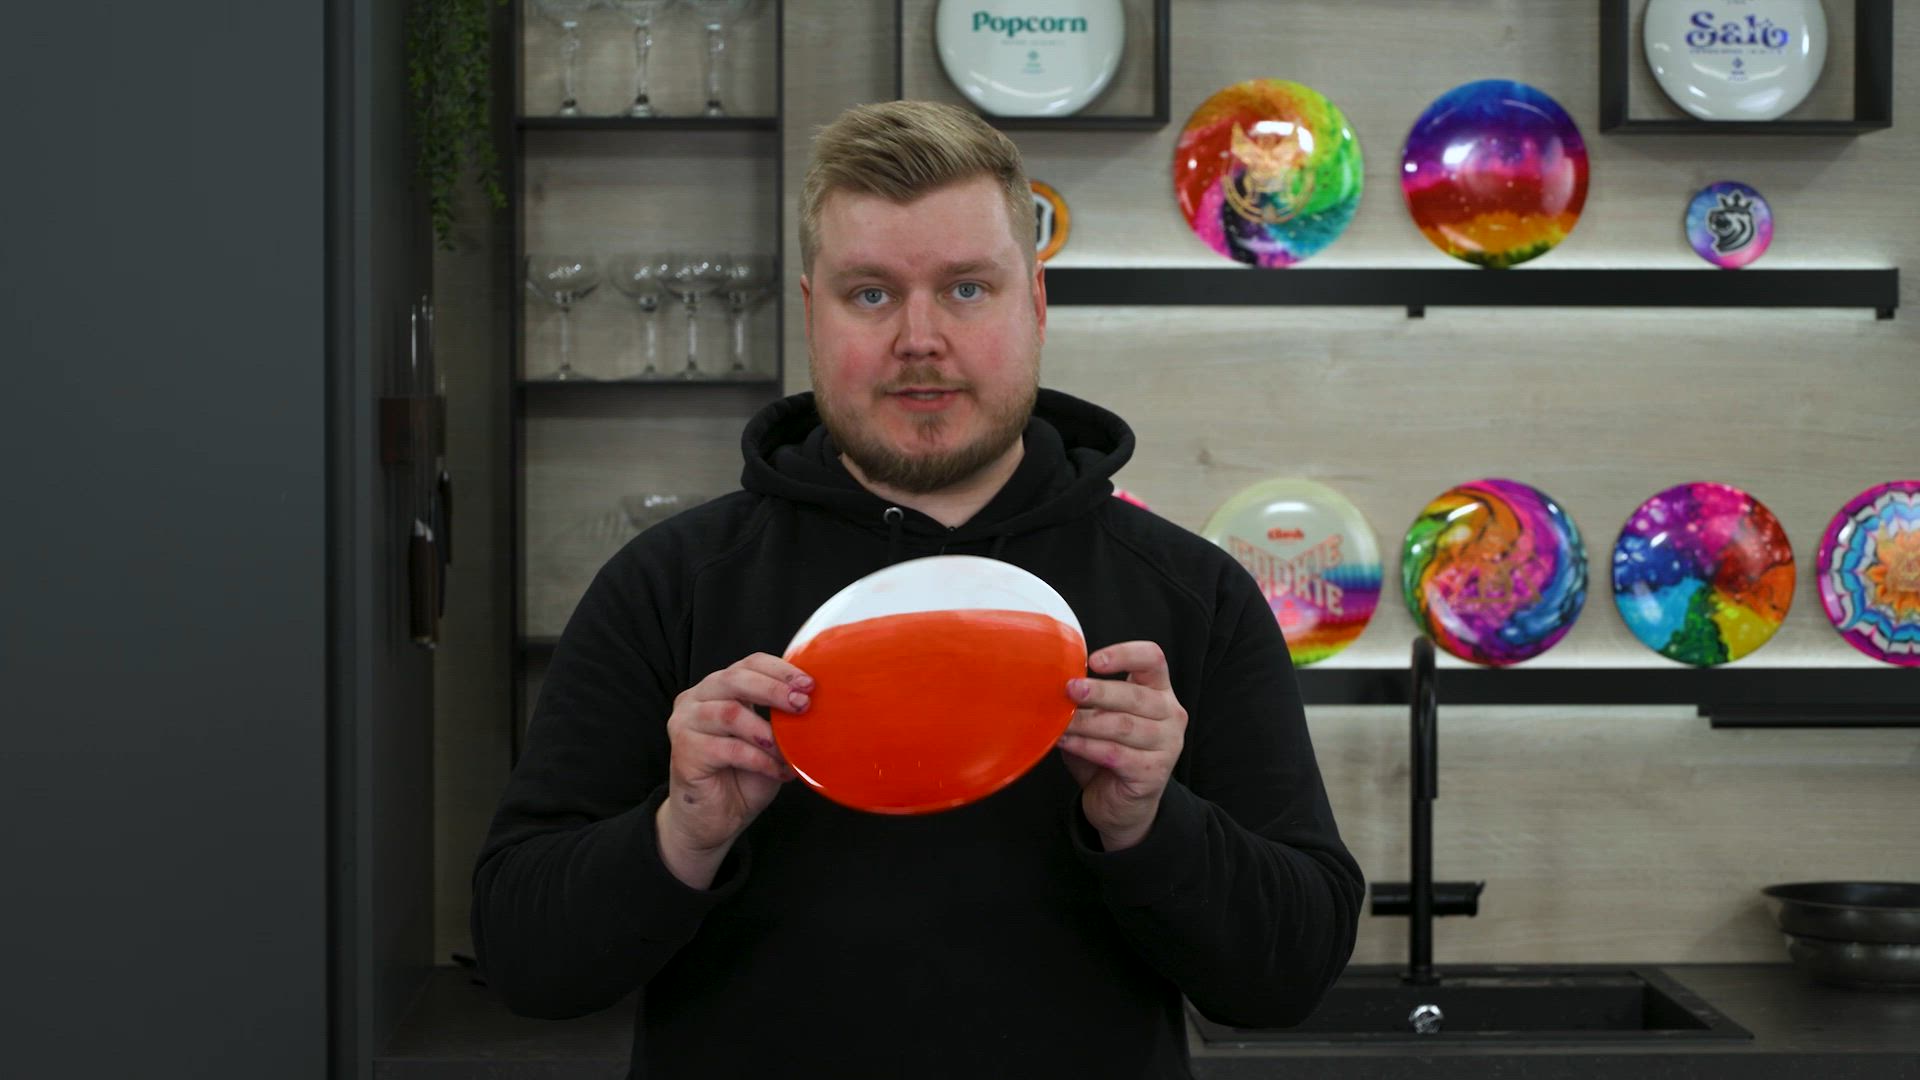
Discover the Vibrant World of Disc Dyeing with HinkkaDyes!
Ready to add a splash of color to your disc golf journey? Join Henri Kolari, the maestro also known as HinkkaDyes, as he unveils the secrets of the ancient art of disc dyeing in this exhilarating course!
The best part? You don't need a truckload of gear or an arts degree to star dyeing and you’ll quickly learn all the basic methods of getting your first disc dye done. Open up a whole new dimension of disc golf with this course.
Henri will also show you some of his more advanced techniques requiring more practice and skills.
This course is upcoming. Next Update will Be IN
Be sure to come back. In the Meantime, see our other courses!
Lessons
Introduction to the course
1
Introduction to the course
1

Publish date
Introduction to the course
1.
Introduction to Disc Dyeing
1
Introduction to Disc Dyeing
1

00:57
Publish date
Welcome to the wonderful world of disc dyeing!
Introduction to Disc Dyeing
1.
Tools and supplies
2
Tools and supplies
2
Publish date
Tools and supplies
1.
Introduction to supplies
1
Introduction to supplies
1

00:46
Publish date
In this segment we will be talking about the general supplies and tools you need to dye a disc of your choosing.
Introduction to supplies
1.
General supplies and tools
1
General supplies and tools
1

03:27
Publish date
Let's talk about the general tools we need. We will talk about the specific tools more on each individual technique but these are the bare minimum that will get you that color on your disc.
General supplies and tools
2.
Safety and ventilation
1
Safety and ventilation
1

03:24
Publish date
Safety first! Make sure you don't breathe the fumes or the color powder we use to make dyes.
Safety and ventilation
3.
Preparing your workstation
1
Preparing your workstation
1

01:27
Publish date
Cleanliness is next to godliness! Keep your workstation protected and make it easier for yourself to clean afterward.
Preparing your workstation
4.
Color theory
1
Color theory
1

02:05
Publish date
We talk a little about how colors behave and what can be expected if you want to dye a disc that is not white.
Color theory
5.
Best plastic for dyeing
1
Best plastic for dyeing
1

01:39
Publish date
Let's see what kind of plastic dyes the best!
Best plastic for dyeing
6.
Wash your discs
1
Wash your discs
1

02:37
Publish date
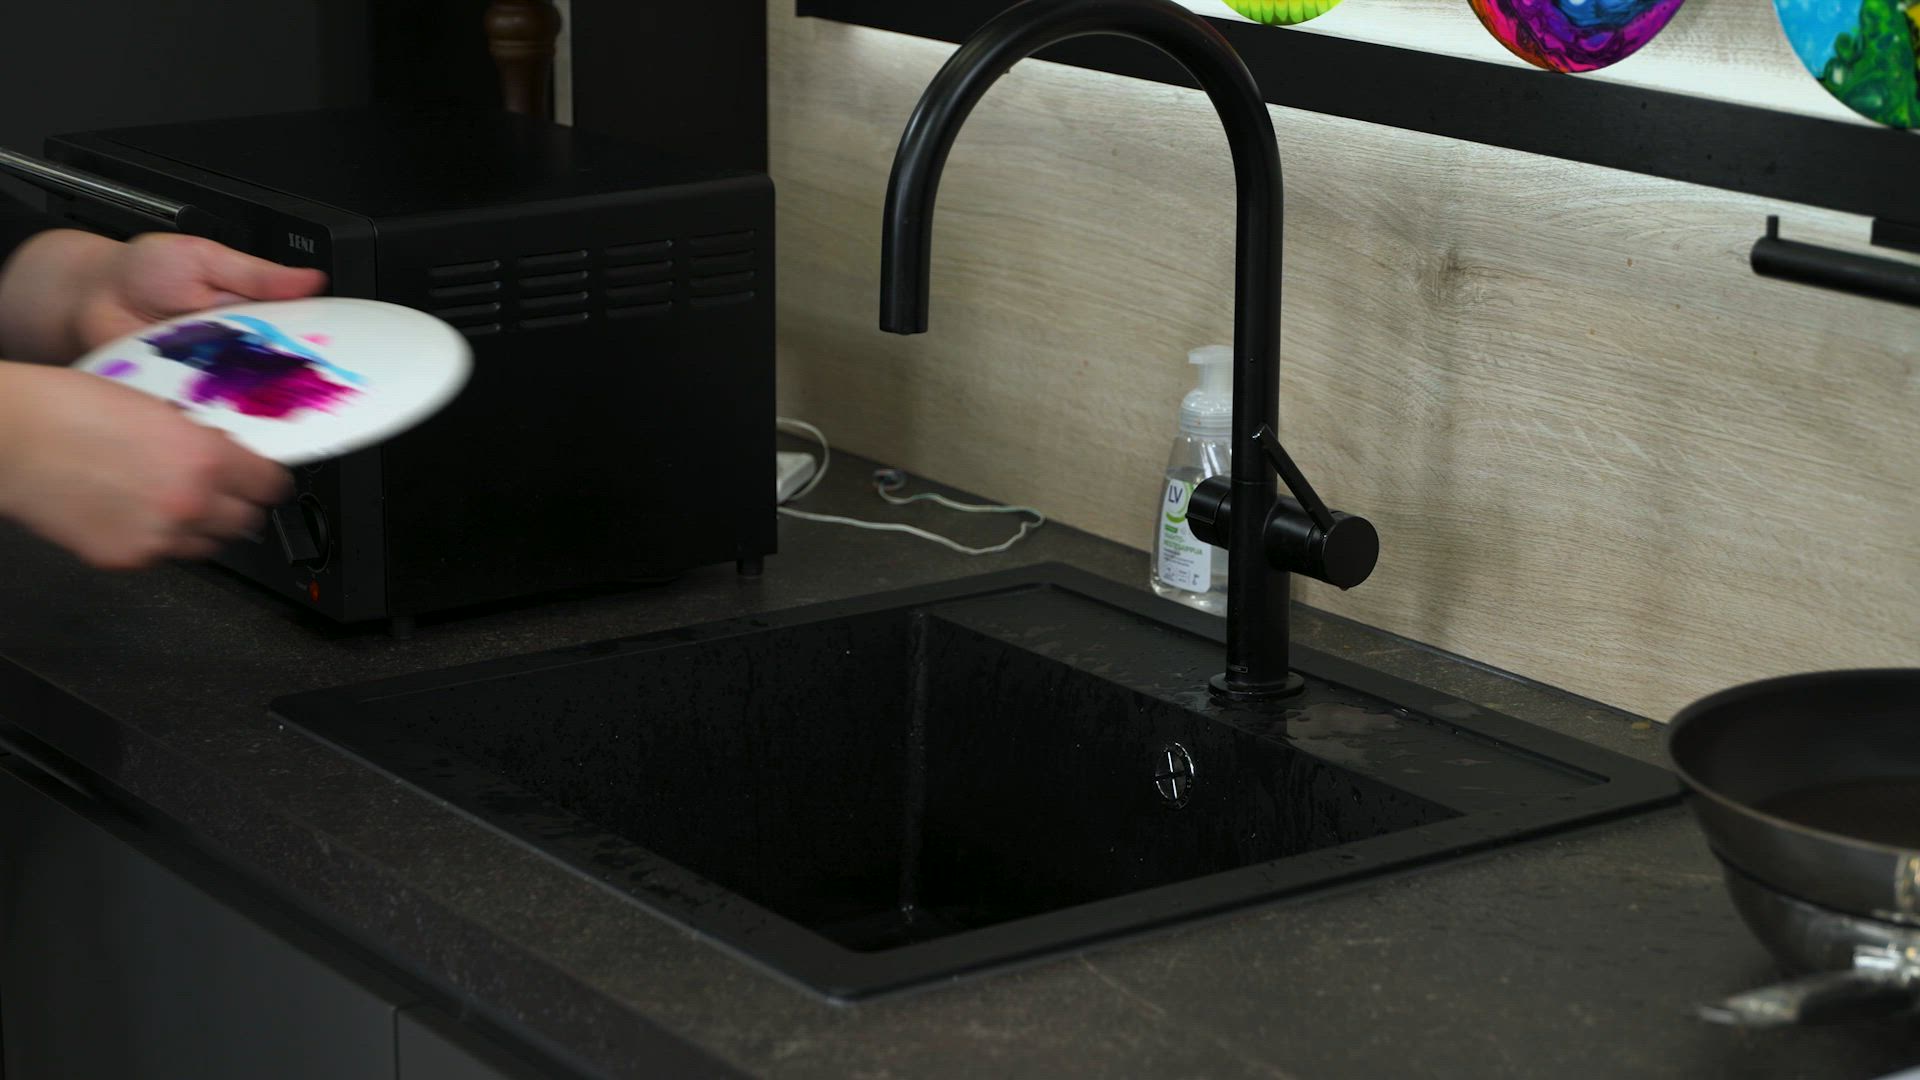
Let's talk about why it is important to wash your discs before we start dyeing.
Wash your discs
7.
On designing your dye
1
On designing your dye
1

02:26
Publish date
It's helpful to think in advance what you want to achieve, so plan, prepare, and then execute!
On designing your dye
8.
Disc dyeing colors
1
Disc dyeing colors
1

01:49
Publish date
Now we talk about the actual colors or dyes we want to use. There are plenty to choose from.
Disc dyeing colors
9.
Preparing the colors
3
Preparing the colors
3
Publish date
Preparing the colors
1.
Lesson - Mixing the colors to a solvent
1
Lesson - Mixing the colors to a solvent
1

04:05
Publish date
Let's look at the process you need to mix the dyeing agent to a solvent.
Lesson - Mixing the colors to a solvent
1.
Lesson - Mixing the colors with lotion
1
Lesson - Mixing the colors with lotion
1

03:25
Publish date
Now we mix a ready-to-use color mix with lotion that we can use with lotion beds and other applications.
Lesson - Mixing the colors with lotion
2.
Lesson - Mixing the colors with Floetrol
1
Lesson - Mixing the colors with Floetrol
1

06:47
Publish date
Henkka shows us how to make a Floetrol mix for cell dyes.
Lesson - Mixing the colors with Floetrol
3.
Lesson - How to remove the stamp
1
Lesson - How to remove the stamp
1

02:19
Publish date
Let's check how to remove the stamp from the disc if you have no access to stampless discs, or you just want to have a clean slate to do your art.
Lesson - How to remove the stamp
4.
Method: Shaving Cream
4
Method: Shaving Cream
4
Publish date
Method: Shaving Cream
1.
Introduction to Shaving Cream Dye
1
Introduction to Shaving Cream Dye
1

01:19
Publish date
Let's see our first and the easiest technique with shaving cream.
Introduction to Shaving Cream Dye
1.
Lesson - Supplies for the shaving cream method
1
Lesson - Supplies for the shaving cream method
1

01:11
Publish date
Now we go through the things you need to make a shaving cream dye.
Lesson - Supplies for the shaving cream method
2.
Lesson - Making the shaving cream bed
1
Lesson - Making the shaving cream bed
1

02:46
Publish date
We make the bed for the dyes and see a method how you can make things a bit more interesting.
Lesson - Making the shaving cream bed
3.
Lesson - Applying the color to the bed
1
Lesson - Applying the color to the bed
1

04:26
Publish date
Next we put the colors to the bed. Simple, but very effective.
Lesson - Applying the color to the bed
4.
Lesson - Inserting the disc to the bed
1
Lesson - Inserting the disc to the bed
1

02:23
Publish date
Let's put the disc in with a small twist!
Lesson - Inserting the disc to the bed
5.
Recap - Shaving cream dyed disc
1
Recap - Shaving cream dyed disc
1

01:03
Publish date
The results are in... we have dyed our first disc!
Recap - Shaving cream dyed disc
6.
Method: Glue bed
5
Method: Glue bed
5
Publish date
Method: Glue bed
1.
Introduction to Glue Bed Dye
1
Introduction to Glue Bed Dye
1

01:24
Publish date
Next, we look into the glue bed dyeing method. A bit more spicier way of getting color to your discs.
Introduction to Glue Bed Dye
1.
Lesson - Basic supplies for glue dyeing
1
Lesson - Basic supplies for glue dyeing
1

03:00
Publish date
Here we go through the materials and tools we need to make a glue dye. Some might be familiar to you already.
Lesson - Basic supplies for glue dyeing
2.
Lesson - Making the bed and adding the colors
1
Lesson - Making the bed and adding the colors
1

01:11
Publish date
Now we make the bed and add the colors that we love. It looks simple, because it is!
Lesson - Making the bed and adding the colors
3.
Lesson - Inserting the disc
1
Lesson - Inserting the disc
1

04:12
Publish date
Now we put the disc into the bed. We will show you some good tips on how to get a perfect result every time.
Lesson - Inserting the disc
4.
Recap - Glue bed dyed disc
1
Recap - Glue bed dyed disc
1

02:13
Publish date
Here is the end result we got from the glue bed. Amazing, right?
Recap - Glue bed dyed disc
5.
Method: Lotion dye
6
Method: Lotion dye
6
Publish date
Method: Lotion dye
1.
Introduction to Lotion Bed Dye
1
Introduction to Lotion Bed Dye
1

01:39
Publish date
Lotion bed dyeing is a very clean and efficient way to get some dye in your disc. It's also safe and very easy to do.
Introduction to Lotion Bed Dye
1.
Lesson - Basic supplies for a lotion dye
1
Lesson - Basic supplies for a lotion dye
1

02:13
Publish date
Here we look at the supplies we need for a lotion dye. Not too many bits and pieces here, so let's make it quick and easy.
Lesson - Basic supplies for a lotion dye
2.
Lesson - Making the bed and adding the dye/lotion mix
1
Lesson - Making the bed and adding the dye/lotion mix
1

04:43
Publish date
Let's make the bed and add the colors.
Lesson - Making the bed and adding the dye/lotion mix
3.
Lesson - Manipulating the colors
1
Lesson - Manipulating the colors
1

01:38
Publish date
Now we manipulate the pattern to make it more interesting. There a lot of room here for your own imagination, but we will show you one of doing it.
Lesson - Manipulating the colors
4.
Lesson - Removing bubbles and inserting the disc
1
Lesson - Removing bubbles and inserting the disc
1

02:20
Publish date
Let's get rid of the air bubbles and add the disc to our masterpiece.
Lesson - Removing bubbles and inserting the disc
5.
Recap - Lotion bed dyed disc
1
Recap - Lotion bed dyed disc
1

01:35
Publish date
Now we wash the disc and reveal our end result. Easy as pie!
Recap - Lotion bed dyed disc
6.
Method: Cell Dye with Floetrol
7
Method: Cell Dye with Floetrol
7
Publish date
Method: Cell Dye with Floetrol
1.
Introduction to Cell Dyes
1
Introduction to Cell Dyes
1

01:43
Publish date
Next method is the cell dye with Floetrol.
Introduction to Cell Dyes
1.
Lesson - Supplies for the cell dyes
1
Lesson - Supplies for the cell dyes
1

01:11
Publish date
Looking at the basic tools we need to get a cell dye done. There is a little more tools we need compared to the previous methods, but the end justifies the means here.
Lesson - Supplies for the cell dyes
2.
Lesson - Preparing the bed and applying the dyes
1
Lesson - Preparing the bed and applying the dyes
1

04:25
Publish date
Let's start the process by making the base and then applying the colors to it.
Lesson - Preparing the bed and applying the dyes
3.
Lesson - Making the pour cup and preparing the bed with colors
1
Lesson - Making the pour cup and preparing the bed with colors
1

04:51
Publish date
While were at it, let's see how the pour cup method works with cell dyeing.
Lesson - Making the pour cup and preparing the bed with colors
4.
Lesson - Pouring multiple beds
1
Lesson - Pouring multiple beds
1

01:21
Publish date
If you have multiple discs you want to dye, it is good to make multiple beds in one sitting. Let's look at how it's done!
Lesson - Pouring multiple beds
5.
Lesson - Manipulating the bed
1
Lesson - Manipulating the bed
1

03:18
Publish date
Now we fiddle around a bit with the colors. The cells will form on their own but you can use heat to make things a bit faster.
Lesson - Manipulating the bed
6.
Lesson - Final checks and inserting the disc
1
Lesson - Final checks and inserting the disc
1

02:43
Publish date
We check our dye before putting the disc in. If you are not happy about the result, you can manipulate some more or add more colors.
Lesson - Final checks and inserting the disc
7.
Recap - Cell dyed disc
1
Recap - Cell dyed disc
1

01:55
Publish date
Here we have the result after a quick wash! Next, you can reuse the bed if you want.
Recap - Cell dyed disc
8.
Method: Spin dye
8
Method: Spin dye
8
Publish date
Method: Spin dye
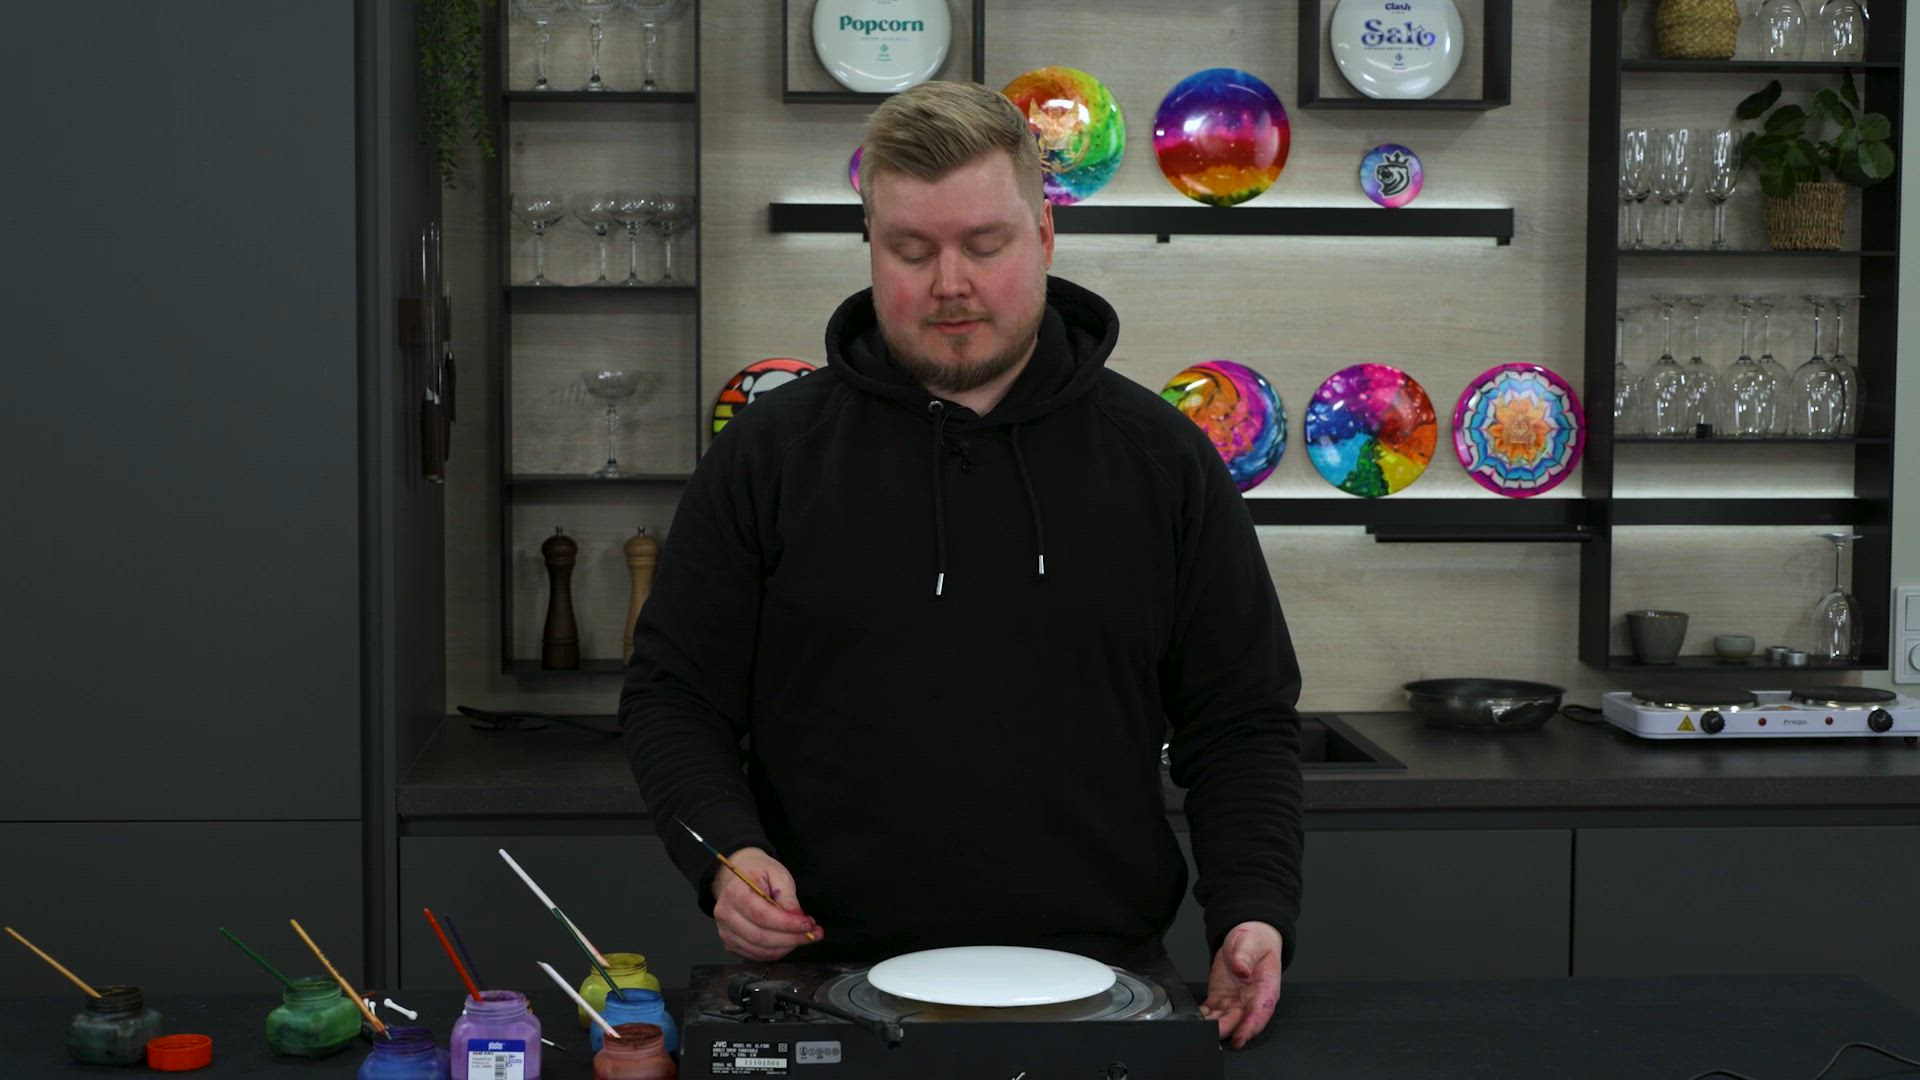
1.
Introduction to spin dyes
1
Introduction to spin dyes
1
00:49
Publish date
Next we try out the spin dye method.
Introduction to spin dyes
1.
Lesson - Supplies for spin dyes
1
Lesson - Supplies for spin dyes
1
01:18
Publish date
Let's check the supplies we need to make a spin dye to a disc!
Lesson - Supplies for spin dyes
2.
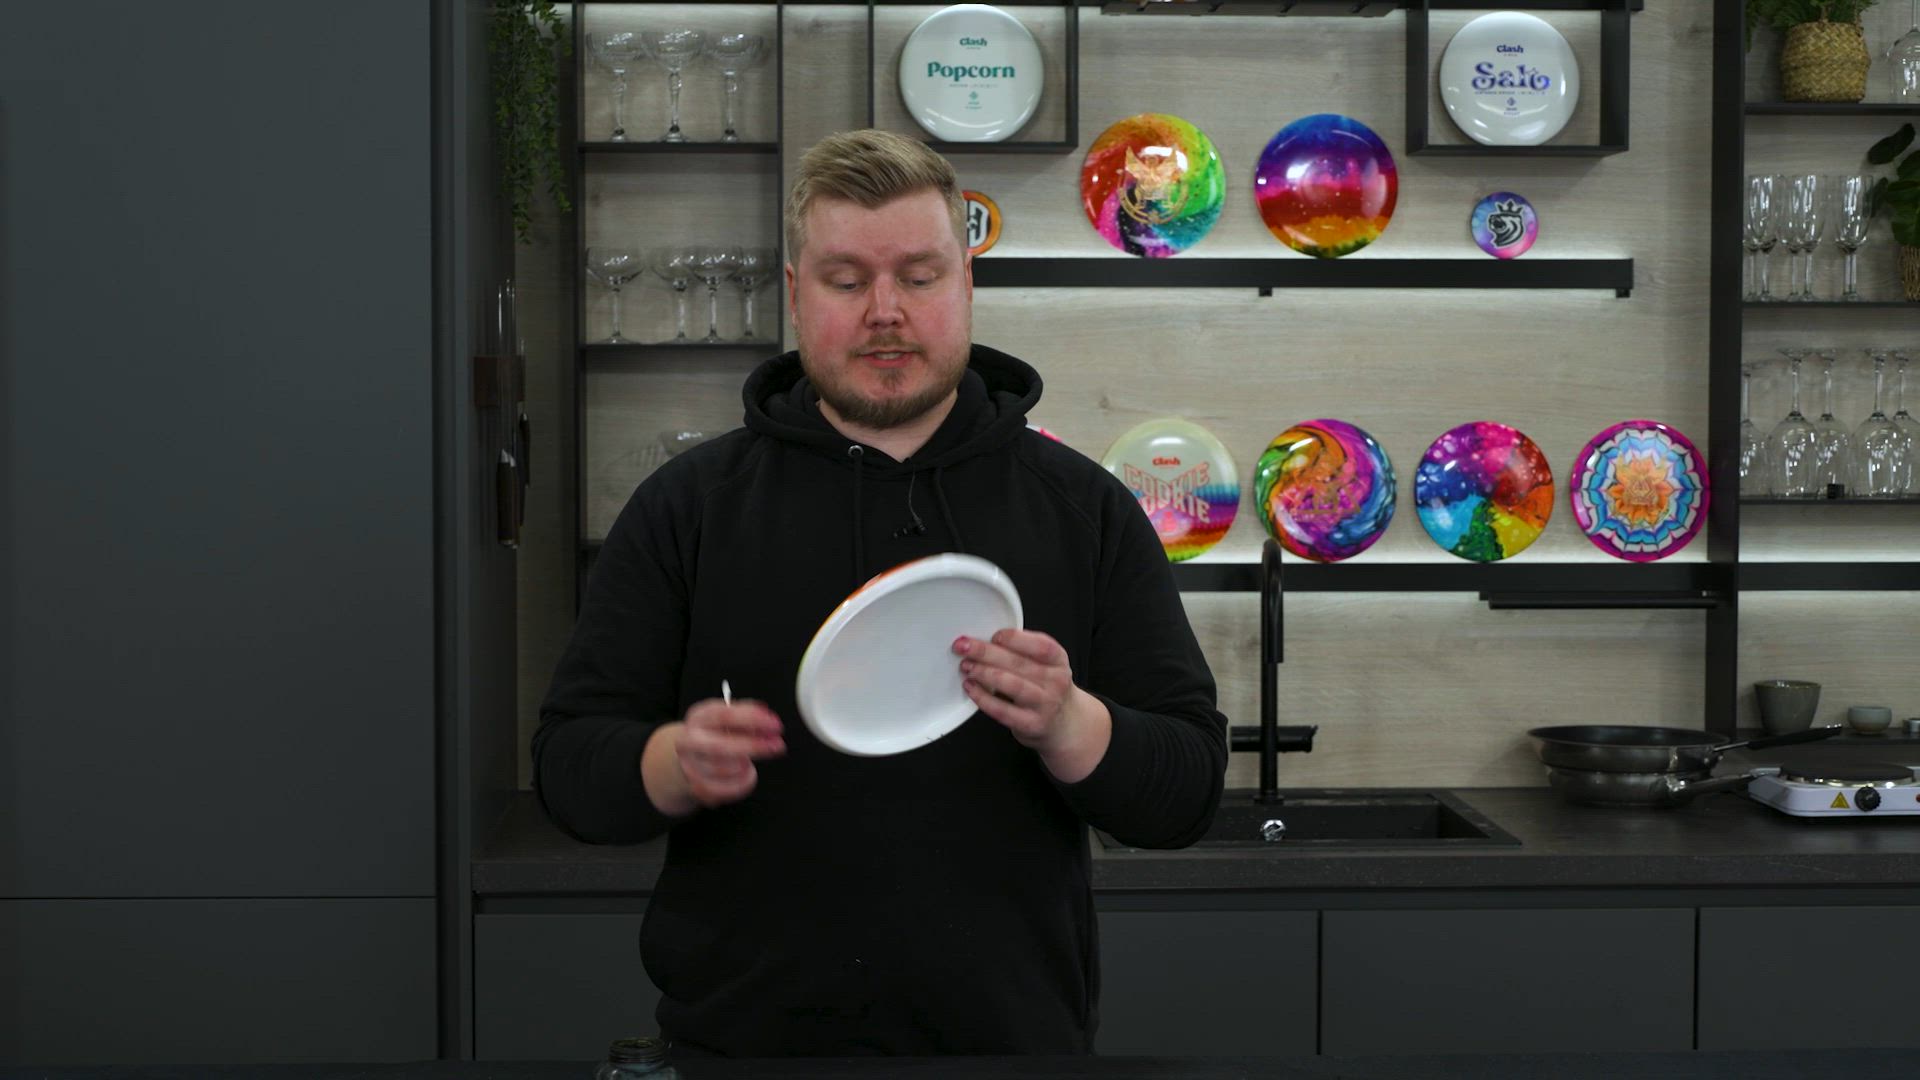
Exercise - Learning the spin with a paper plate
1
Exercise - Learning the spin with a paper plate
1
05:57
Publish date
We will show you an easy way to practice your spin dyes in an easy and affordable way.
Exercise - Learning the spin with a paper plate
3.
Lesson - Spin dyeing circles
1
Lesson - Spin dyeing circles
1

07:43
Publish date
Let's start from the basics and do some sweet spin dye circles to our disc.
Lesson - Spin dyeing circles
4.
Lesson - Lollipop dye
1
Lesson - Lollipop dye
1
09:04
Publish date
Now we look at the most difficult but at the same time the most impressive technique of lollipop spin dye.
Lesson - Lollipop dye
5.
Method: Stencil dye
9
Method: Stencil dye
9
Publish date
Method: Stencil dye
1.
Introduction to stencil dye
1
Introduction to stencil dye
1
01:18
Publish date
Let's look at the technique of stencil dyeing with a vinyl mask.
Introduction to stencil dye
1.
Lesson - Basic supplies for stencil dyeing
1
Lesson - Basic supplies for stencil dyeing
1
02:41
Publish date
Now we go through the nuts and bolts to make a stencil dye in your disc.
Lesson - Basic supplies for stencil dyeing
2.
Exercise - Cutting with the blade
1
Exercise - Cutting with the blade
1
03:27
Publish date
Let's do a little exercise before we start cutting the actual vinyl mask.
Exercise - Cutting with the blade
3.
Lesson - Cutting the stencil
1
Lesson - Cutting the stencil
1
02:58
Publish date
We have a pre-cut stencil to which we add some flavor to show you how to cut your own design with your hobby knife.
Lesson - Cutting the stencil
4.
Lesson - Transferring the stencil to your disc
1
Lesson - Transferring the stencil to your disc
1
06:32
Publish date
Time to apply the stencil to the disc. Here are some good tips on how to make it simple and easy.
Lesson - Transferring the stencil to your disc
5.
Lesson - Prepping and coloring
1
Lesson - Prepping and coloring
1
04:14
Publish date
Now we double check that the vinyl is attached and start applying the colors.
Lesson - Prepping and coloring
6.
Lesson - Coloring the precut parts
1
Lesson - Coloring the precut parts
1
02:27
Publish date
Let's continue the coloring with the parts we precut to the stencil.
Lesson - Coloring the precut parts
7.
Recap - Stencil dyed disc
1
Recap - Stencil dyed disc
1
01:34
Publish date
Here we look at the end result we got from trying out different techniques of stencil dyeing.
Recap - Stencil dyed disc
8.
Method: Hot dip
10
Method: Hot dip
10
Publish date
Method: Hot dip
1.
Introduction to hot dip dye
1
Introduction to hot dip dye
1
01:01
Publish date
Last but not least is the hot dip method to get some color to your discs.
Introduction to hot dip dye
1.
Lesson - Basic supplies for hot dip dye
1
Lesson - Basic supplies for hot dip dye
1
01:11
Publish date
Let's go through the things we need to make a hot dip work.
Lesson - Basic supplies for hot dip dye
2.
Lesson - Mixing the dye
1
Lesson - Mixing the dye
1
01:57
Publish date
Simple process but let's try not to make a mess.
Lesson - Mixing the dye
3.
Lesson - Dipping the disc
1
Lesson - Dipping the disc
1
03:51
Publish date
Now we put the disc in to the hot color and let it cook for a while.
Lesson - Dipping the disc
4.
Recap - Hot dip dyed disc
1
Recap - Hot dip dyed disc
1
00:48
Publish date
Here is the end result for a gradient hot dip.
Recap - Hot dip dyed disc
5.
Finishing touches
11
Finishing touches
11
Publish date
Finishing touches
1.
Pro Tip - Framing your artwork
1
Pro Tip - Framing your artwork
1
01:03
Publish date
Henkka will show you how to frame your art easily and quickly without any complicated setups.
Pro Tip - Framing your artwork
1.

You might also like


Frequently Asked Questions (FAQ)
Add a Title