
CHECK OUT OUR FREE BEGINNER COURSE

Kurssi info
Kurssi info
In the course you learn:
Learn all the parts of the forehand steps
Integrate the parts for a full set of steps
Learn to use all the step-taking aspects individually according to your situation in the field
How to get more distance to your shots
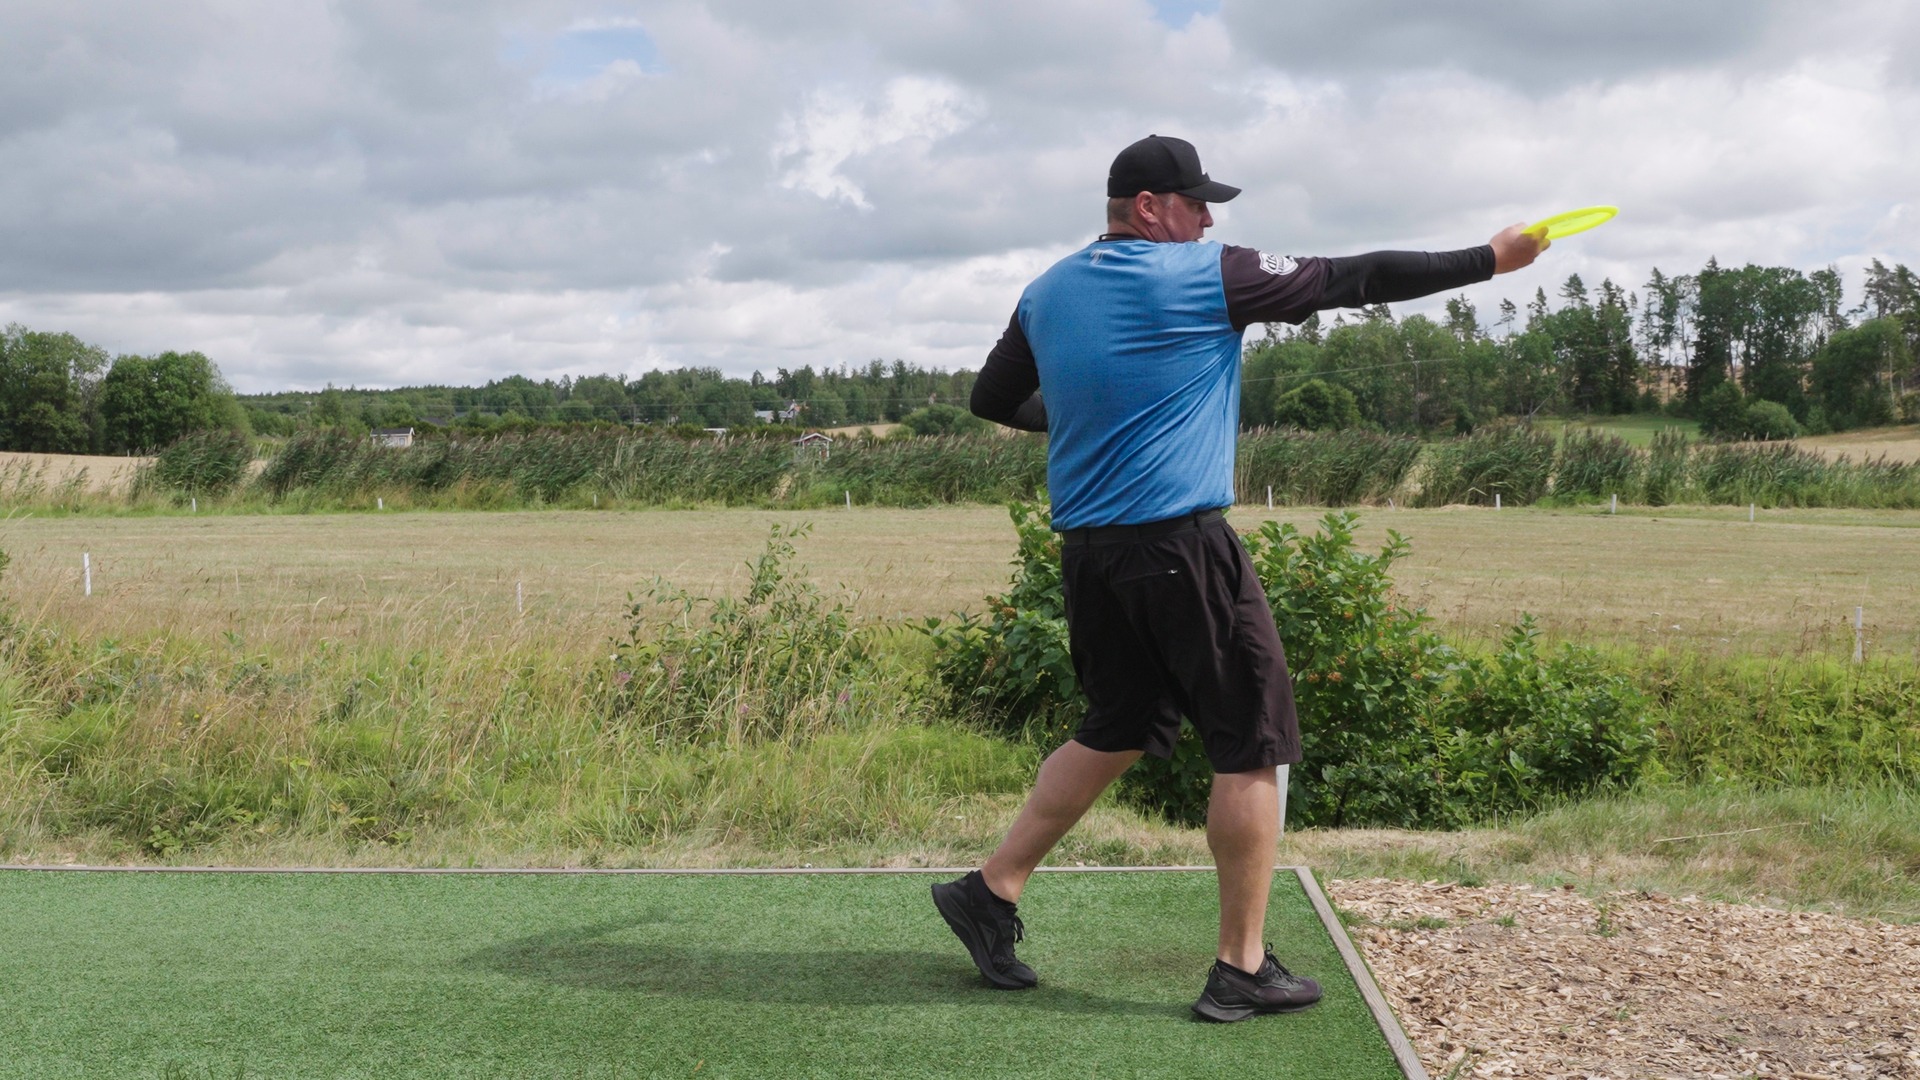
In this course, you’ll learn how to add steps to your forehand throw in a clear, simple, and structured way. Some call this a "run-up" instead of "taking steps".
If you’ve been throwing forehands from a standstill and feel like you’ve hit a distance ceiling, this is your next step forward.
Learning to take steps correctly allows you to generate more power without forcing the throw. When your timing, balance, and footwork work together, distance starts to come from efficiency rather than effort. That’s how you throw farther while staying smooth and controlled.
Transitioning from a standstill forehand to throwing with steps can feel awkward at first. That’s normal. Forehand footwork is a skill, not a shortcut, and it takes time to coordinate. In this course, you’ll break the movement down into manageable pieces so you can build confidence and progress at your own pace.
Think of forehand footwork like a choreographed movement. When everything flows together, the throw feels effortless. With focused practice and repetition, you’ll start to see more distance, better balance, and greater consistency in your forehand game.
Let’s get started and take your forehand to the next level.
This course is upcoming. Next Update will Be IN
Be sure to come back. In the Meantime, see our other courses!
Lessons
Introduction to the footwork
1
Introduction to the footwork
1

Publish date
Introduction to the footwork
1.
What do we aim to learn and how
1
What do we aim to learn and how
1

01:07
Publish date
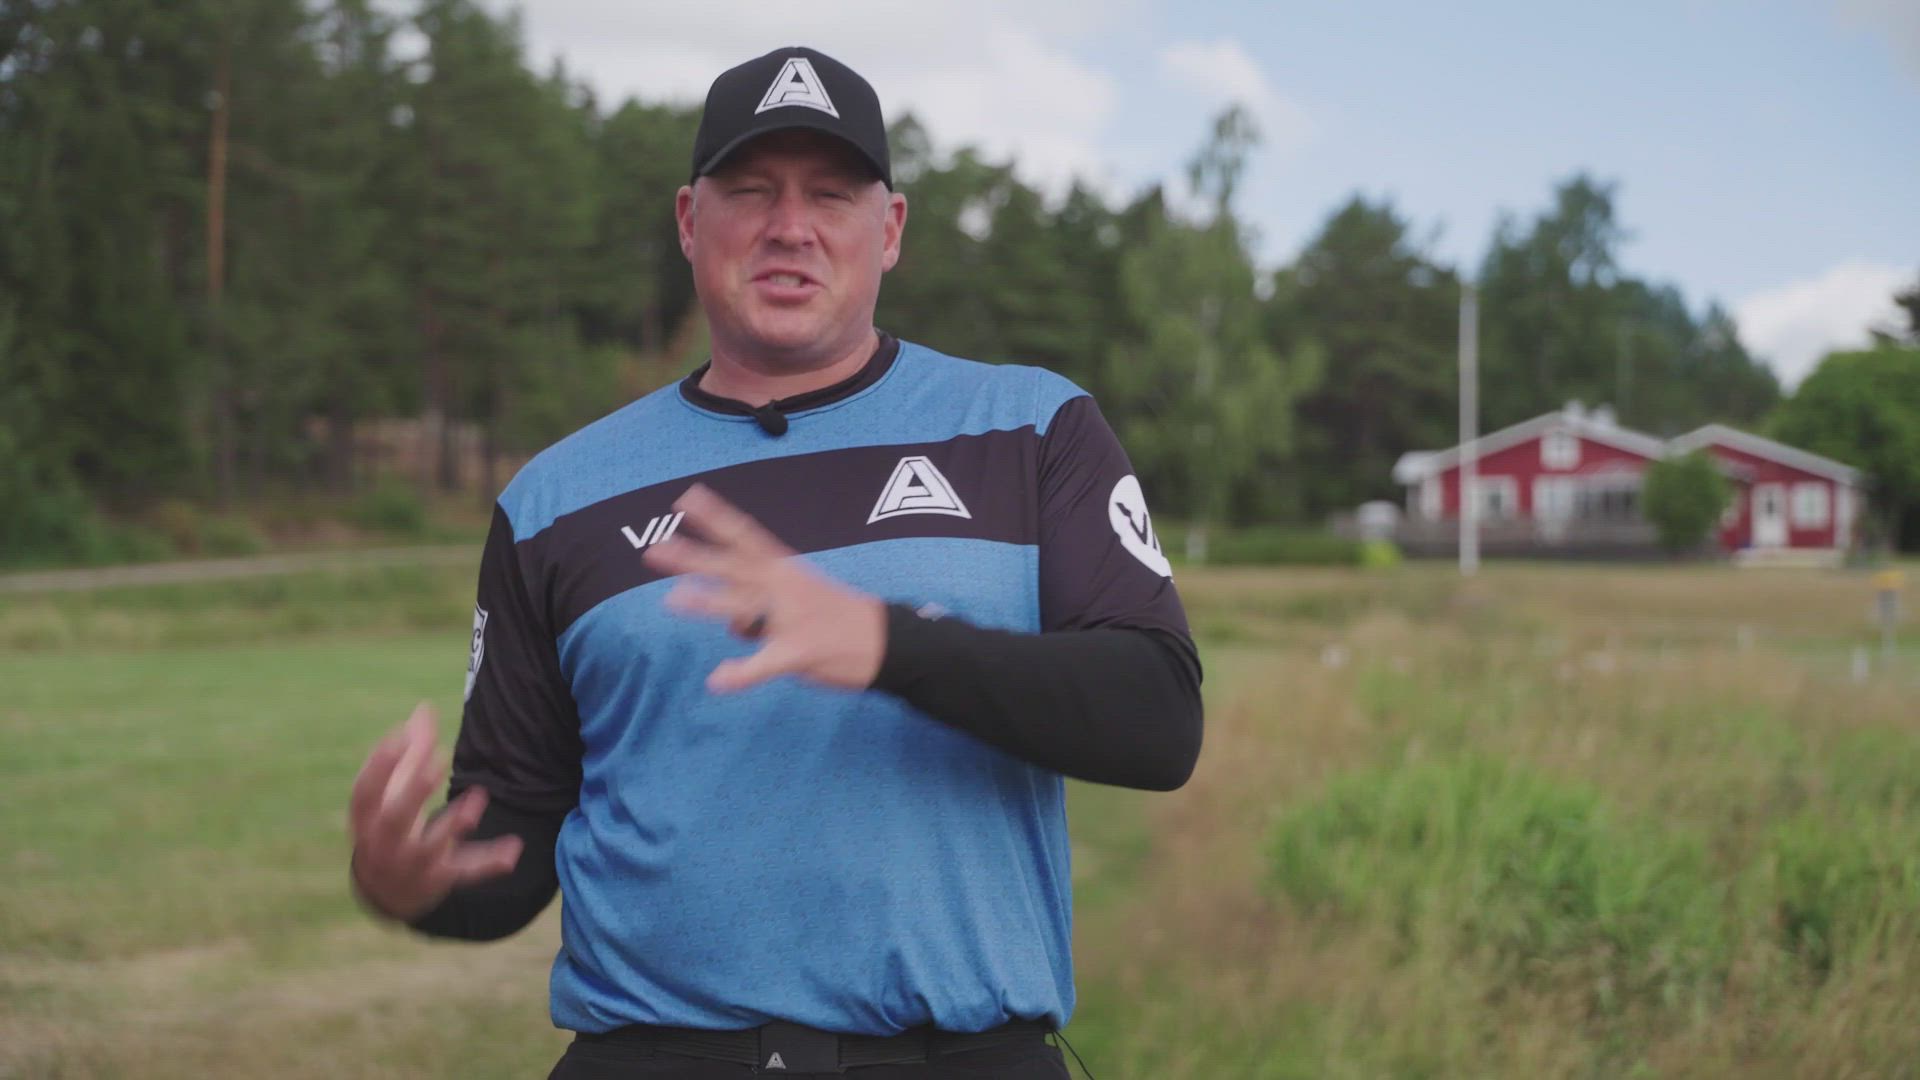
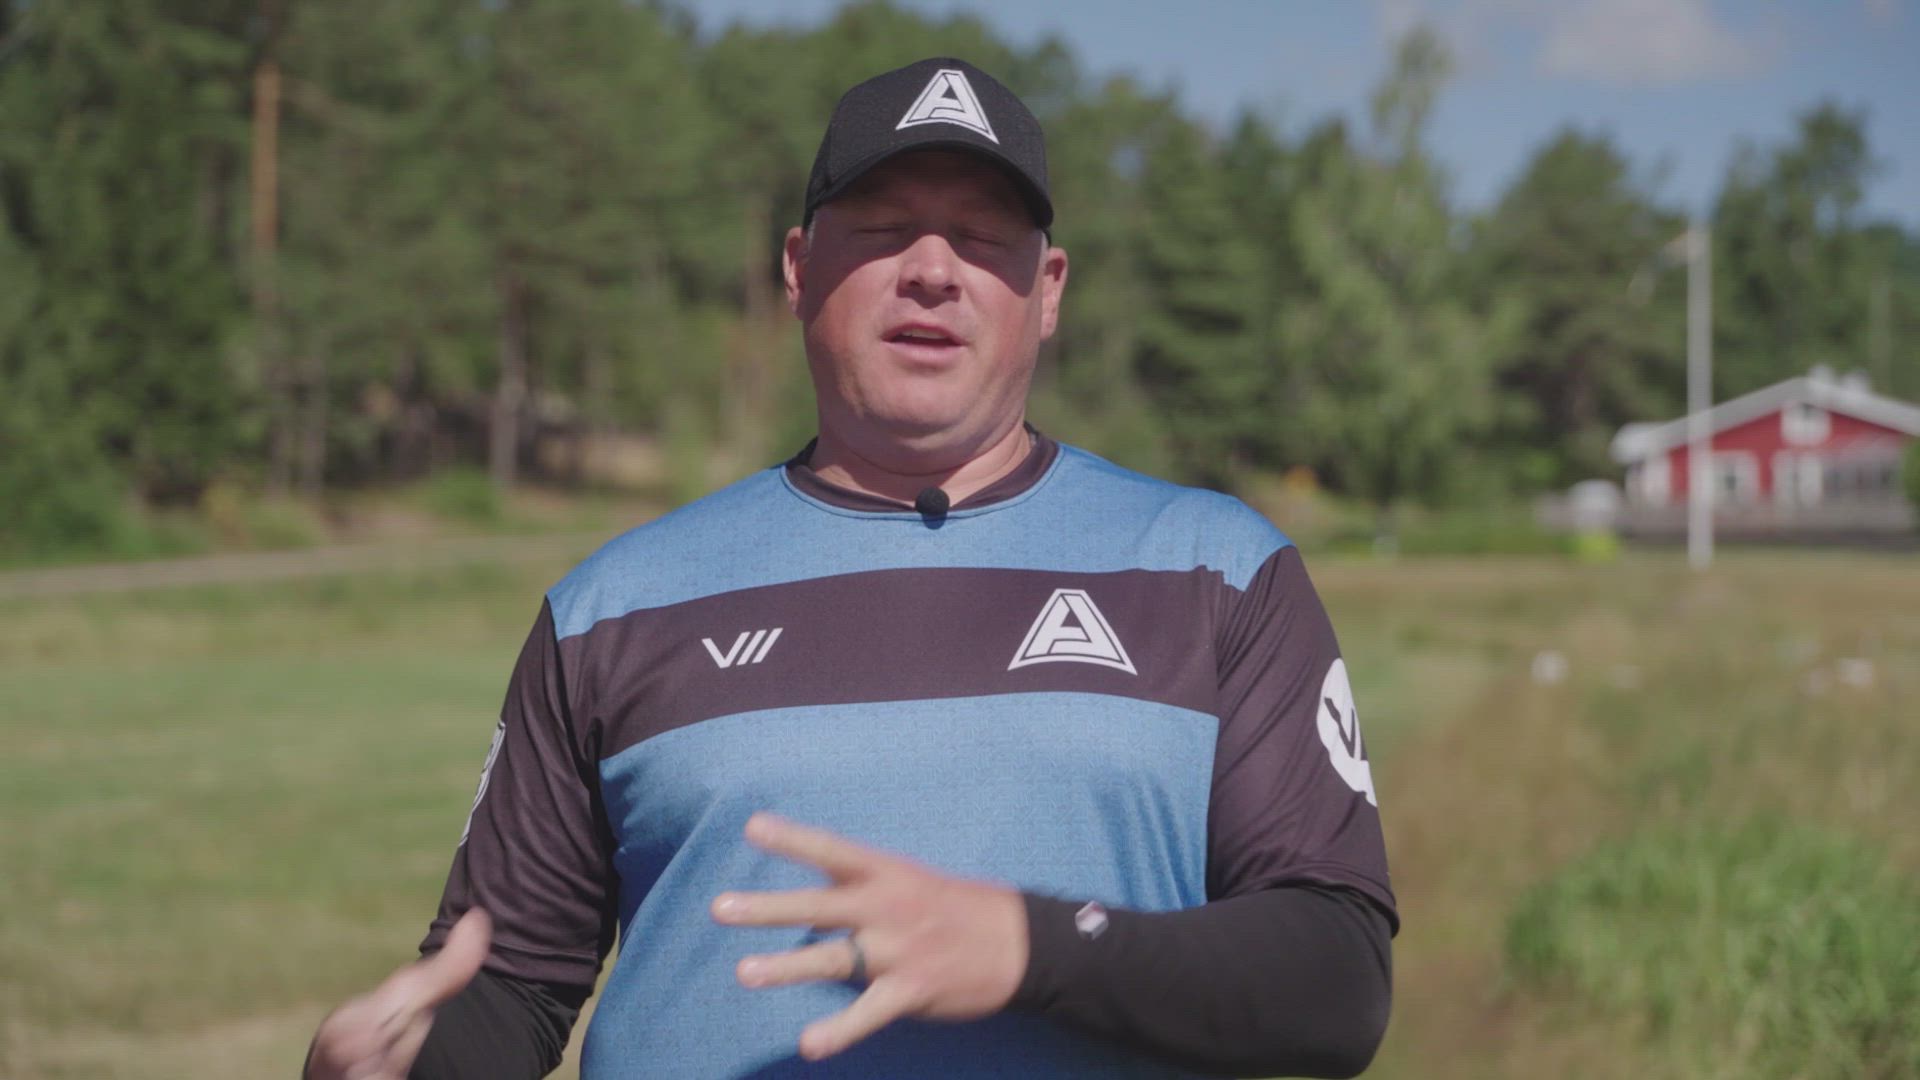
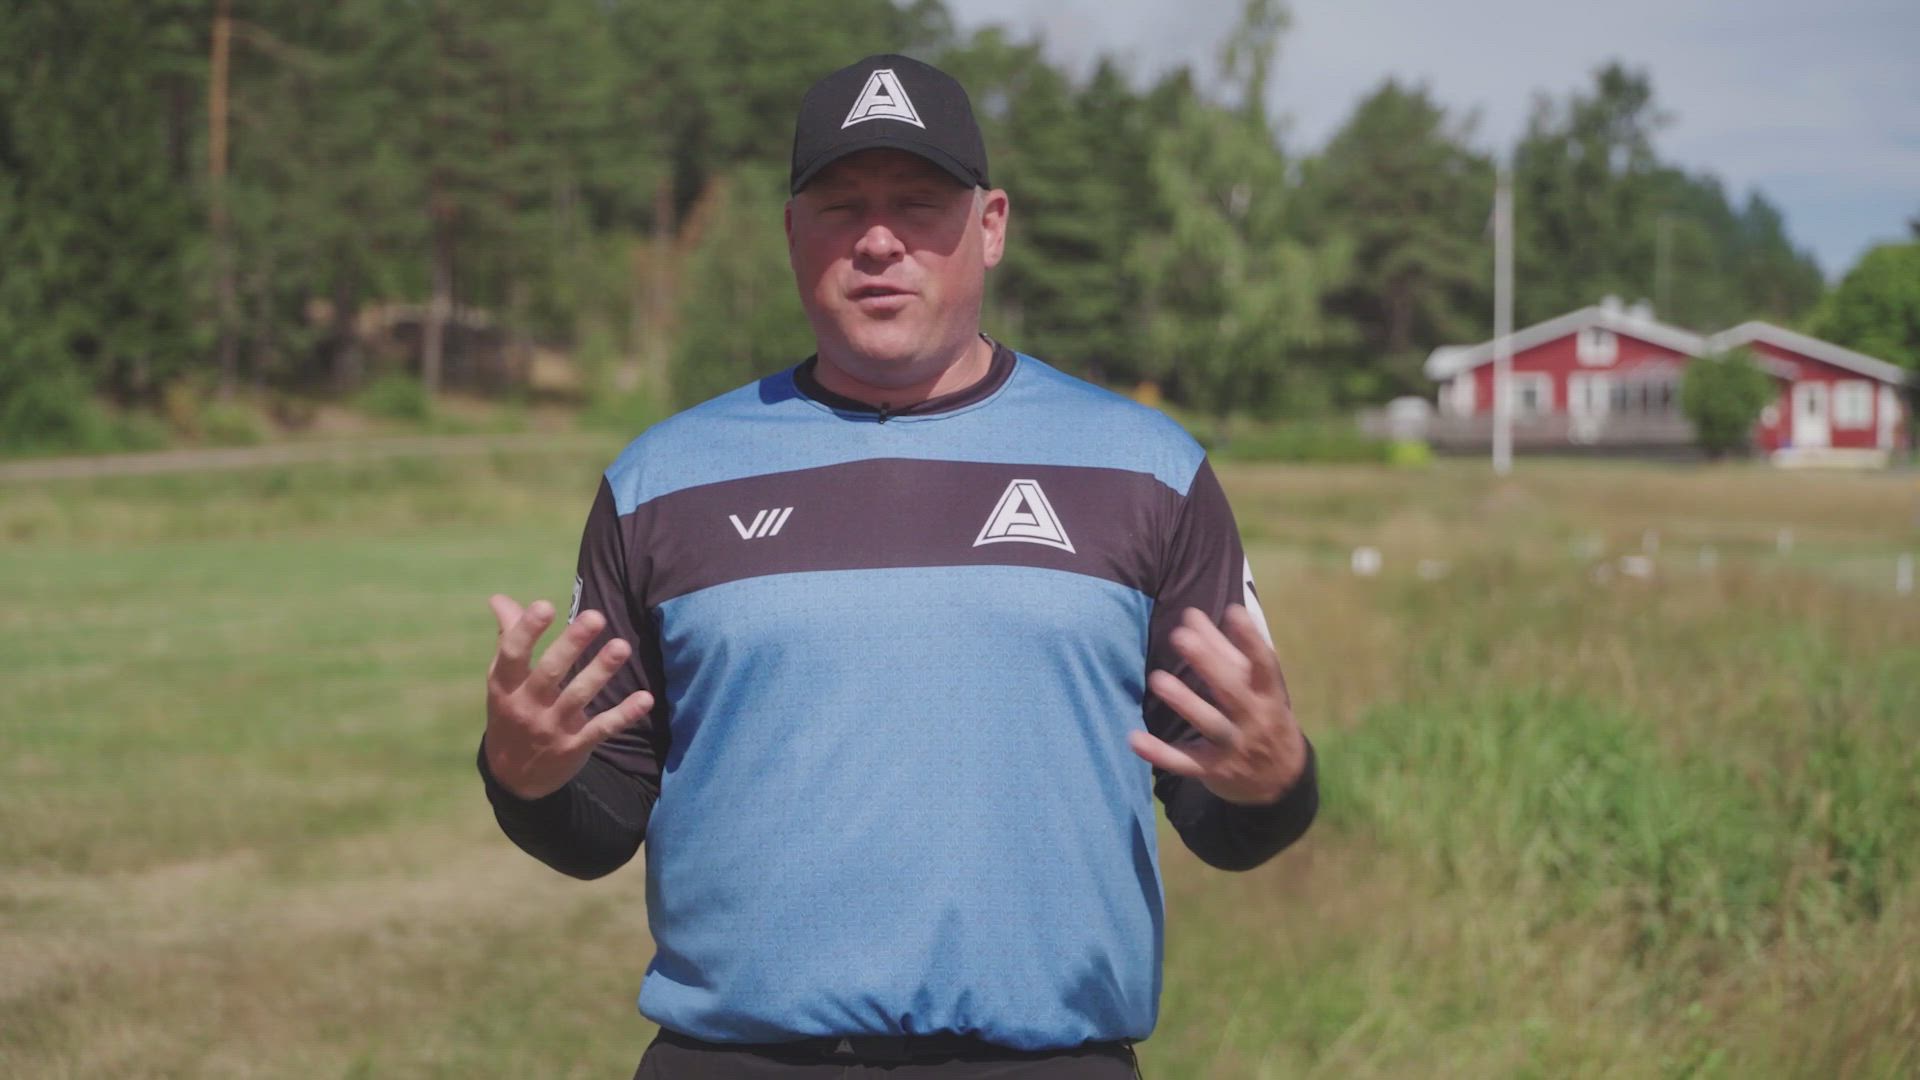
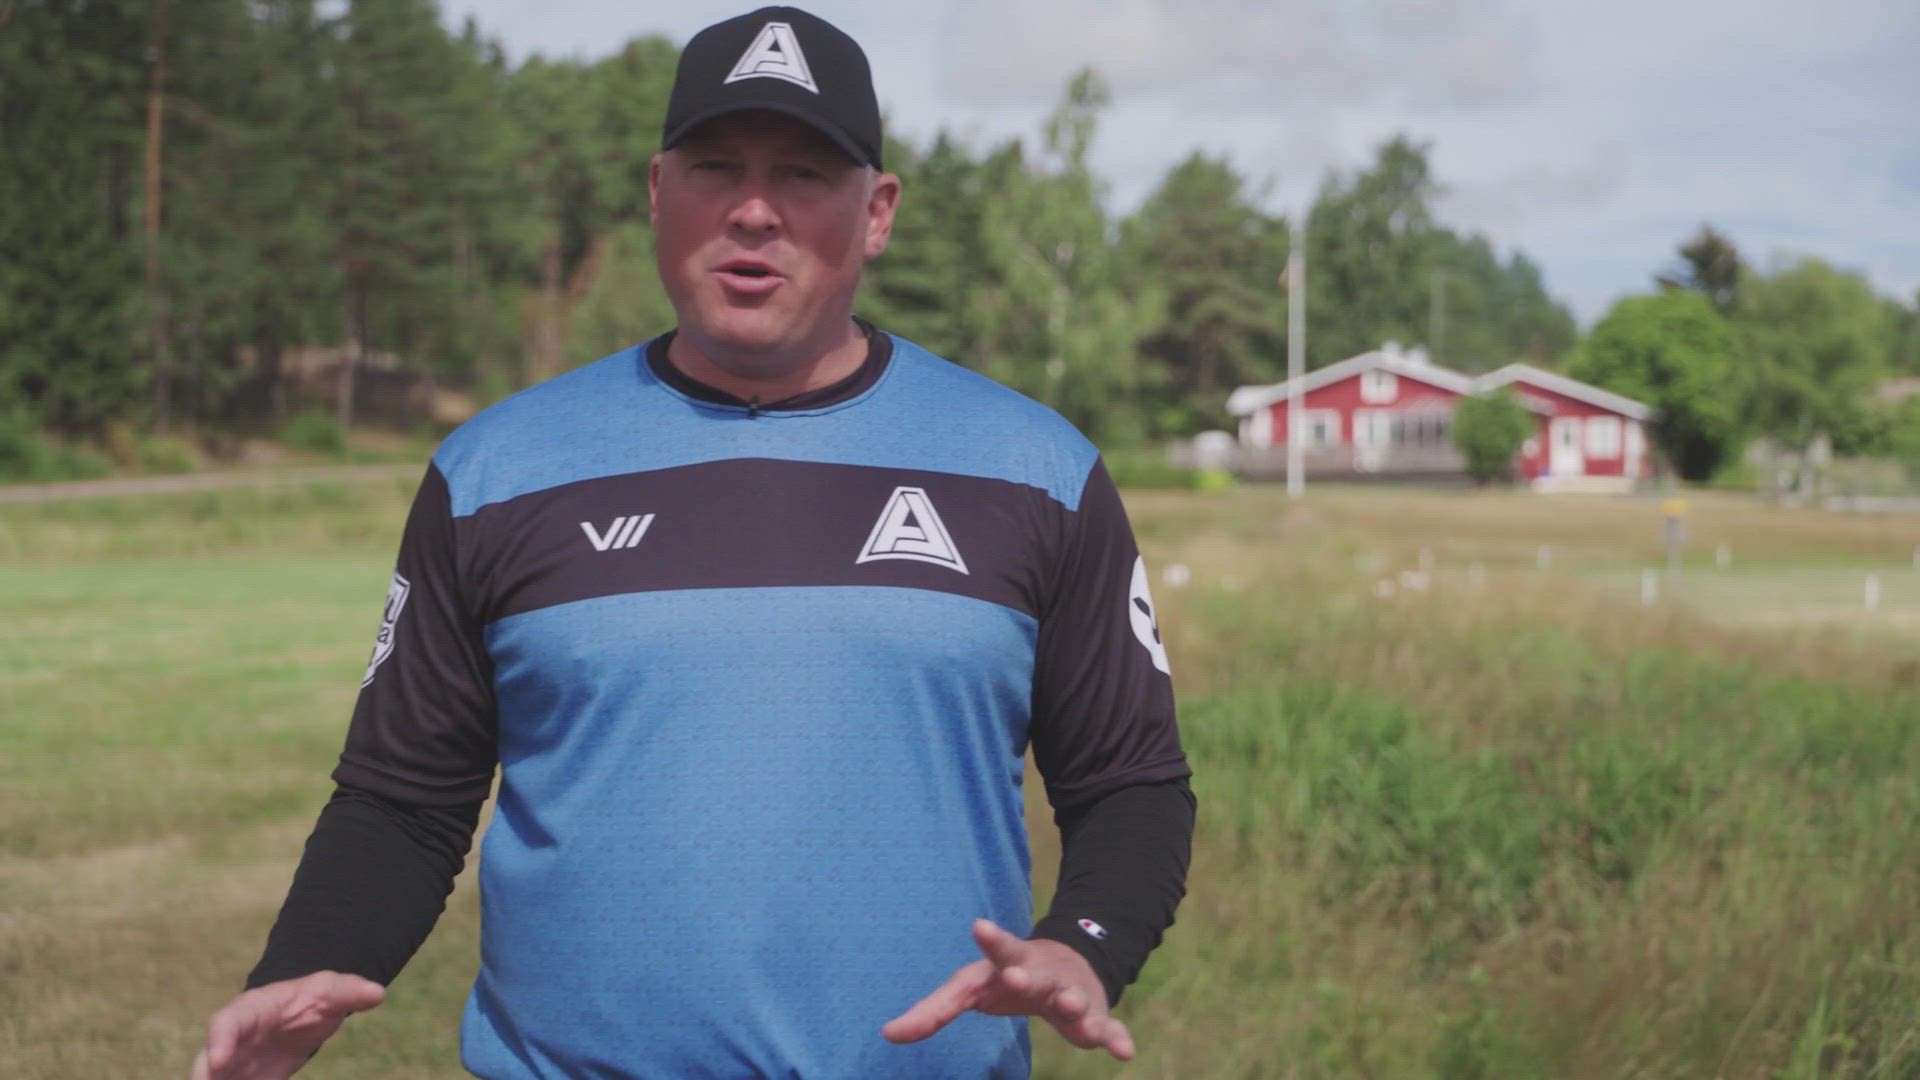
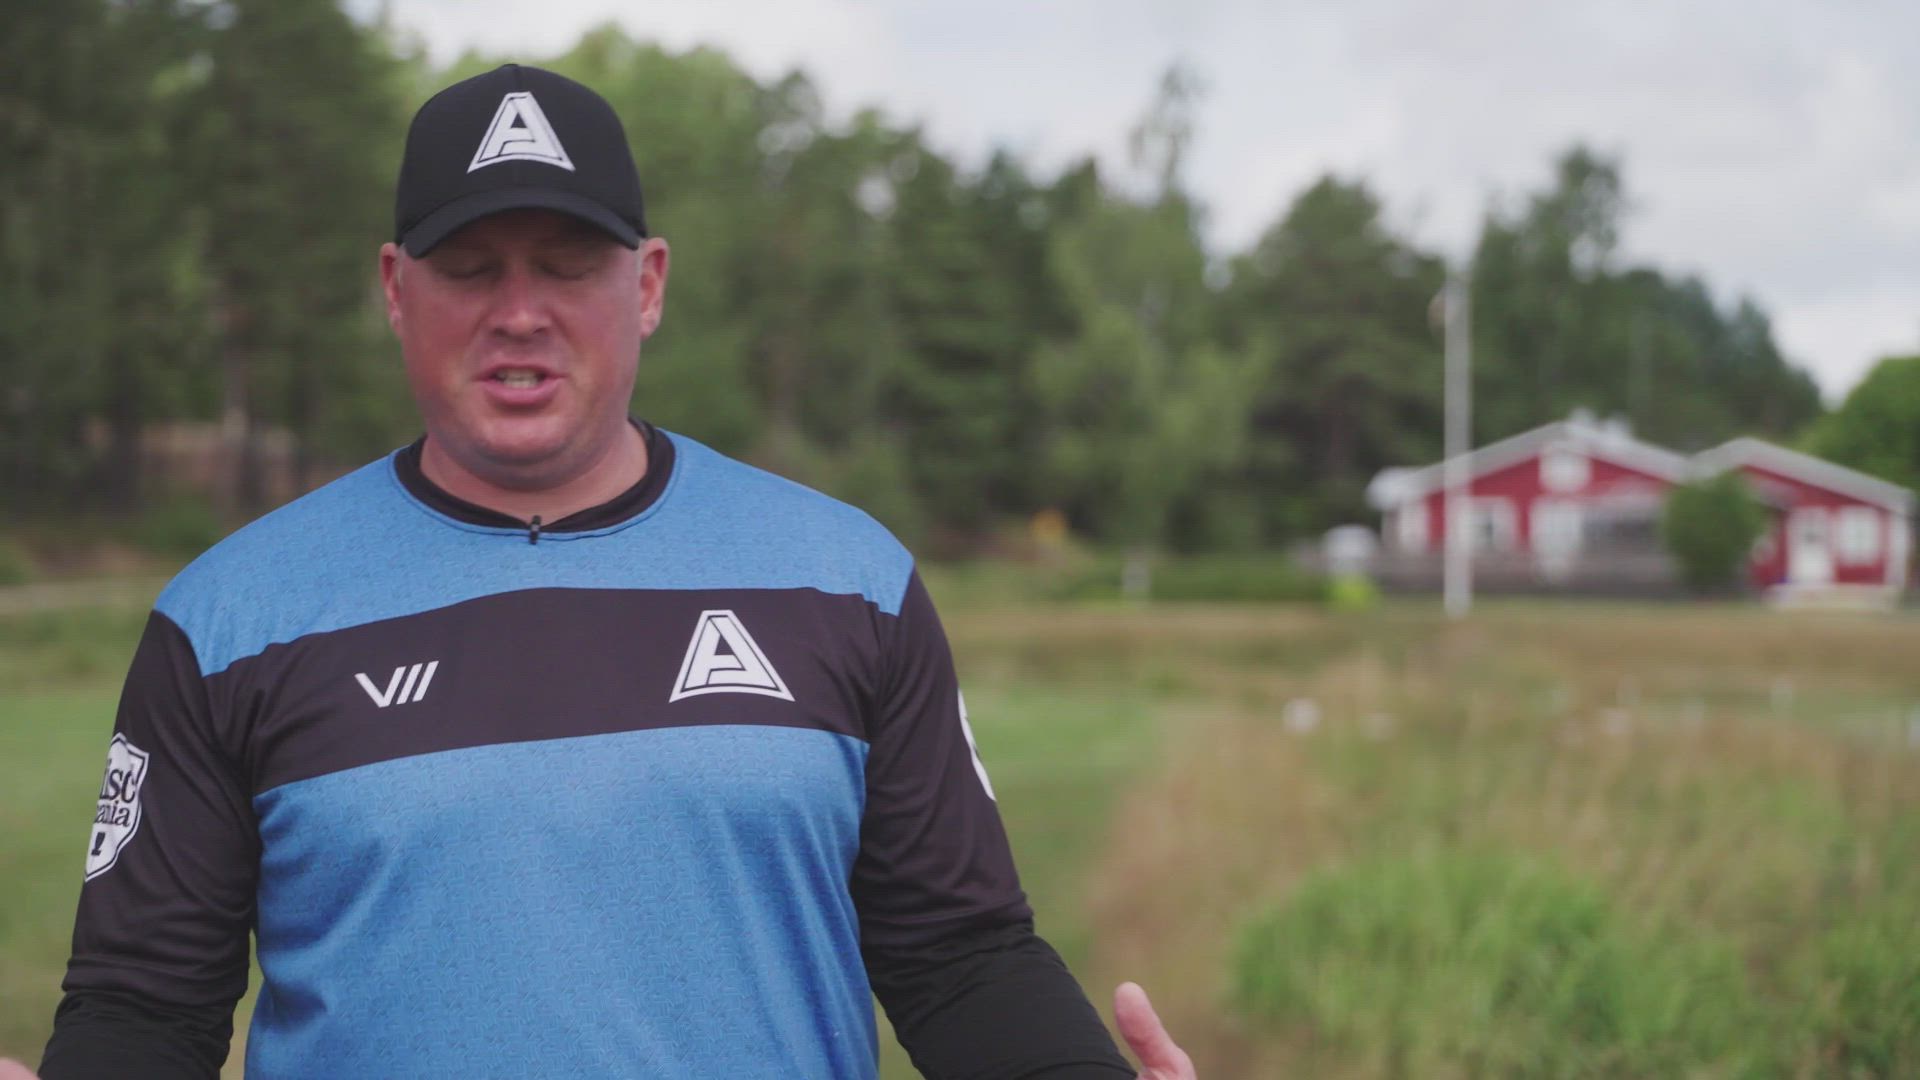
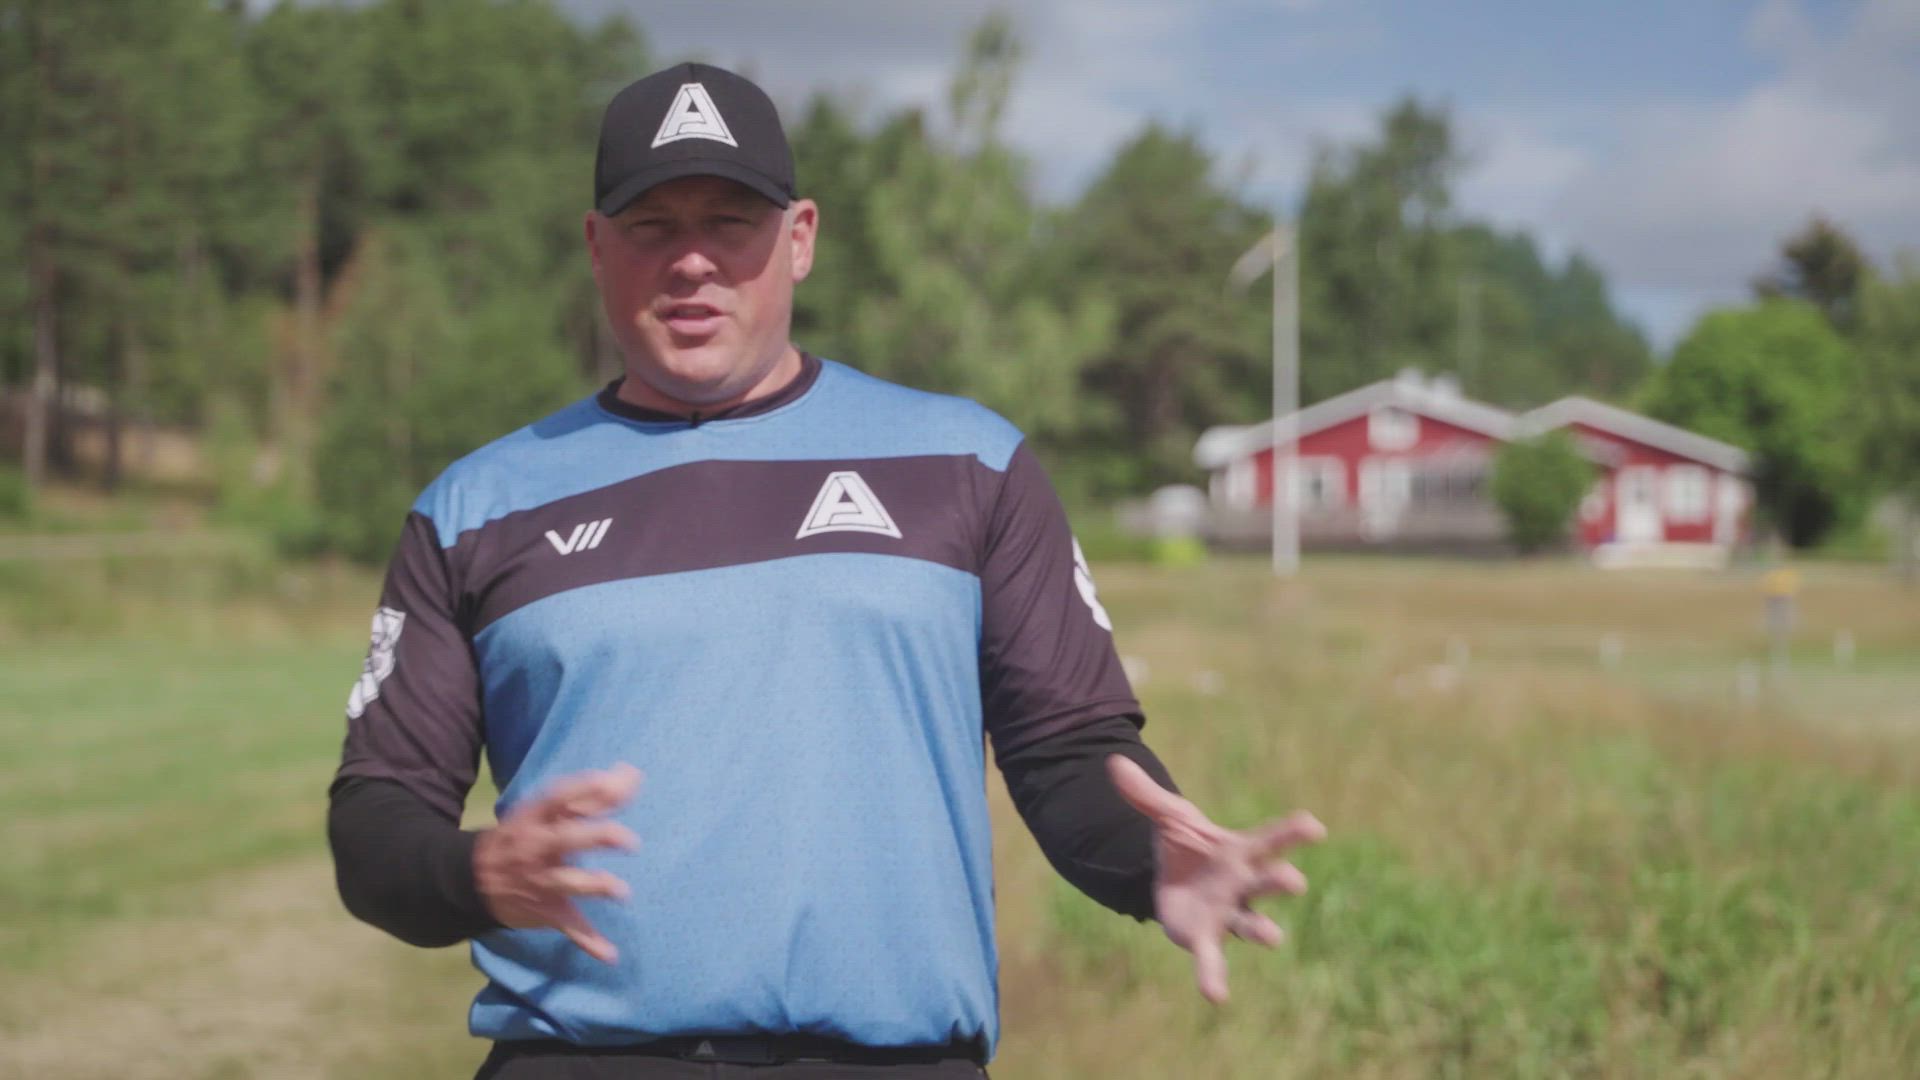
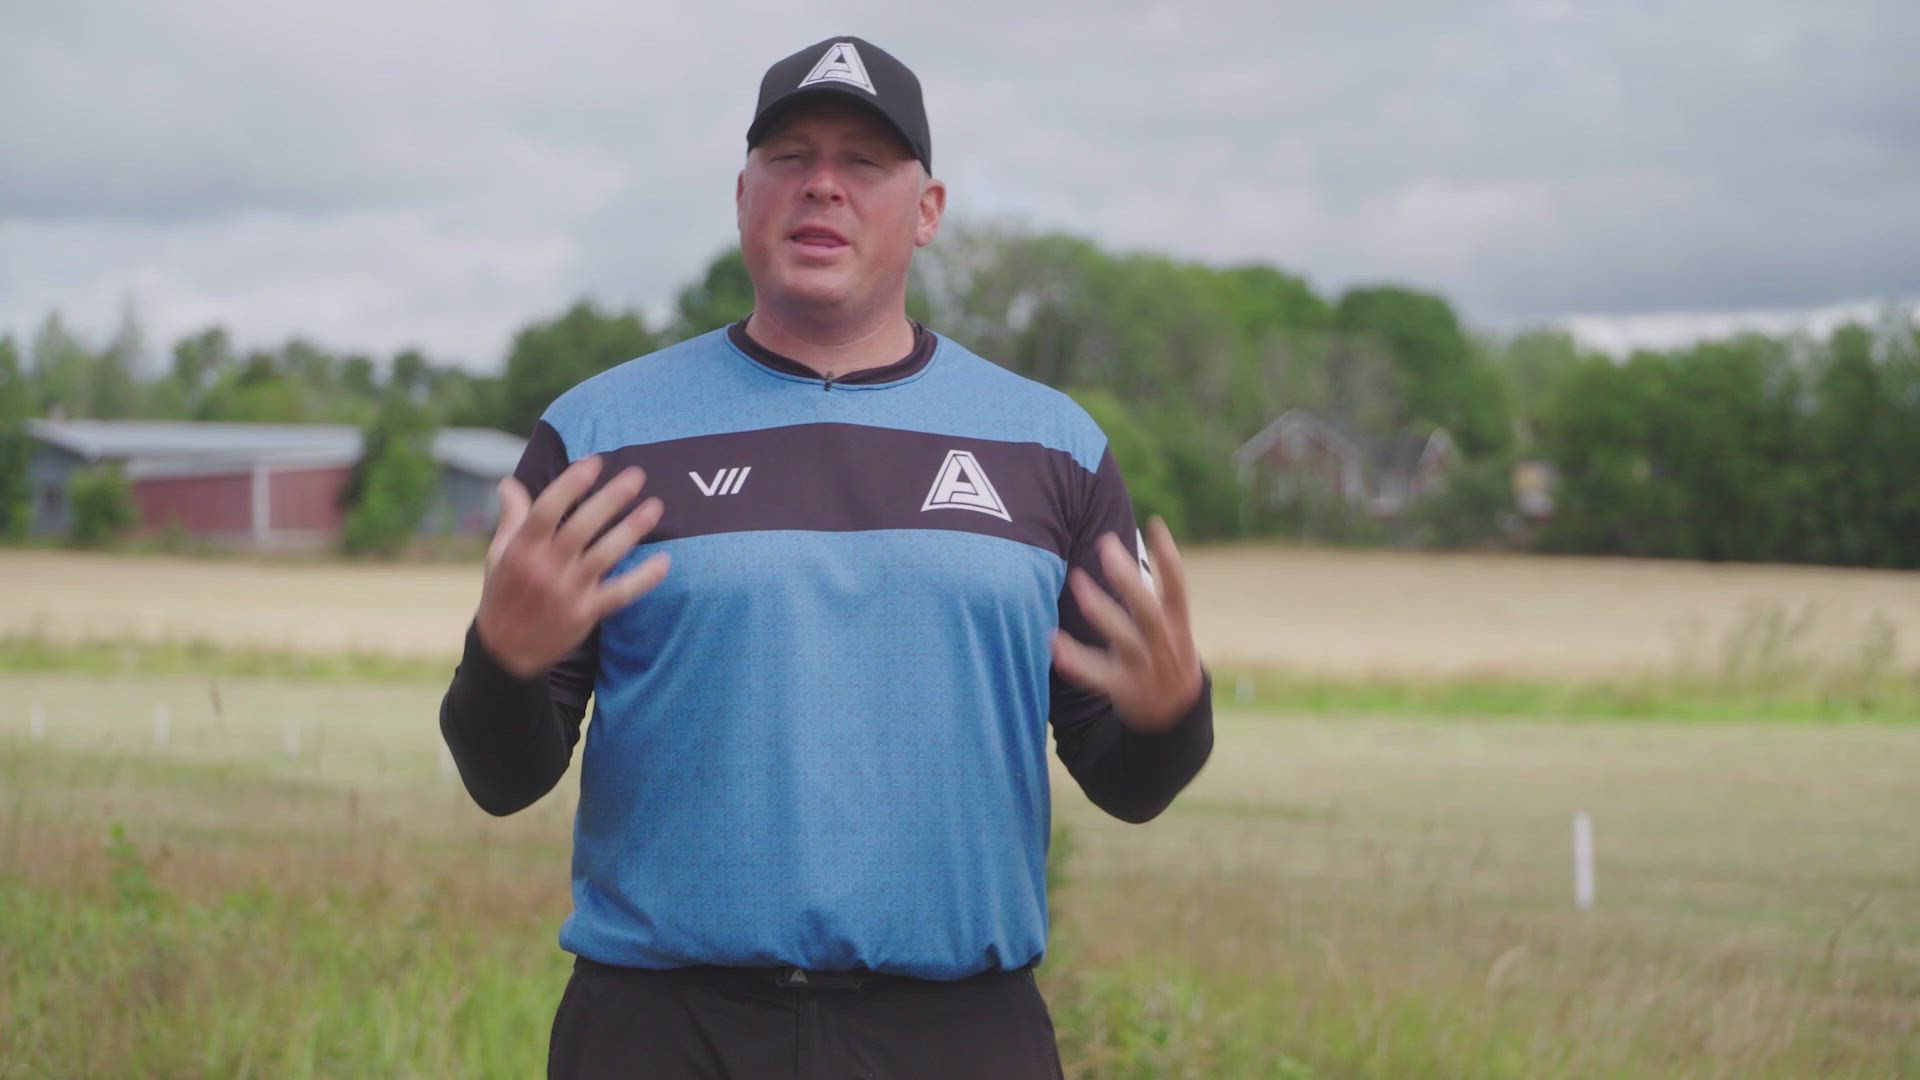
Avery Jenkins is introducing the contents of the run-up course.
What do we aim to learn and how
1.
The key terms of footwork
1
The key terms of footwork
1
00:43
Publish date
Let's talk about a couple of terms for clarity whitle learning the run-up.
The key terms of footwork
2.
Parts of the forehand steps
2
Parts of the forehand steps
2
Publish date
Parts of the forehand steps
1.
Lesson - Last step
1
Lesson - Last step
1
01:39
Publish date
We start to go through the steps backwards from the last step. This is a good way to connect the dots from the forehand standstill position since we are stepping into that position when we release the disc.
Lesson - Last step
1.
Exercise - Last step
1
Exercise - Last step
1
01:20
Publish date
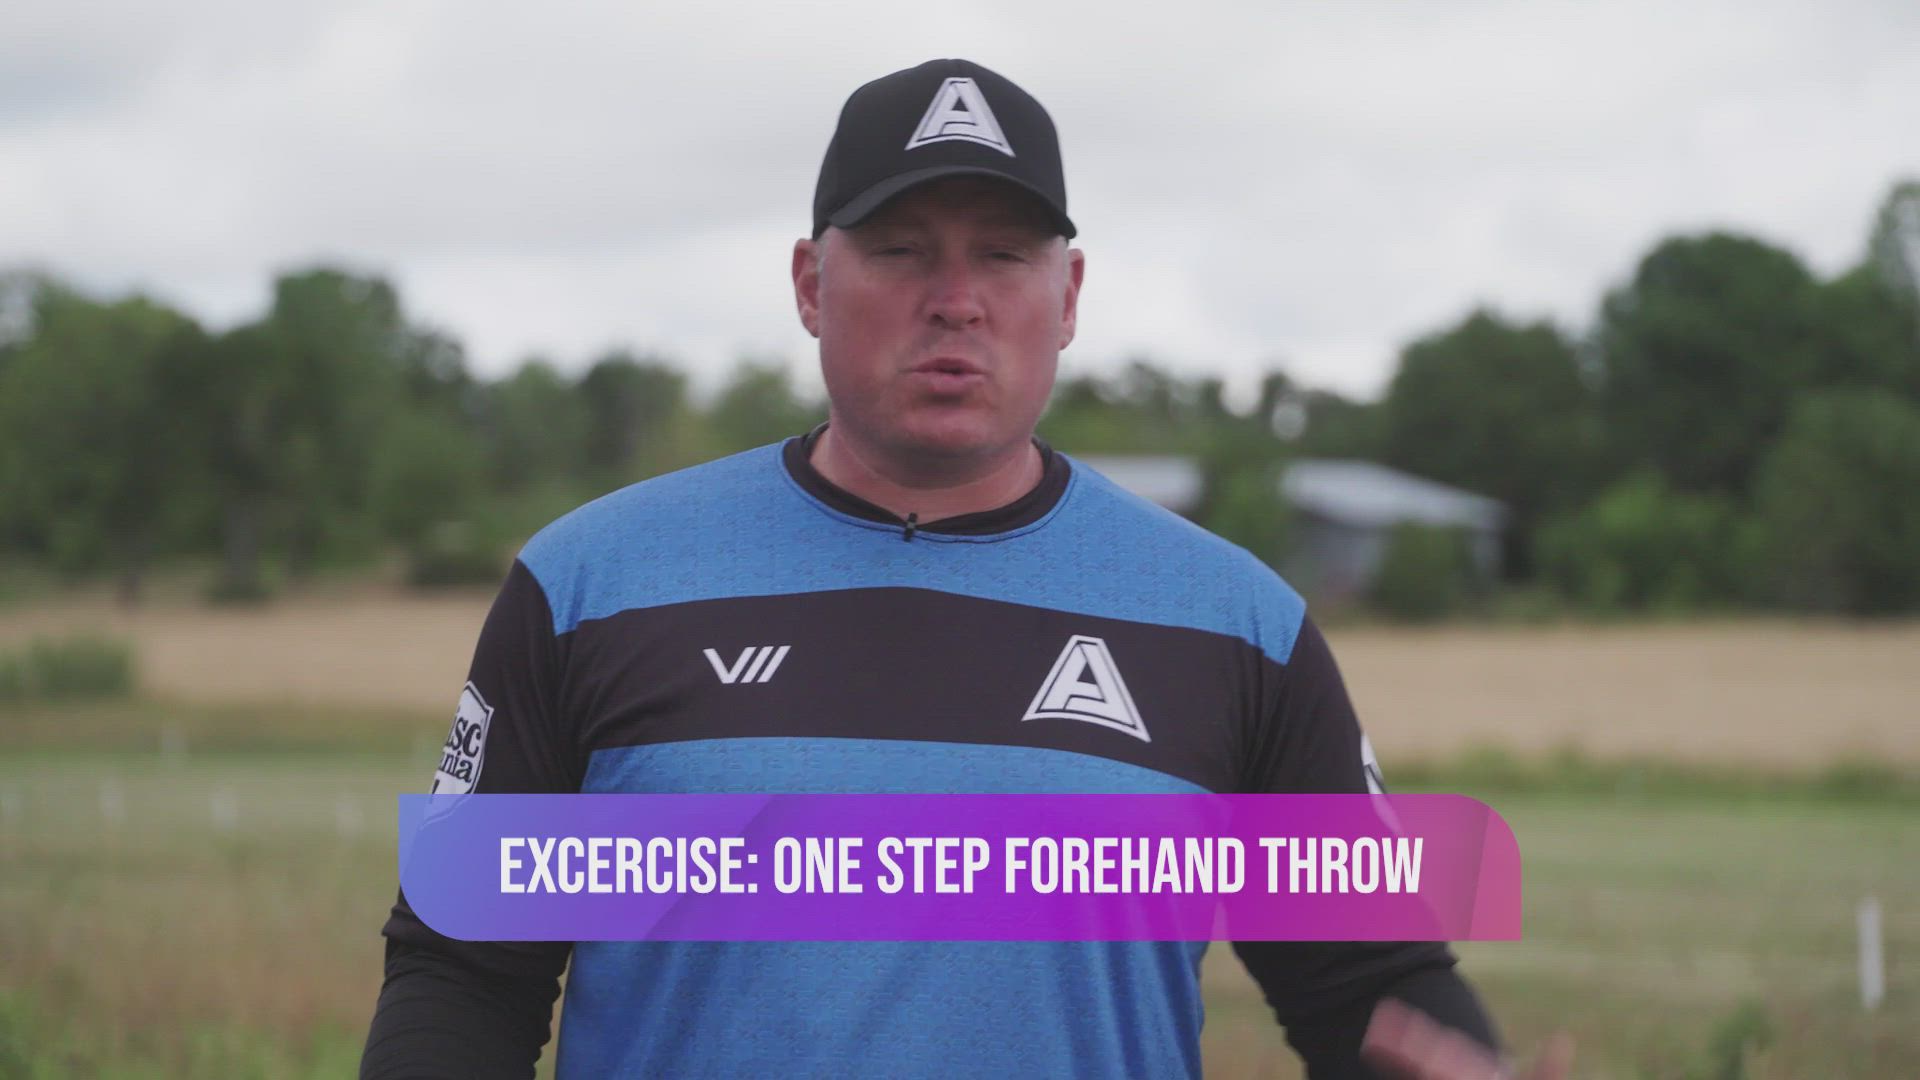
Now we exercise the last step throw. Keep it simple and concentrate on your footwork. Never mind of the shots are not going were you are aiming. This can happen if you are not extremely well versed in forehand shots. Get the last step drilled and you will start see some great results!
Exercise - Last step
2.
Lesson - Cross step
1
Lesson - Cross step
1
01:26
Publish date
Let's study the middle part of our steps. The cross step is also sometimes called a crow hop, or pro hop. There are multiple variations but this is the most simple version of the cross step. We will find our own way of doing this eventually since everyone has different body mechanics and different-sized extremities. let's start from here and build the chain of motions first!
Lesson - Cross step
3.
Lesson - Cross step types
1
Lesson - Cross step types
1

01:49
Publish date
We talk a little about the variety of cross steps. There is no one right way to do it as we can see from professional players. Let's see what kind of variance we can find.
Lesson - Cross step types
4.
Exercise - Cross step
1
Exercise - Cross step
1
01:26
Publish date
Exercising the cross step or the 2nd step. You can practice this without a disc first and then throw shots with a stable fairway or a driver. Again, we don't mind were the disc is landing. We are practicing footwork so once we get that working, the shots will land where we want.
Exercise - Cross step
5.
Lesson - Final step
1
Lesson - Final step
1
01:27
Publish date
We are starting to find the full set of steps here. The whole stepping motion starts with preliminary steps, but there are always these three steps to a full set of forehand steps.
Lesson - Final step
6.
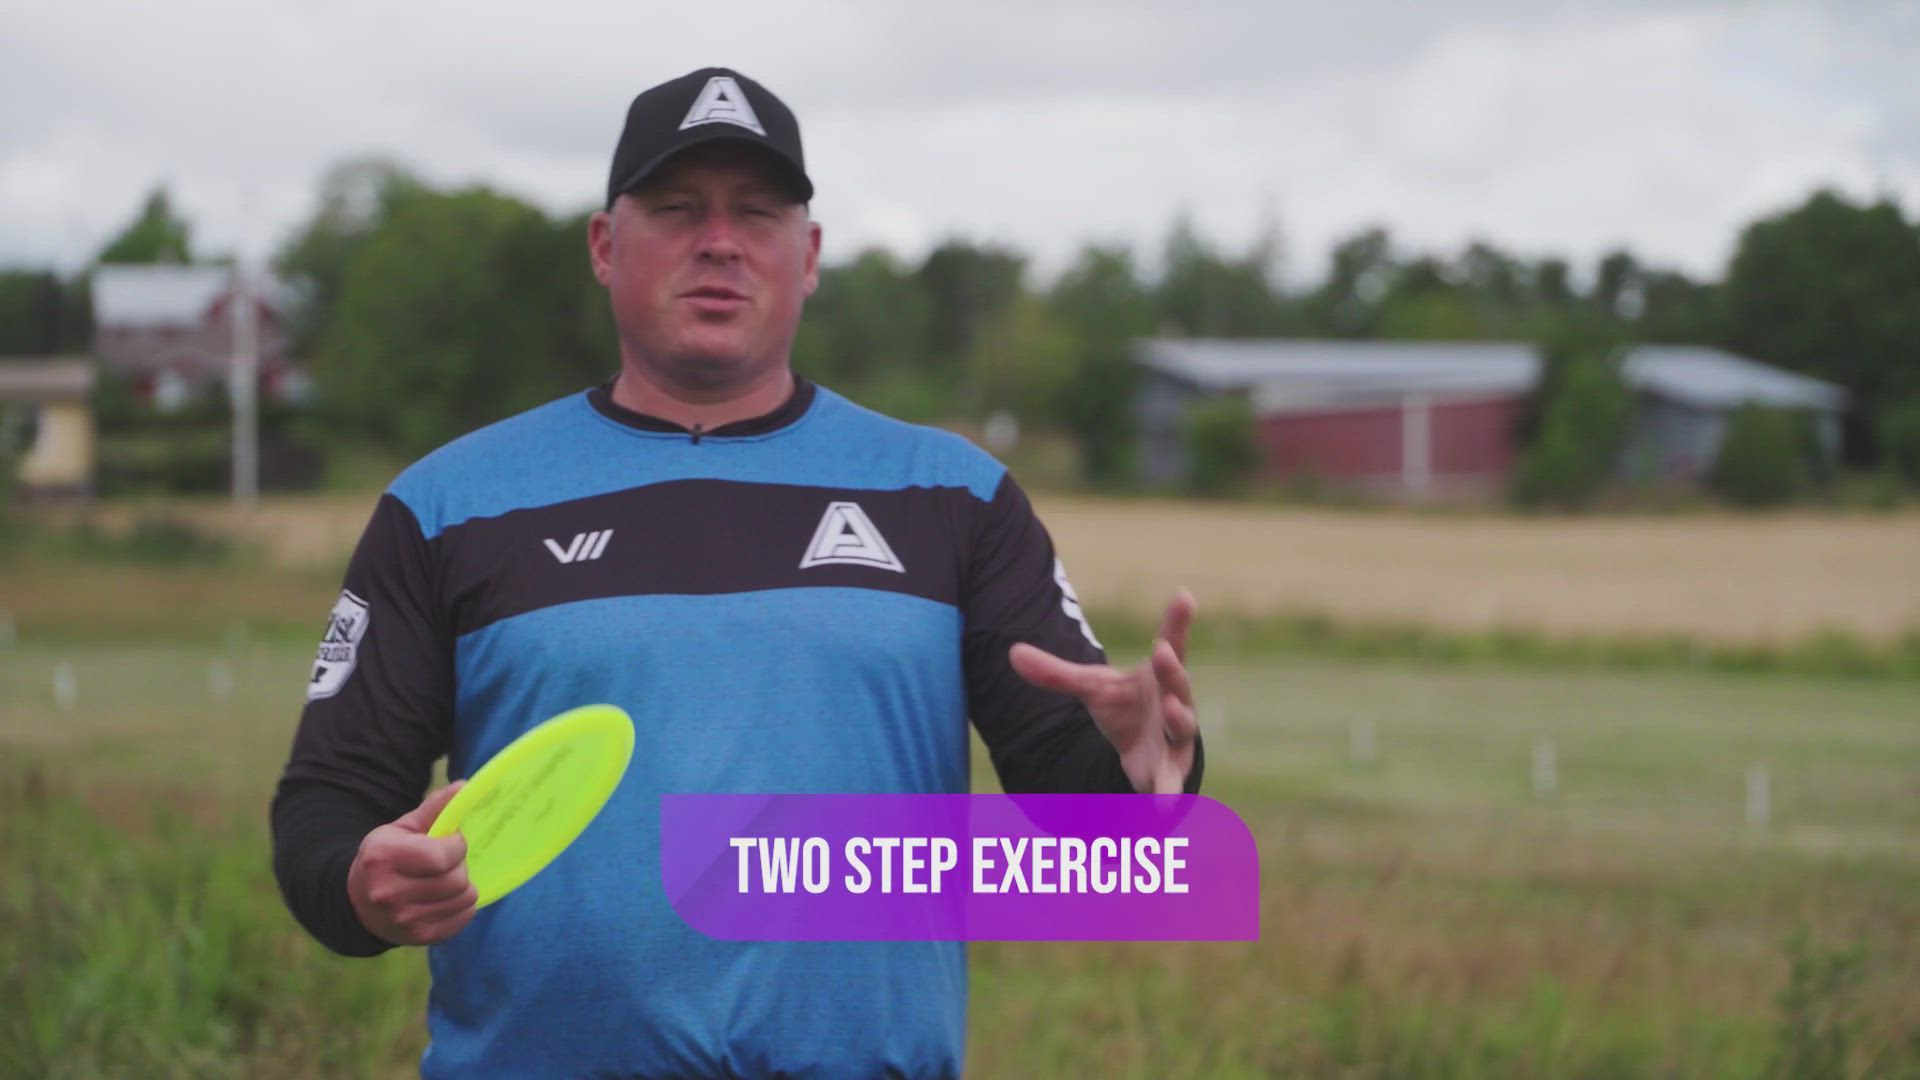
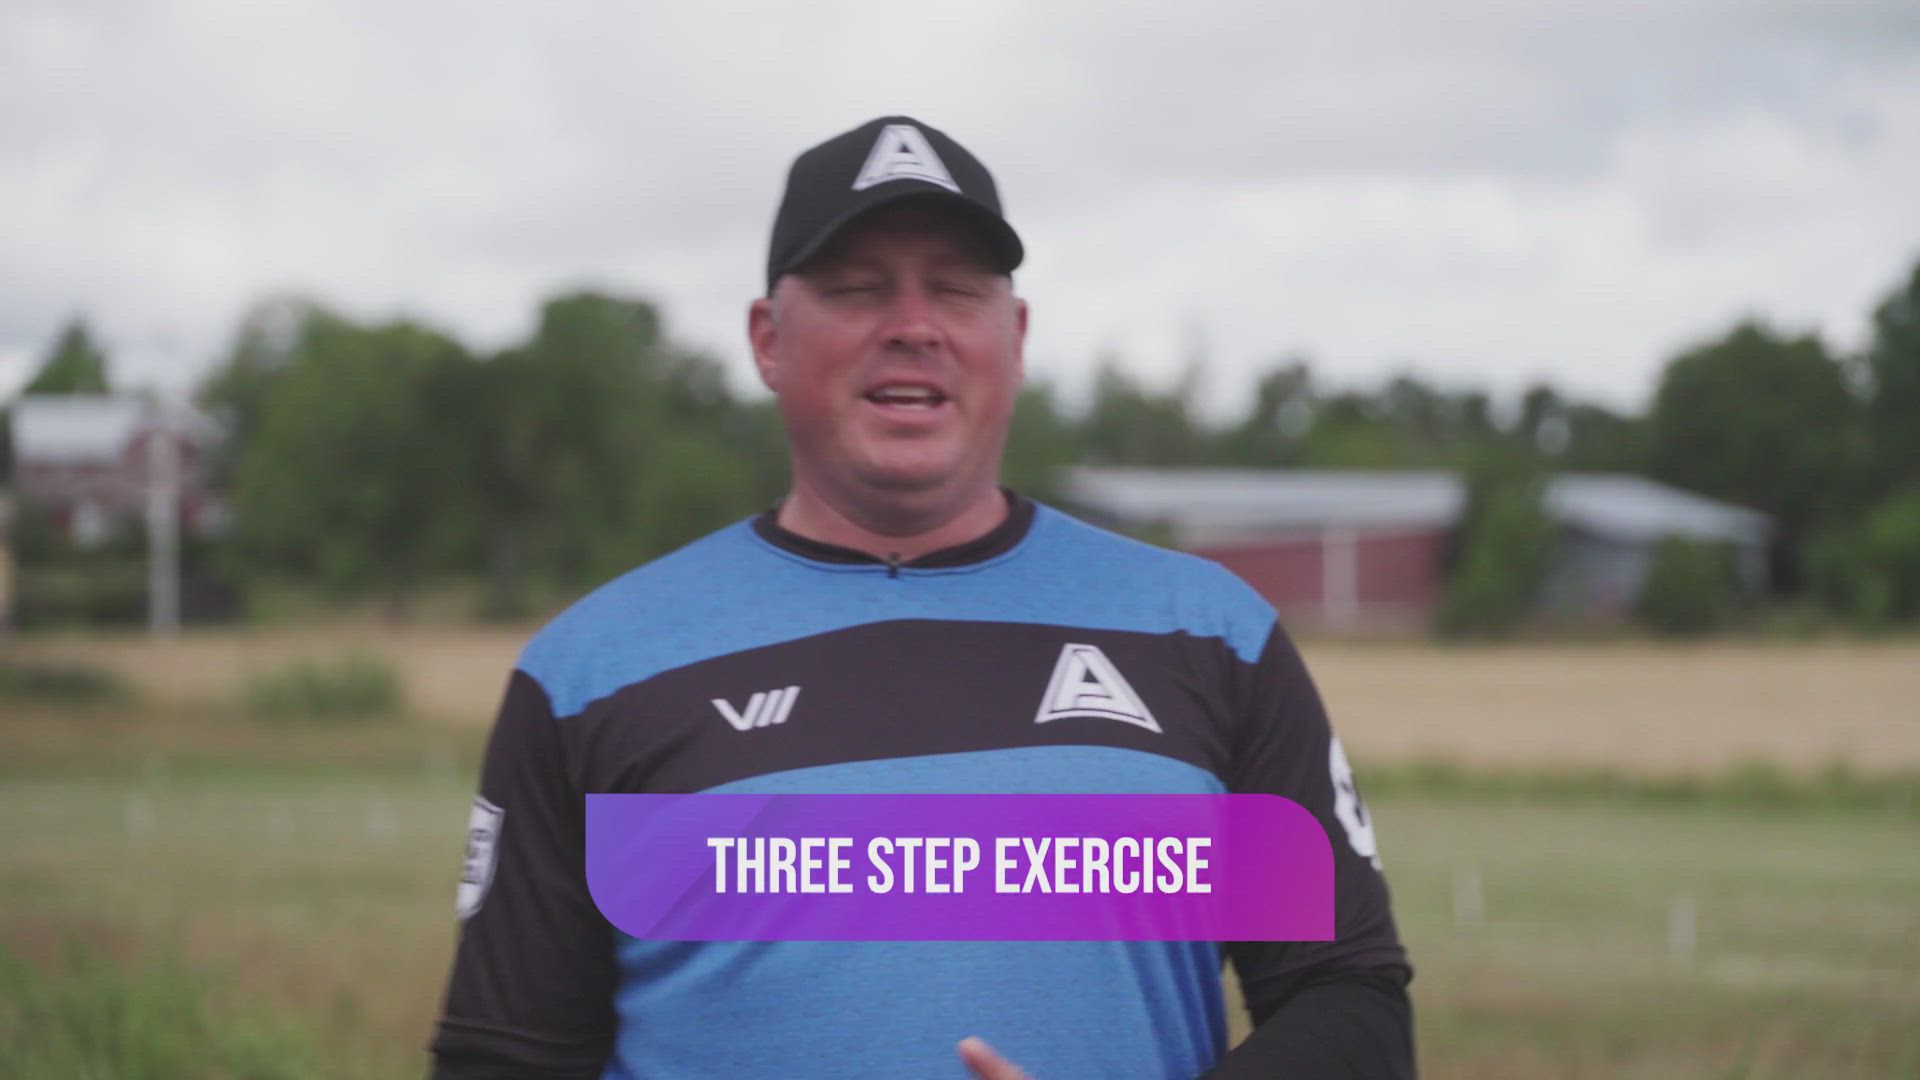
Exercise - Three step exercise
1
Exercise - Three step exercise
1
01:07
Publish date
Exercising the full three steps. Start with the lead step, then cross step and then final step and throw! Lead - Cross - Final - Step through. Rinse and repeat!
Exercise - Three step exercise
7.
Lesson - Versatility
1
Lesson - Versatility
1
00:59
Publish date
The forehand steps can be utilized in various ways. Learning these steps one by one may help you when you are on a difficult terrain with rocks and roots, or on an uneven surface where you can't throw with a full run up. Always use common sense and be safe when throwing.
Lesson - Versatility
8.
Fine tuning
3
Fine tuning
3
Publish date
Fine tuning
1.
Lesson - The alignment
1
Lesson - The alignment
1
01:23
Publish date
In this lesson, we talk about the alignment of our body for a good aim and good power production.
Lesson - The alignment
1.
Lesson - Pace and cadence
1
Lesson - Pace and cadence
1
01:18
Publish date
Talking a bit more on the timing, pace and cadence of these steps. Generally the idea is to find a good pace and the relationship in between these steps. Start slow at first and gradually increase speed.
Lesson - Pace and cadence
2.
Lesson - Rhythm
1
Lesson - Rhythm
1
01:48
Publish date
Talking a bit more on the rhythm of the steps. It is good to have a good understanding of your upper and lower body motions and the rhythm of these movements so you can replicate these motions every time.
Lesson - Rhythm
3.
Lesson - Foot rotation
1
Lesson - Foot rotation
1
00:53
Publish date
Working on the details here. Small foot rotation is good. This is not as big as in backhand drive but it is again good to rotate that foot to release the torque and tension of your body in a controlled fashion.
Lesson - Foot rotation
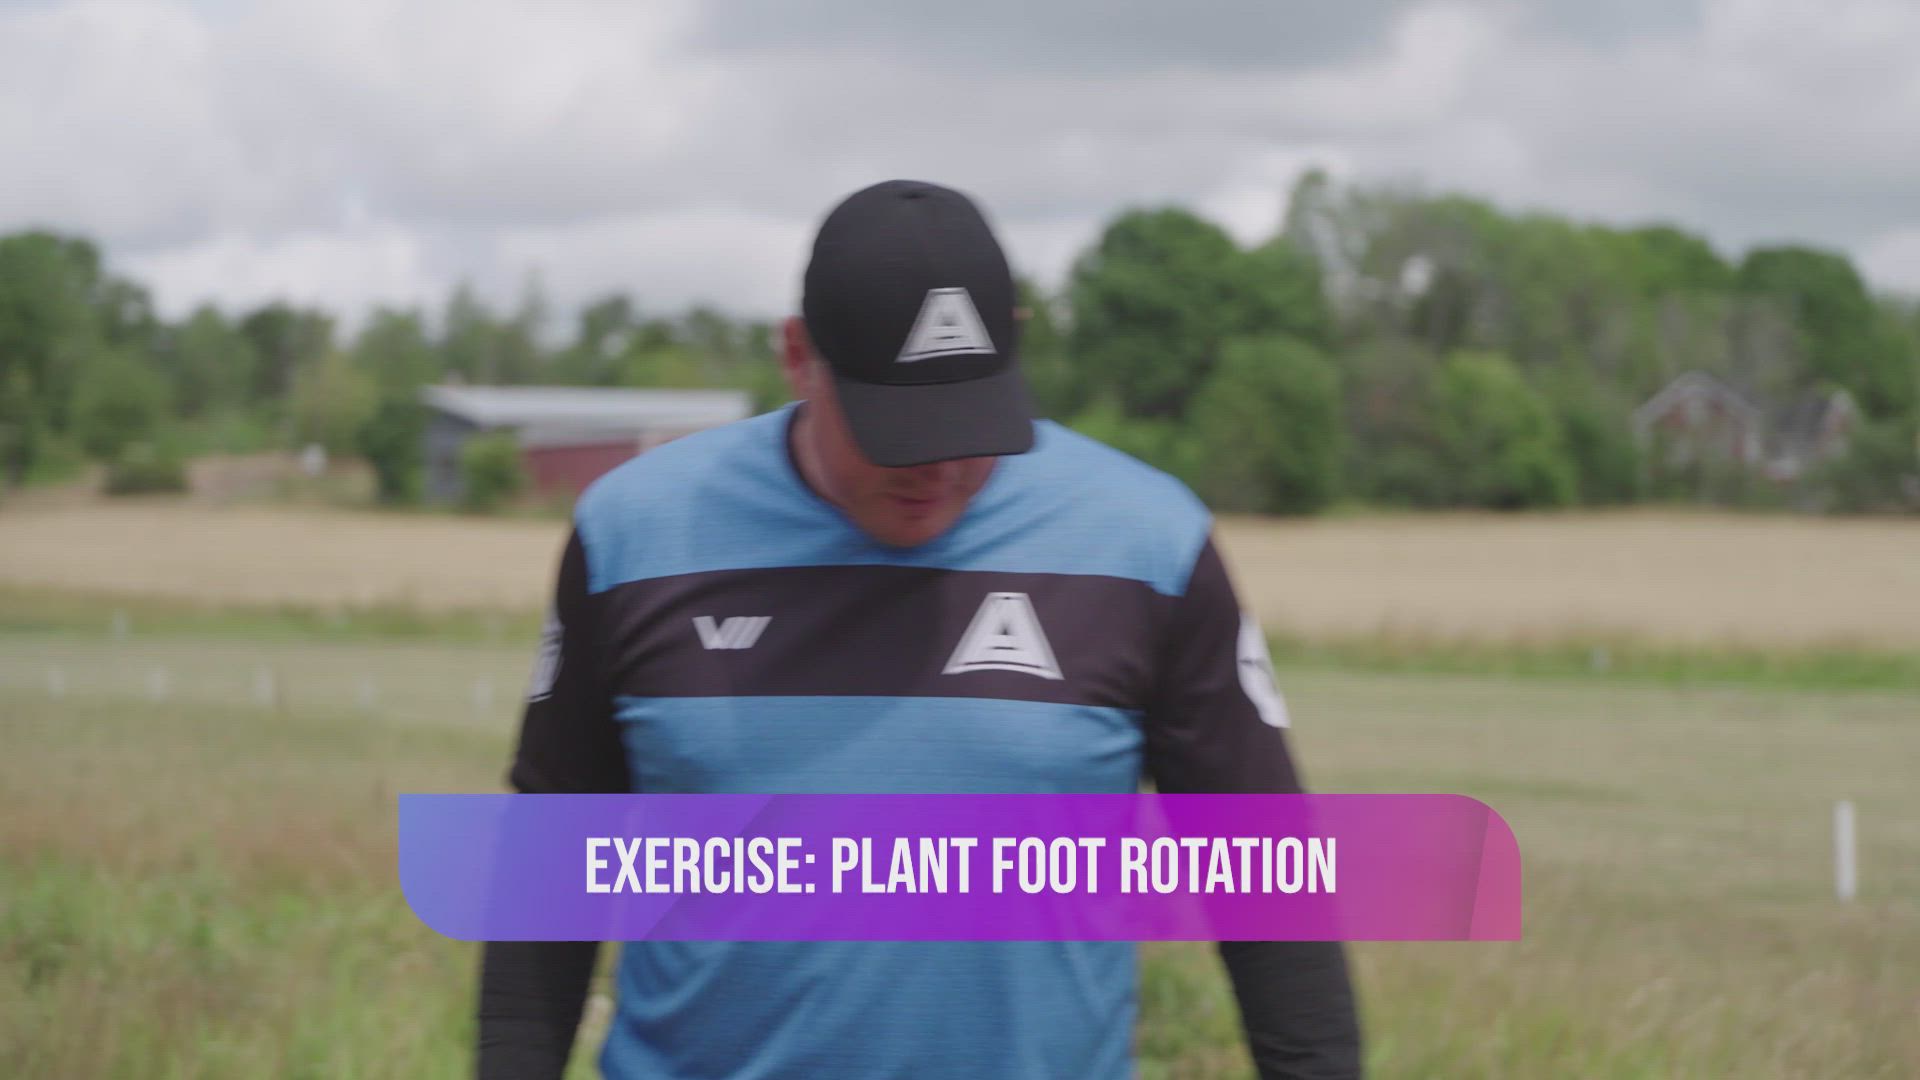
4.
Exercise - Foot rotation
1
Exercise - Foot rotation
1
01:09
Publish date
Let's drill the plant foot rotation. Very important to get a good feel for the rotation to be able to execute a smooth and accurate forehand throw.
Exercise - Foot rotation
5.
Lesson - Follow through
1
Lesson - Follow through
1
01:23
Publish date
Talking about the importance of followthrough motion. Very important detail to get the disc where you want safely without the risk of an injury.
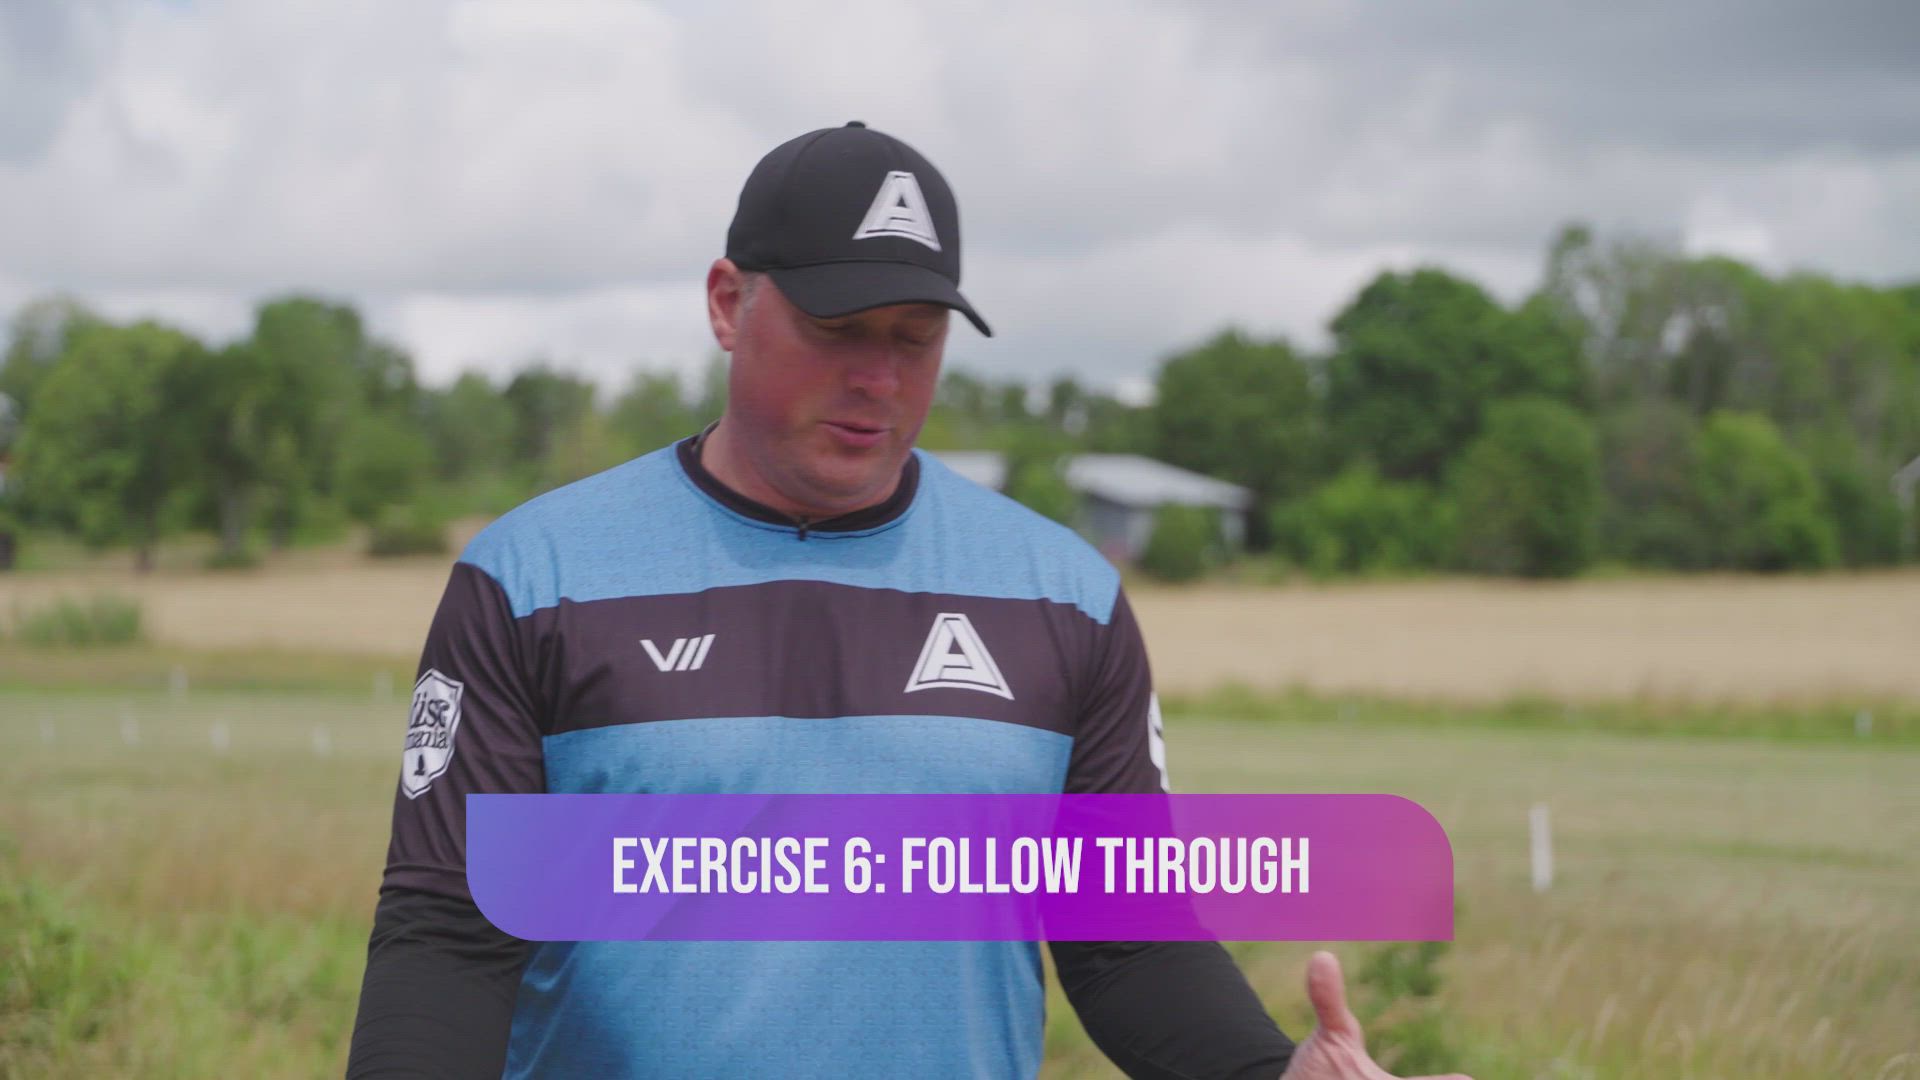
Lesson - Follow through
6.
Exercise - Follow through
1
Exercise - Follow through
1
02:05
Publish date
Practicing the motion of a follow through. Very important part especially when using steps to create more power to our throw.
Exercise - Follow through
7.
Lesson - What does the off-arm do
1
Lesson - What does the off-arm do
1
00:48
Publish date
Some details on the actions of the off-hand. You can use this movement to gain more power to your swing but they key is not to let your off-hand be in your way when practicing the basics.
Lesson - What does the off-arm do
8.
Lesson - Tips on body positioning
1
Lesson - Tips on body positioning
1
01:01
Publish date
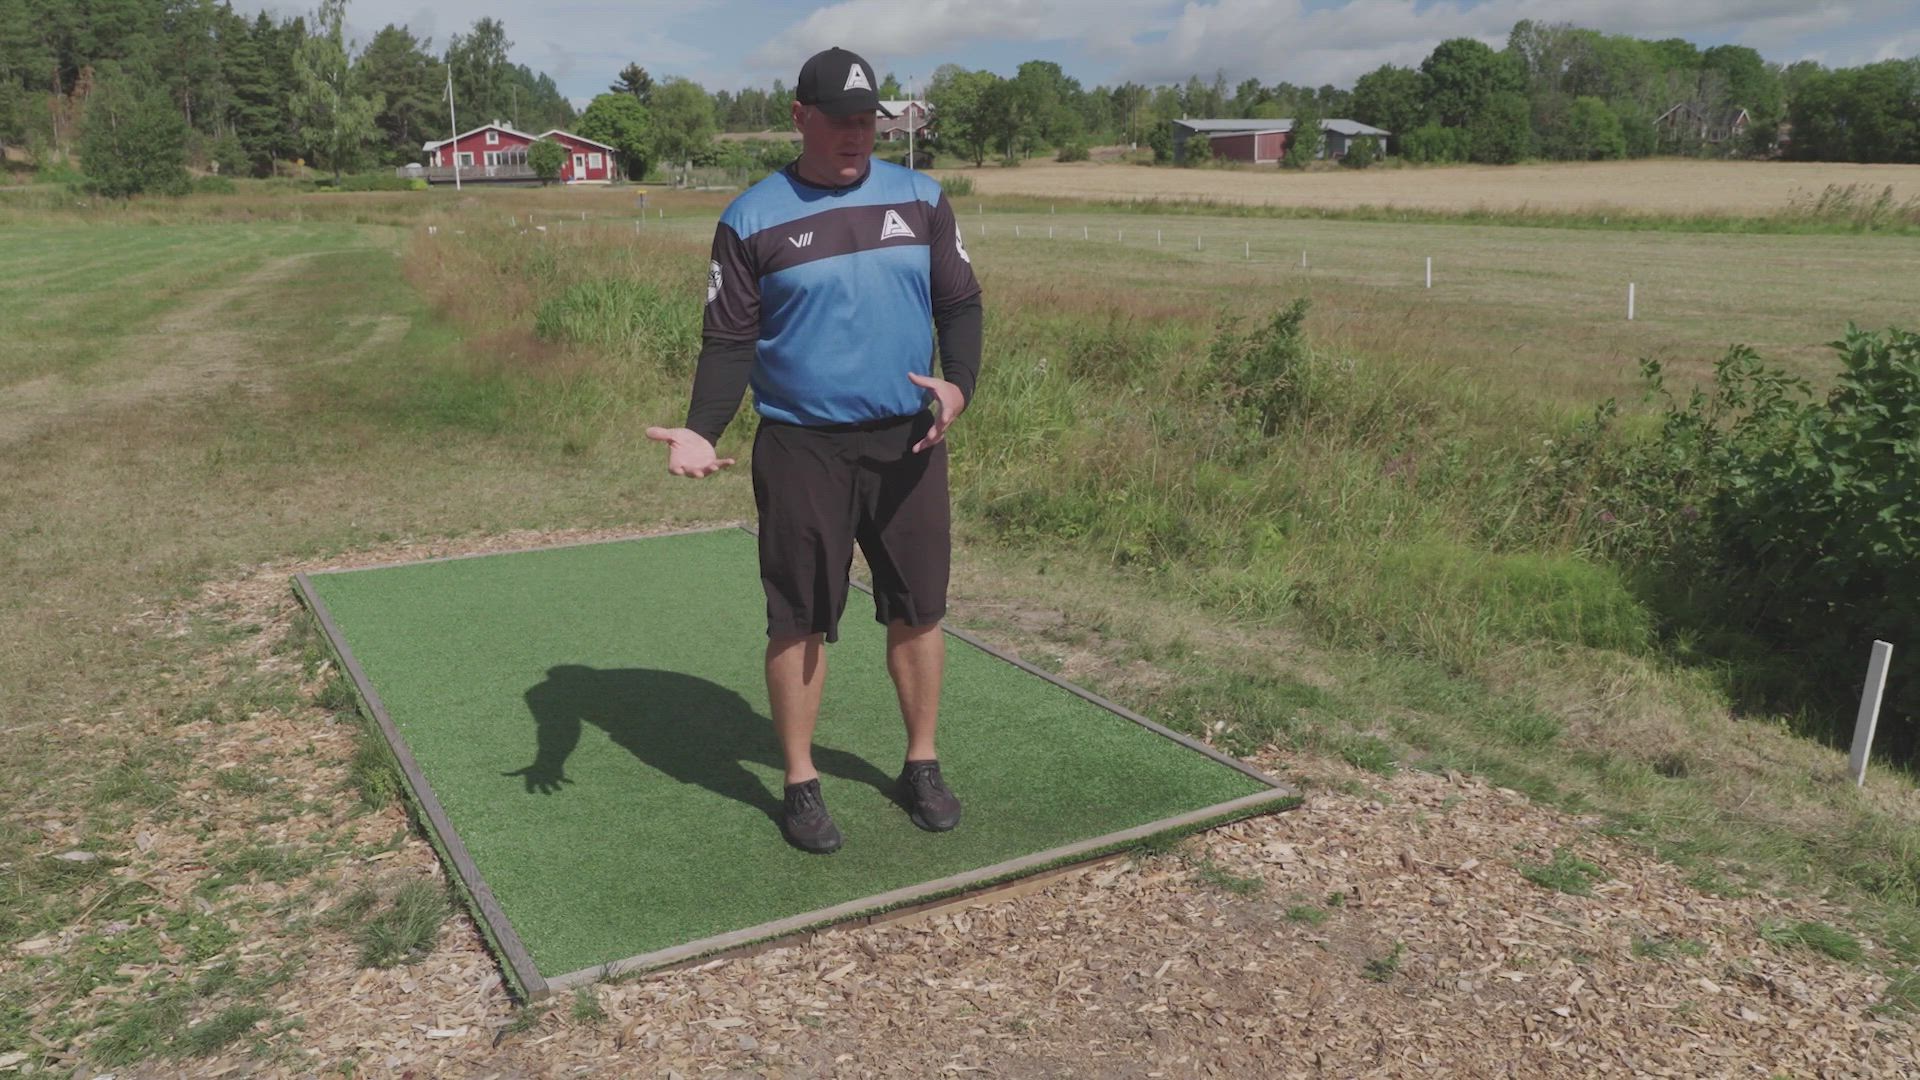
The release point of a forehand shot is much lower than a backhand throw. This is why we must bend our knees and go lower to get that good power to our disc.
Lesson - Tips on body positioning
9.
Lesson - Arm positioning
1
Lesson - Arm positioning
1
01:19
Publish date
We have almost everything set up now. One thing to talk about is where the arm is swinging during the throw. Here we see what arm motion should be like and where it is in relation to the back leg when going through the full motion of a forehand throw.
Lesson - Arm positioning
10.
Putting things together
4
Putting things together
4
Publish date
Putting things together
1.
Lesson - Putting things together
1
Lesson - Putting things together
1
01:15
Publish date
Now we assemble the whole motion of forehand steps. Very simple and very deliberate and exaggerated at first. This is to get things going when practicing the full steps.
Lesson - Putting things together
1.
Exercise - Putting things together 1
1
Exercise - Putting things together 1
1

03:06
Publish date
Building the sum of its parts. Keeping it simple and trying to remember all the small details. Take it slow, practice with a slow enough pace at first to get all the motions in place. Distance is not the thing we practice here, but the smooth and simple steps. Keep that in mind and you will learn this in a heartbeat!
Exercise - Putting things together 1
2.
Exercise - Aiming to a target
1
Exercise - Aiming to a target
1
01:18
Publish date
In this exercise we take a target and try to find the right amount of power to hit that target. You can use about anything, a flag, traffic cone, fixed target like a tree, or your bag like in this instance. Practice through repetition and you fill slowly get more comfortable with the forehand steps.
Exercise - Aiming to a target
3.
You might also like
Frequently Asked Questions (FAQ)
Add a Title