
CHECK OUT OUR FREE BEGINNER COURSE

Kurssi info
Kurssi info
In the course you learn:
Characteristics of a putter
Grip styles
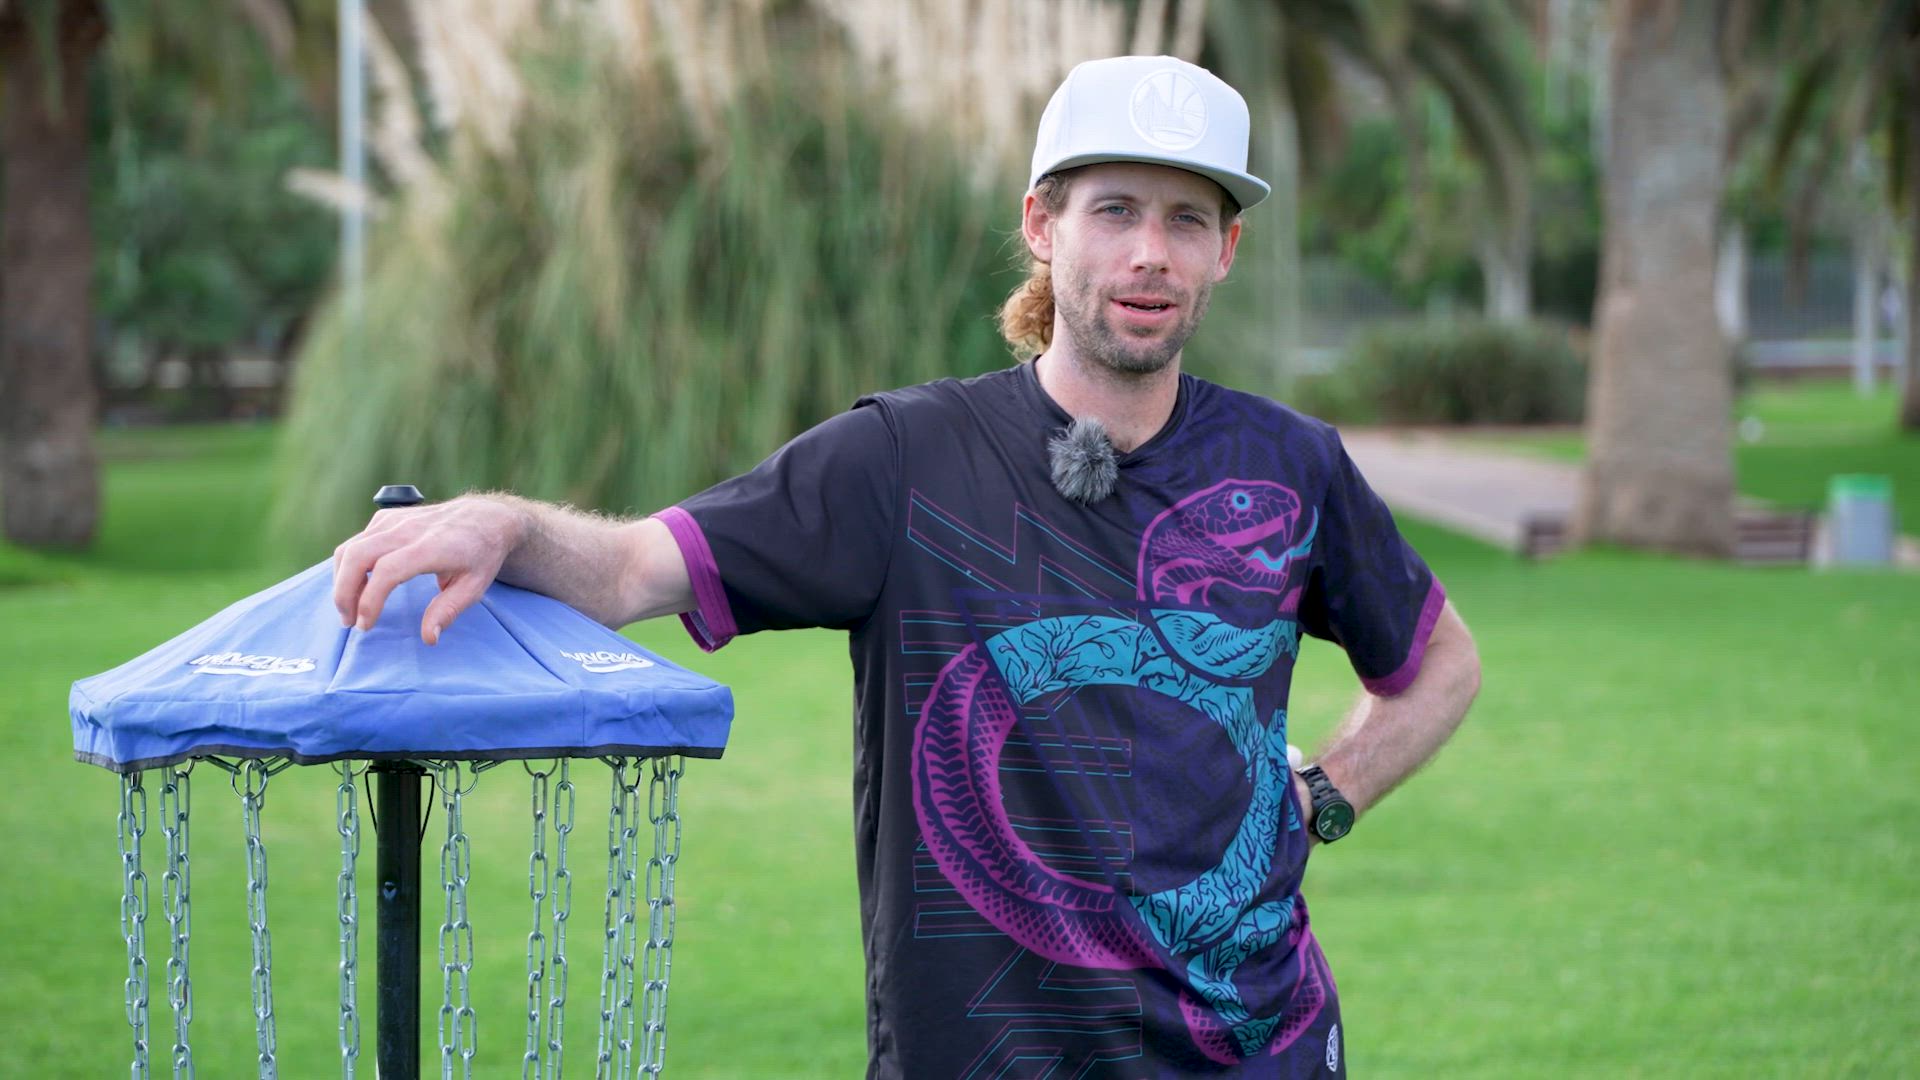
All about the basket
Putting stances
Deepen your knowledge of putting
Fine-tune your own putting technique
Putting is where rounds are saved and tournaments are won. This course is a deep, structured course designed to help you build a reliable, confident putting game by truly understanding the tools, angles, and mechanics behind elite-level putting.
Guided by touring professional Matt Bell, this course goes far beyond basic form. You will learn how different putters behave, how stability and design affect flight, and how to choose the right tool for your putting style and the situation in front of you.
A major focus of the course is angle control. You will explore flat, hyzer, anhyzer, nose-up, and nose-down putting, and learn how each angle changes flight, consistency, and risk. Through detailed explanations and practical exercises, you will develop a deeper feel for how rotation, wing angle, and release work together to keep the disc on line.
The course also breaks down the most common putting styles, including push putting, spin putting, and hybrid techniques. You will learn how stance, balance, head position, and lower-body engagement influence accuracy and repeatability, and how to build a stable foundation you can trust under pressure.
Beyond mechanics, this course helps you develop awareness and control and you will find your natural putting stance.
This course is upcoming. Next Update will Be IN
Be sure to come back. In the Meantime, see our other courses!
Lessons
Introduction to Advanced Putting
1
Introduction to Advanced Putting
1

Publish date
Introduction to Advanced Putting
1.
Introduction
1
Introduction
1
02:27
Publish date
Welcome to the Advanced Putting! Here our touring pro Matt Bell tells us a little bit about the tools and the target we use to play our beloved sport of disc golf.
Introduction
1.
Characteristics of a putter
2
Characteristics of a putter
2
Publish date
Characteristics of a putter
1.
Introduction to characteristics of a putter
1
Introduction to characteristics of a putter
1
00:23
Publish date
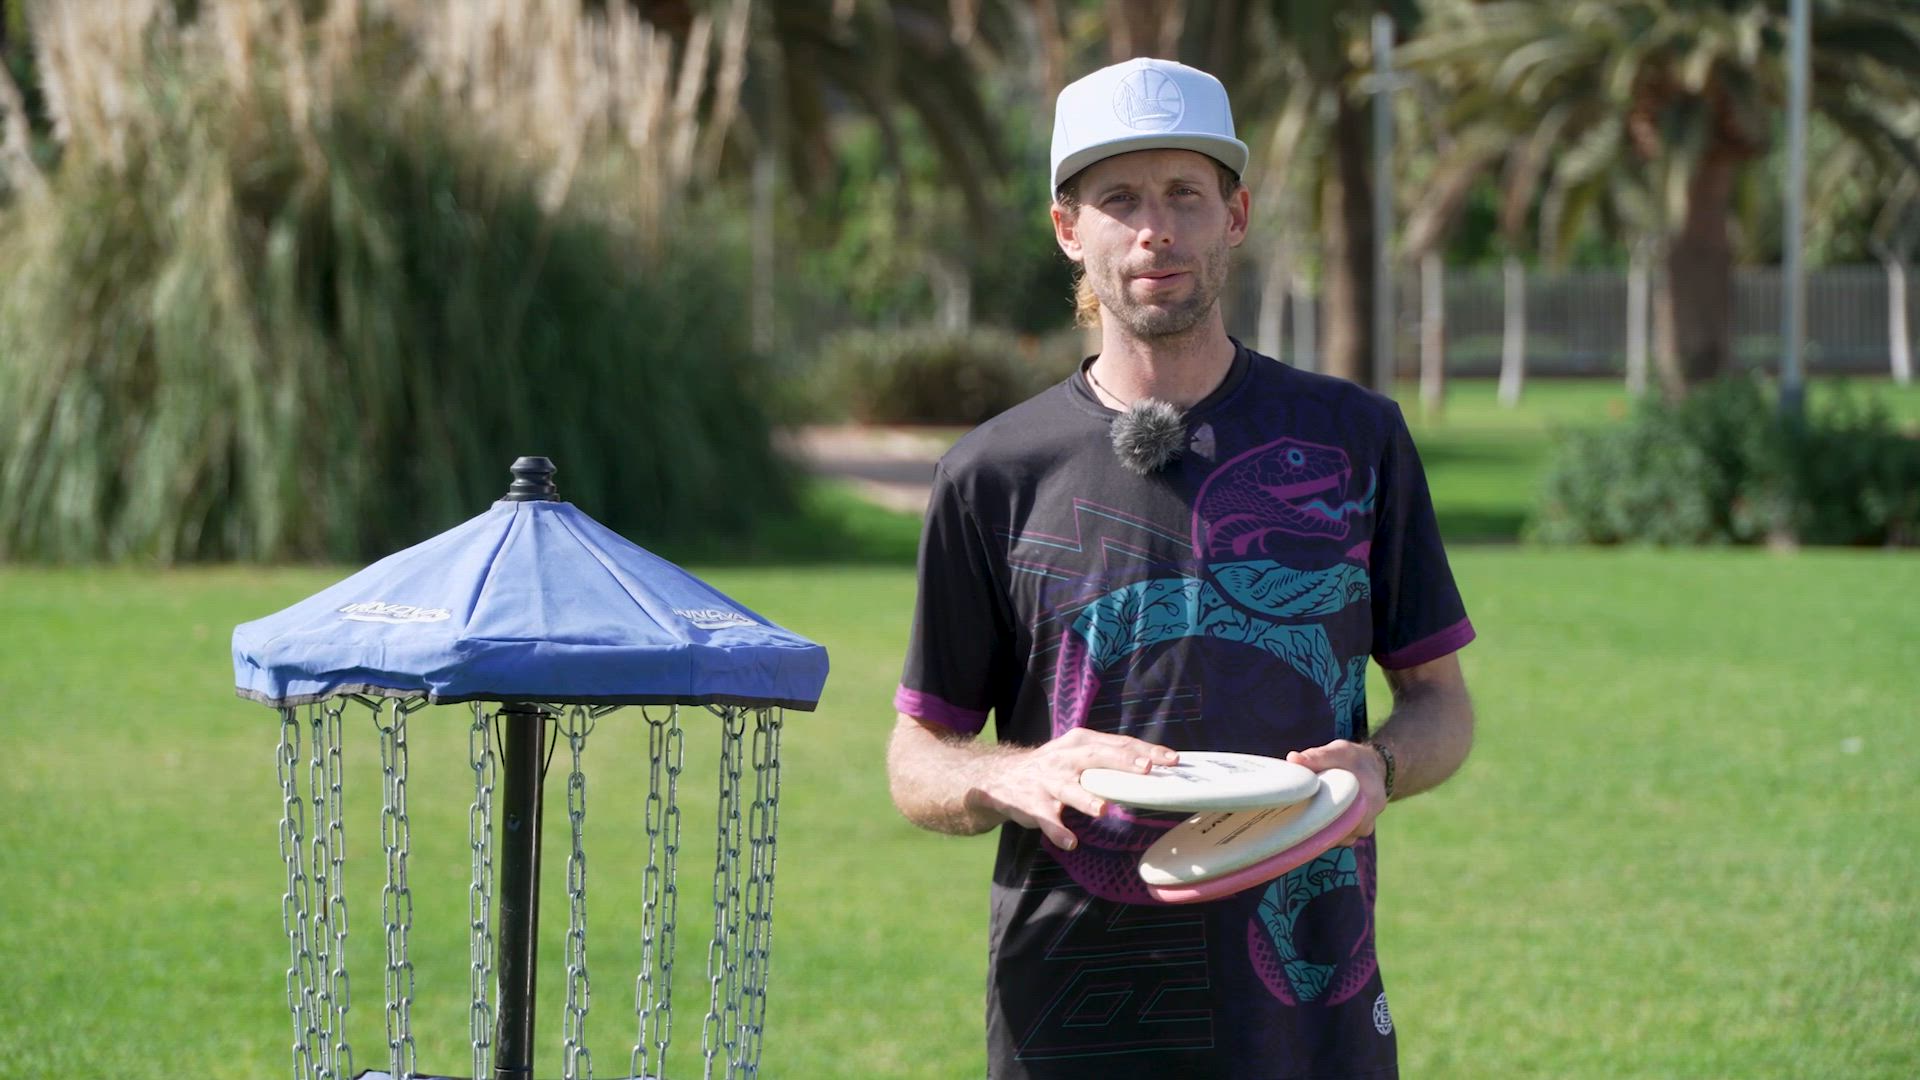
In this segment we will talk about the different characteristics of a putter. We will go through some of the terms and definitions when talking about putters so we know we are talking about the same things.
Introduction to characteristics of a putter
1.
Lesson - Angle manipulation
1
Lesson - Angle manipulation
1

00:52
Publish date
A quick side note on what we mean by angle manipulation before we start to talk about the different tools of putting.
Lesson - Angle manipulation
2.
Lesson - Overstable putters
1
Lesson - Overstable putters
1
01:51
Publish date
Overstable putters are just what it says on the tin: turns left, less glide. They are most resistant to outside forces of friction and inertia. They also are most forgiving, but at the same time least controllable without proper force. Overstable putters are typically built bulky to induce drag and quicker fade.
Lesson - Overstable putters
3.
Lesson - Understable putters
1
Lesson - Understable putters
1

02:53
Publish date
Understable putters offer more glide and less fade at low speeds than other putters. Glide, speed and fade speed(stalling) will resist fading until the end of flight. Angular momentum will lift the opposing wing from the hand up at high speed and high spin rates. Understable putters are typically built slimmer to reduce drag and fade. Very useful to "flip flat and fly straight" -type of throws.
Lesson - Understable putters
4.
Lesson - Neutral putters
1
Lesson - Neutral putters
1
02:00
Publish date
Neutral or stable putters fall right in the middle of the two previous ones. Maximum glide minimal turn or fade at low speeds. In high speeds they also resist fading or turning. Can be used to Flip flat fly straight.
Lesson - Neutral putters
5.
Lesson - Putters with a bead
1
Lesson - Putters with a bead
1
01:37
Publish date
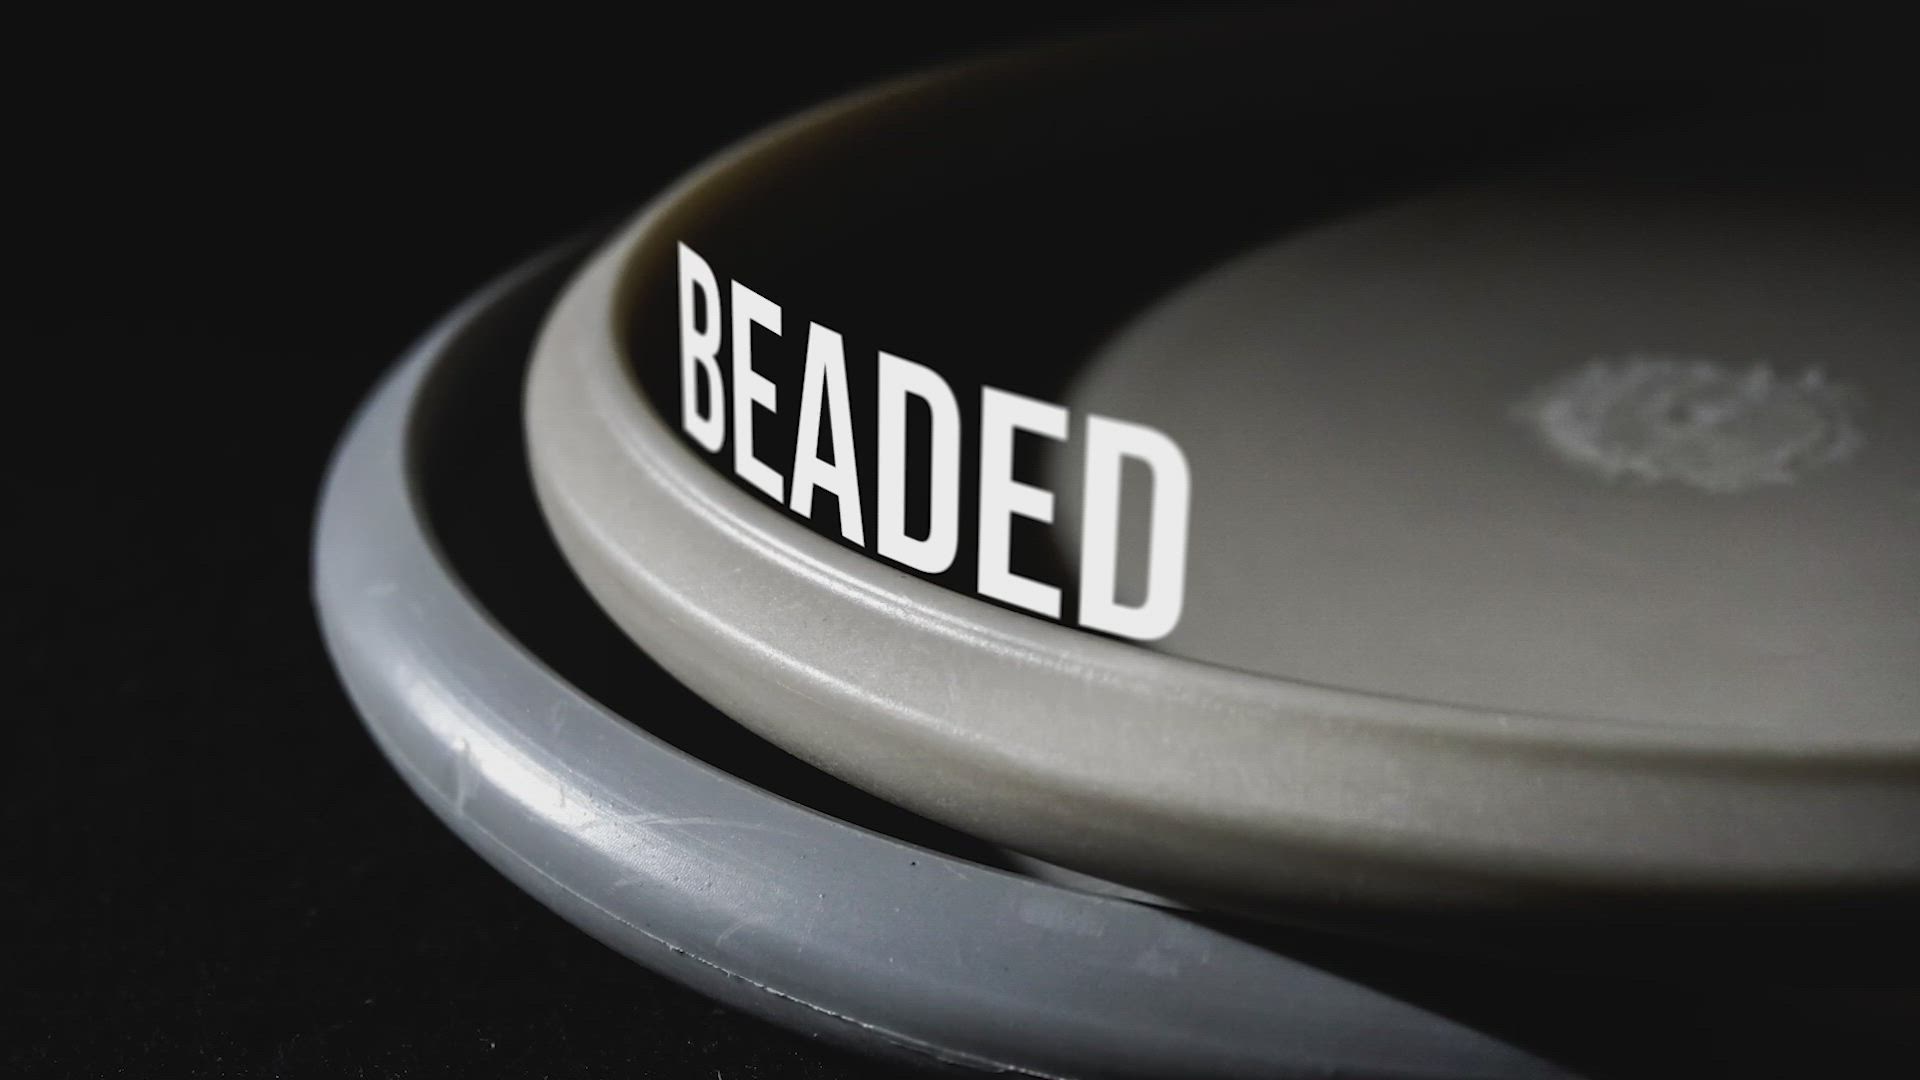
What is a bead and how does it affect the grip and the flight.
Lesson - Putters with a bead
6.
Lesson - Putters without a bead
1
Lesson - Putters without a bead
1
00:48
Publish date
What does a beadles putter look like. How does the beadlessness affect the flight compared to the beaded putter?
Lesson - Putters without a bead
7.
Lesson - Beadless vs. beaded putters
1
Lesson - Beadless vs. beaded putters
1
01:24
Publish date
Beadless putters tend to be neutral to understable. Beaded putters add bulk and weight to the putter's outer edge making them more stable to overstable. Depending on your grip and hand size one will feel more comfortable than the other. The bead was designed for a more consistent grip.
Lesson - Beadless vs. beaded putters
8.
Lesson - Basic grip
1
Lesson - Basic grip
1
04:27
Publish date
Where to grip and how hard to grip. Here we discuss the grips for different angles and types of putts. We talk about the forefinger on the inside vs. on the outside of the rim. The grip also affects the motion of putting so we talk a little bit about brushing the flight plate vs. pulling or pushing.
Lesson - Basic grip
9.
Exercise - Basic grip
1
Exercise - Basic grip
1
01:04
Publish date
In this exercise Matt Bell walks you through the basic way to take hold of a disc.
Exercise - Basic grip
10.
Putting styles and the target
3
Putting styles and the target
3
Publish date
Putting styles and the target
1.
Introduction to putting styles
1
Introduction to putting styles
1
00:16
Publish date
In this section, we are discussing different styles of putting.
Introduction to putting styles
1.
Lesson - Push putt / Shovel putt
1
Lesson - Push putt / Shovel putt
1
01:34
Publish date
This is the least risky approach to the basket. It creates an arching flight for optimal approach speed and angle to the target. Very small risk for "3-putting". This is because the natural arc or the flight doesn't allow the disc to fly very far past the basket should you ever miss.
Lesson - Push putt / Shovel putt
2.
Lesson - Spin Putt
1
Lesson - Spin Putt
1
02:44
Publish date
Spin putt style offers higher rewards with the higher risk involved. When it's working it’s the best way to putt in Matt Bell's opinion. Wind affects spin putting the least. It also involved less guesswork on angles than other putting styles, but it also creates the most "3 putt" situations.
Lesson - Spin Putt
3.
Lesson - Hybrid / Anhyzer putting
1
Lesson - Hybrid / Anhyzer putting
1
01:56
Publish date
The style that has the best of both worlds. There is more spin than pop with this style. If you don’t overpower the putter it will fly very straight on every angle. Creating a full flight for the disc to keep the angle neutral and flat at the end. This style is very effective for safely running putts with spin and minimal risk.
Lesson - Hybrid / Anhyzer putting
4.
Lesson - Stance
1
Lesson - Stance
1
04:09
Publish date
First we build a solid foundation to be able to line up your hips and shoulders level with the target. Make sure you are able to move back and forth without leaning forward or side to side too much, you want to be able to keep this consistent at any distance.
So here we go through again the two most used stances: straddle stance and staggered stance. The basics of these stances are already in the basic putting course, but it is good to go through them again just for reminder, and get Matt Bell's take on the subject.
Lesson - Stance
5.
Lesson - Additional notes on the stance
1
Lesson - Additional notes on the stance
1
01:10
Publish date
Talking a bit more on the use of the stance and use of the legs when putting.
Lesson - Additional notes on the stance
6.
Exercise - Stance
1
Exercise - Stance
1
03:03
Publish date
Talking about how to build our stance and repeating the key points to make them a habit. We also have some good exercises to make your stance solid so we can concentrate on the putt and not the legs so much when we putt.
Exercise - Stance
7.
Lesson - Portable basket
1
Lesson - Portable basket
1
00:45
Publish date
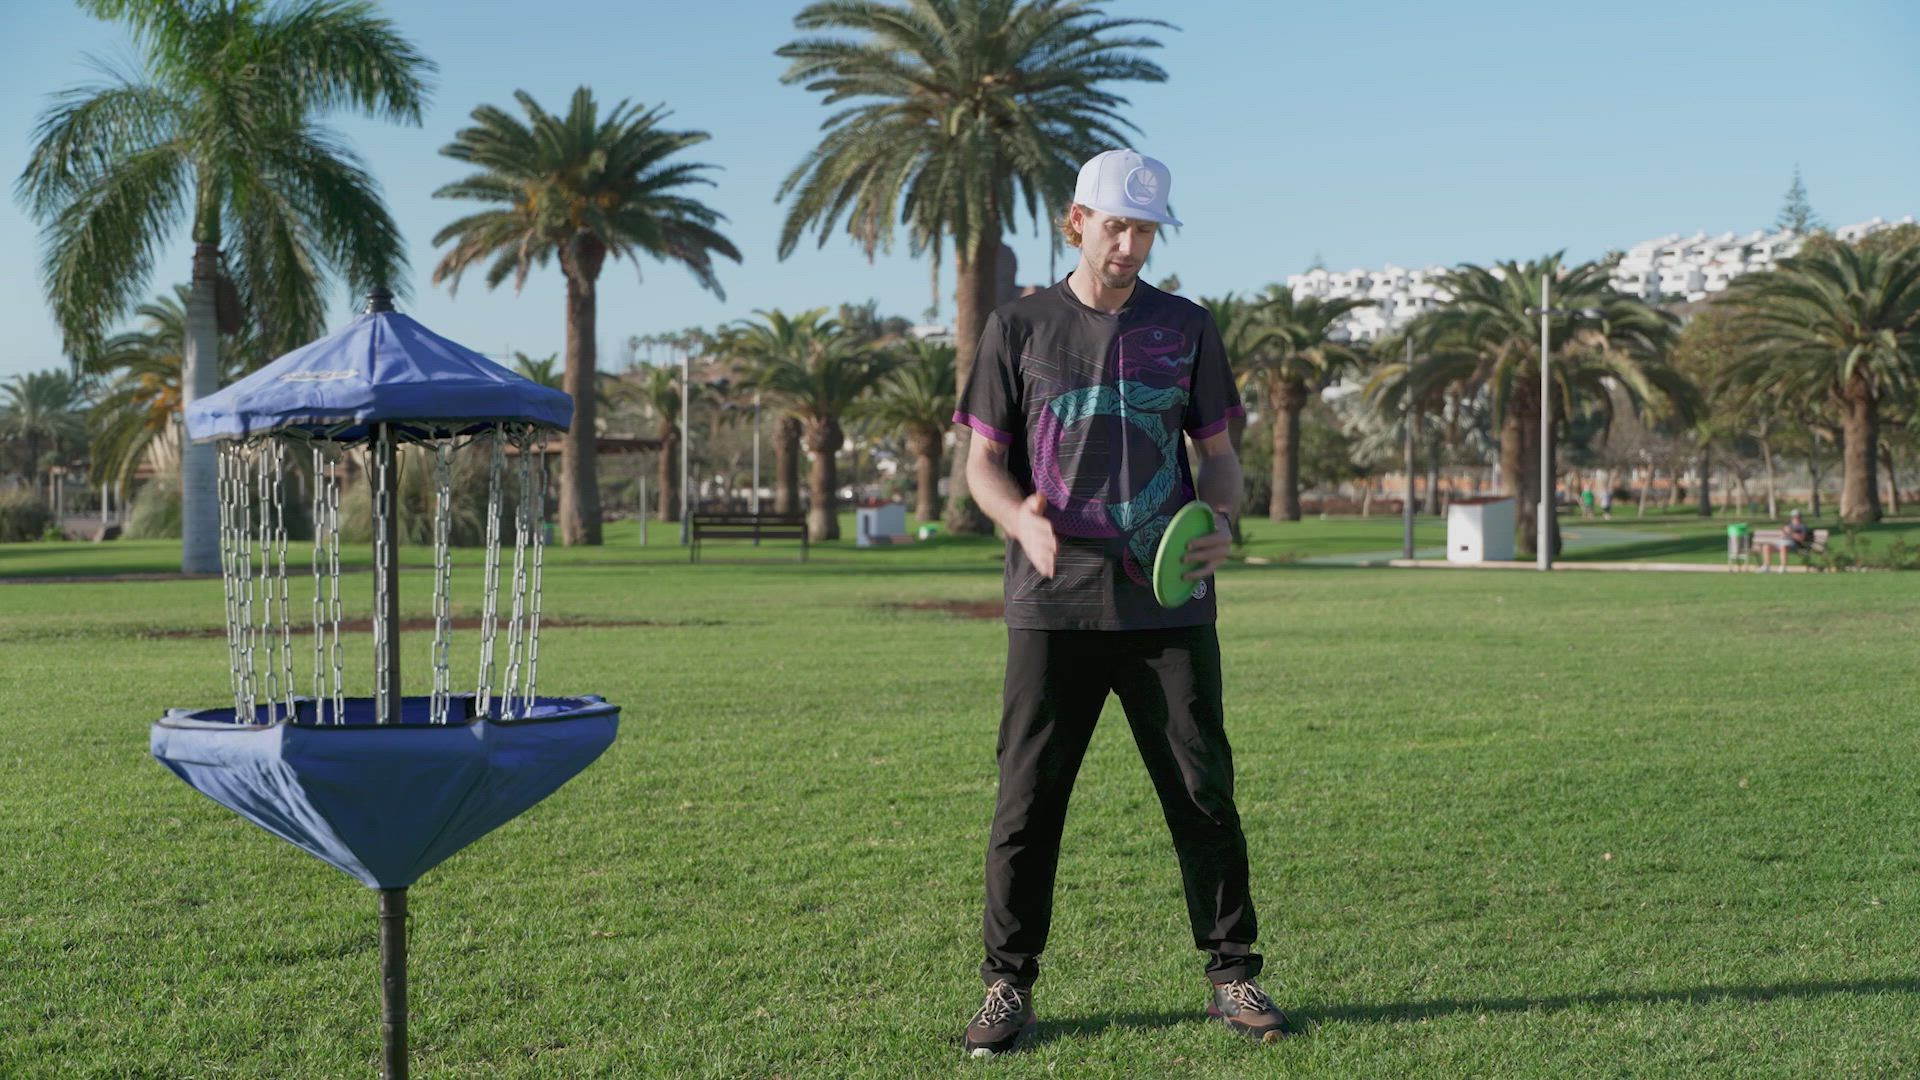
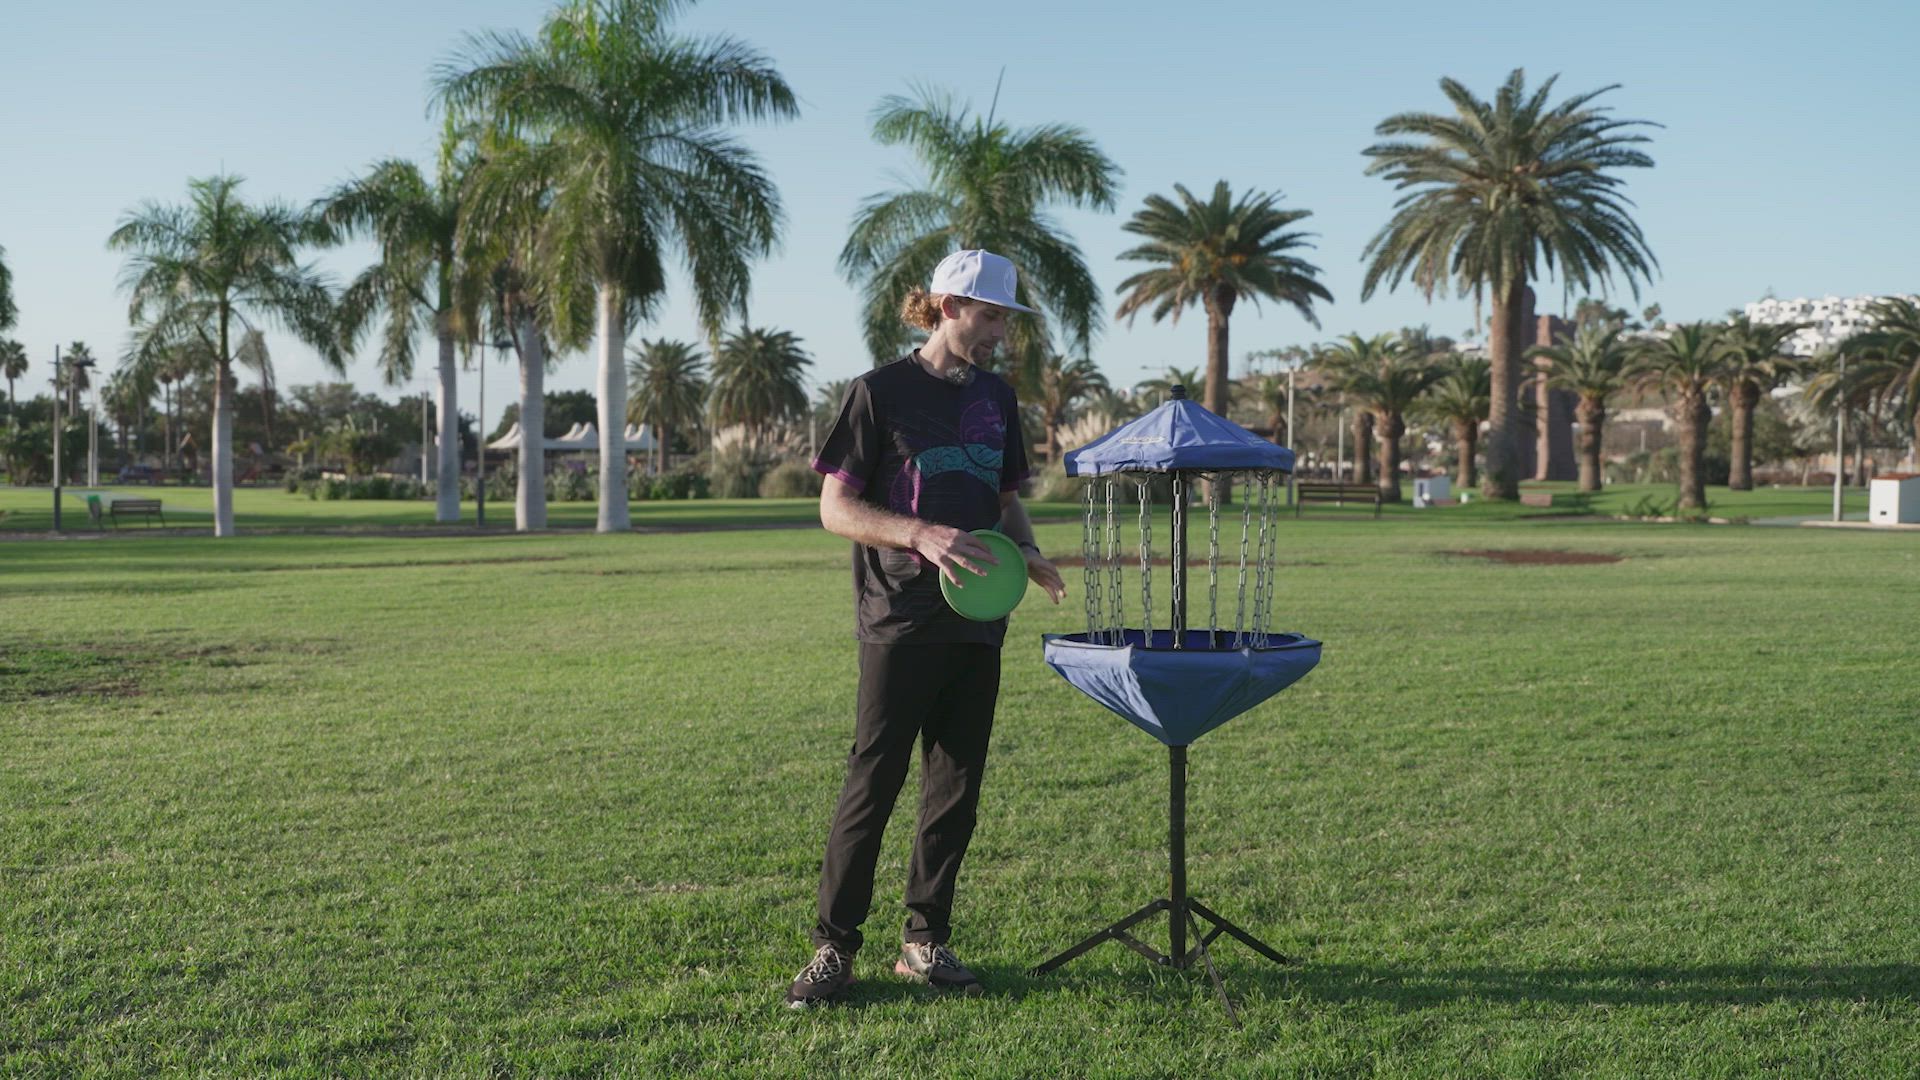
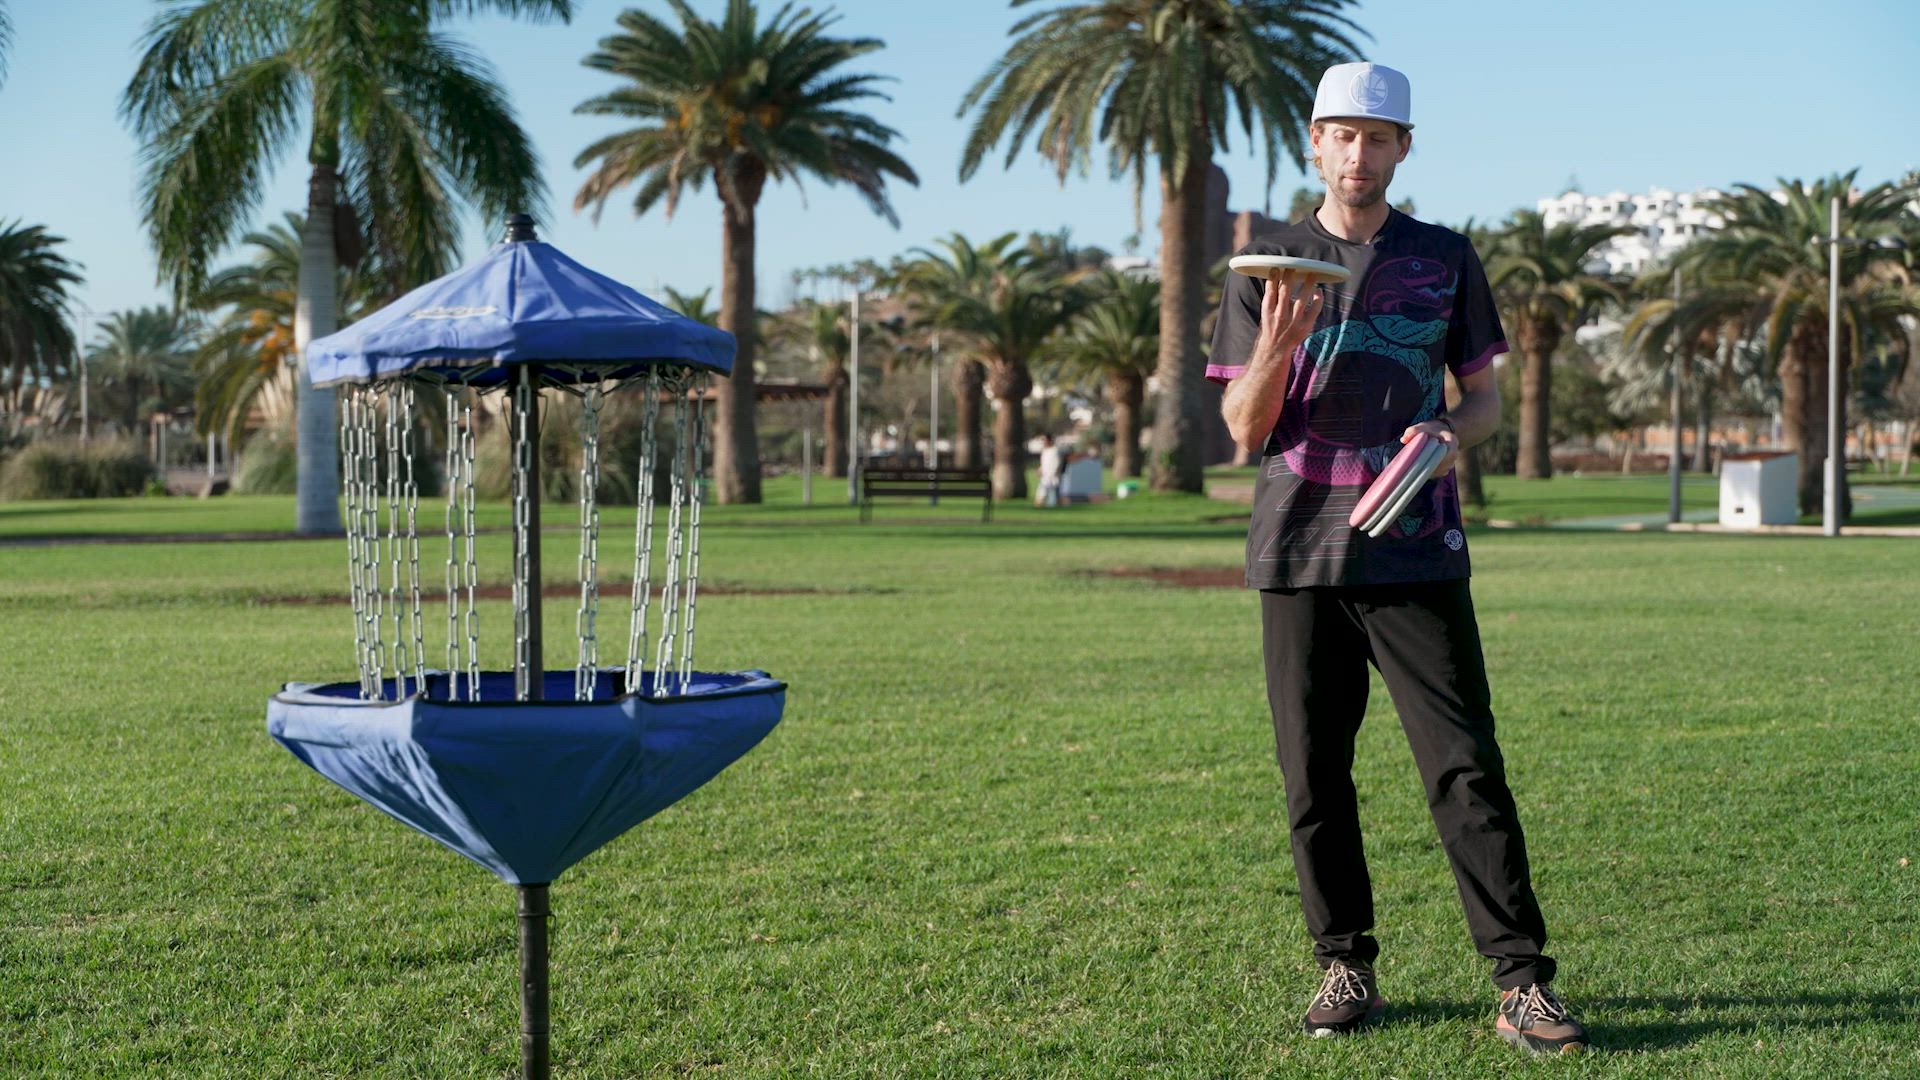
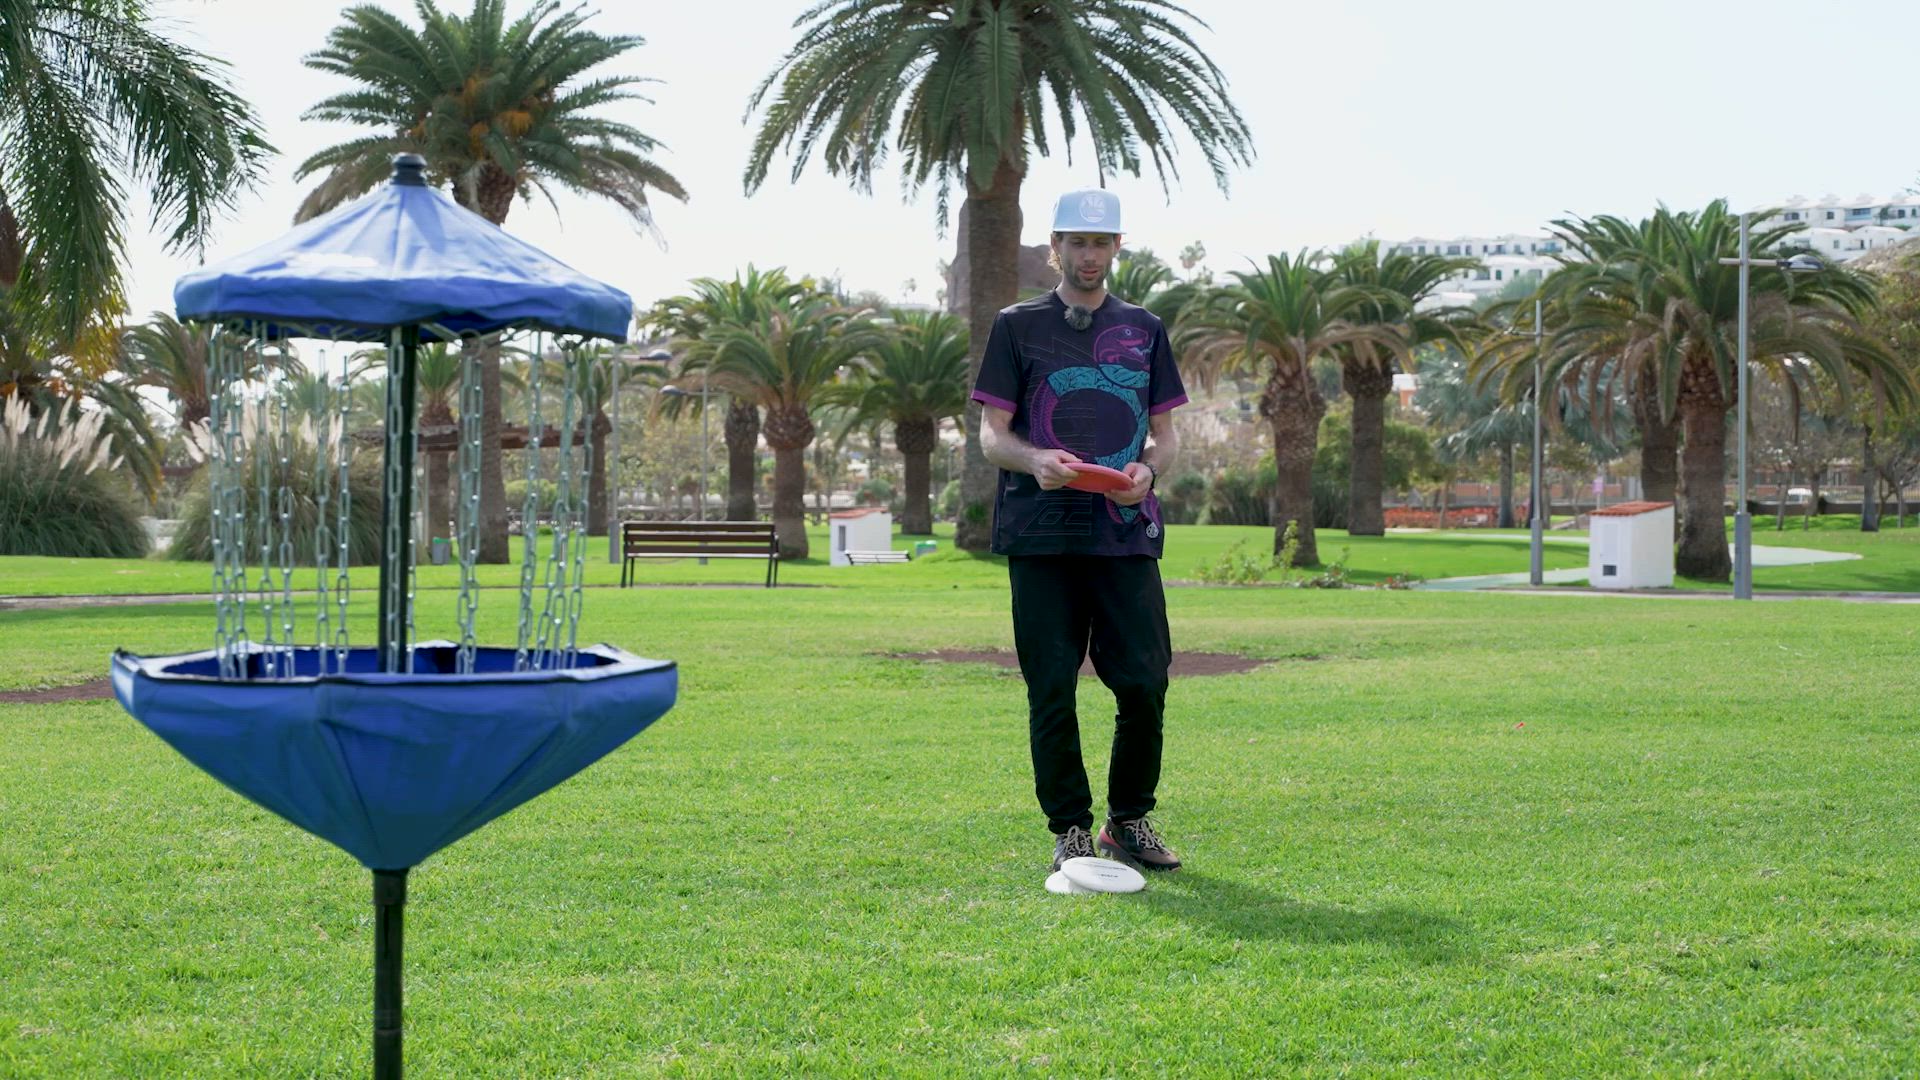
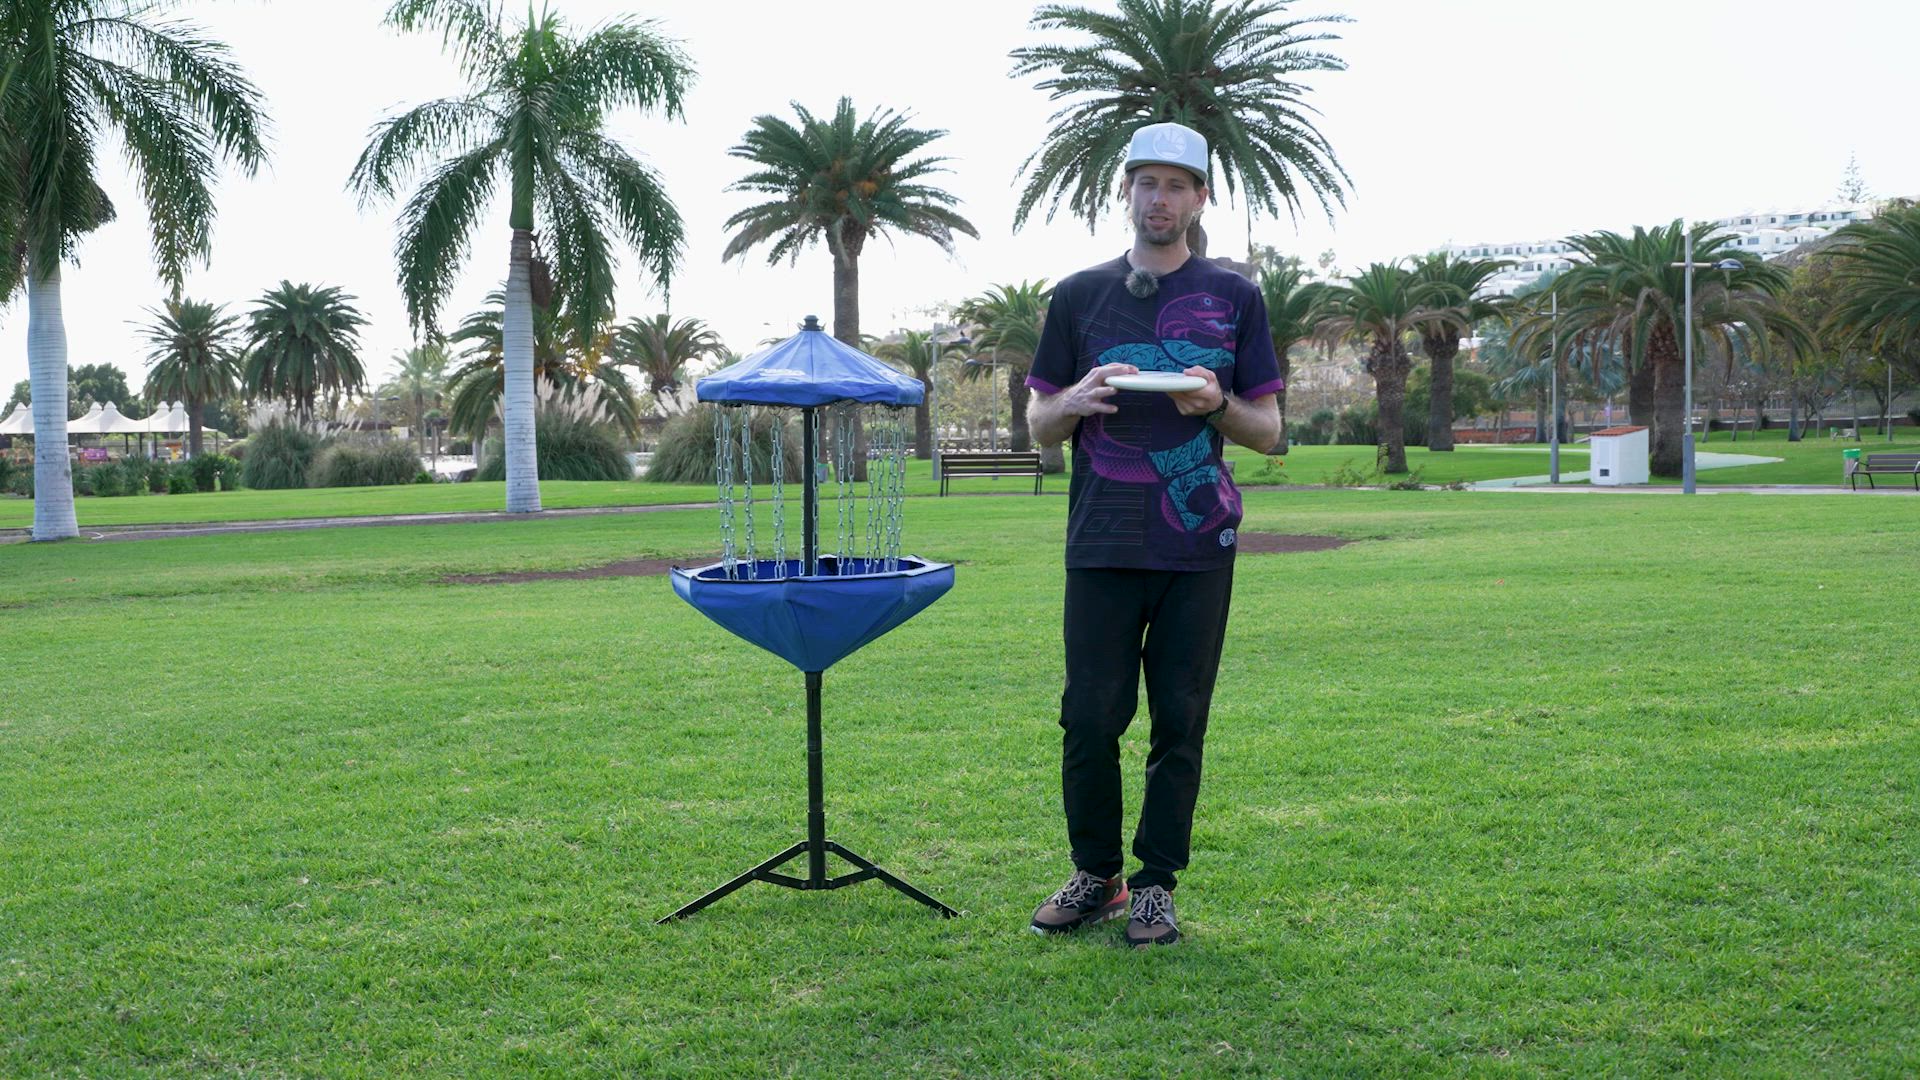
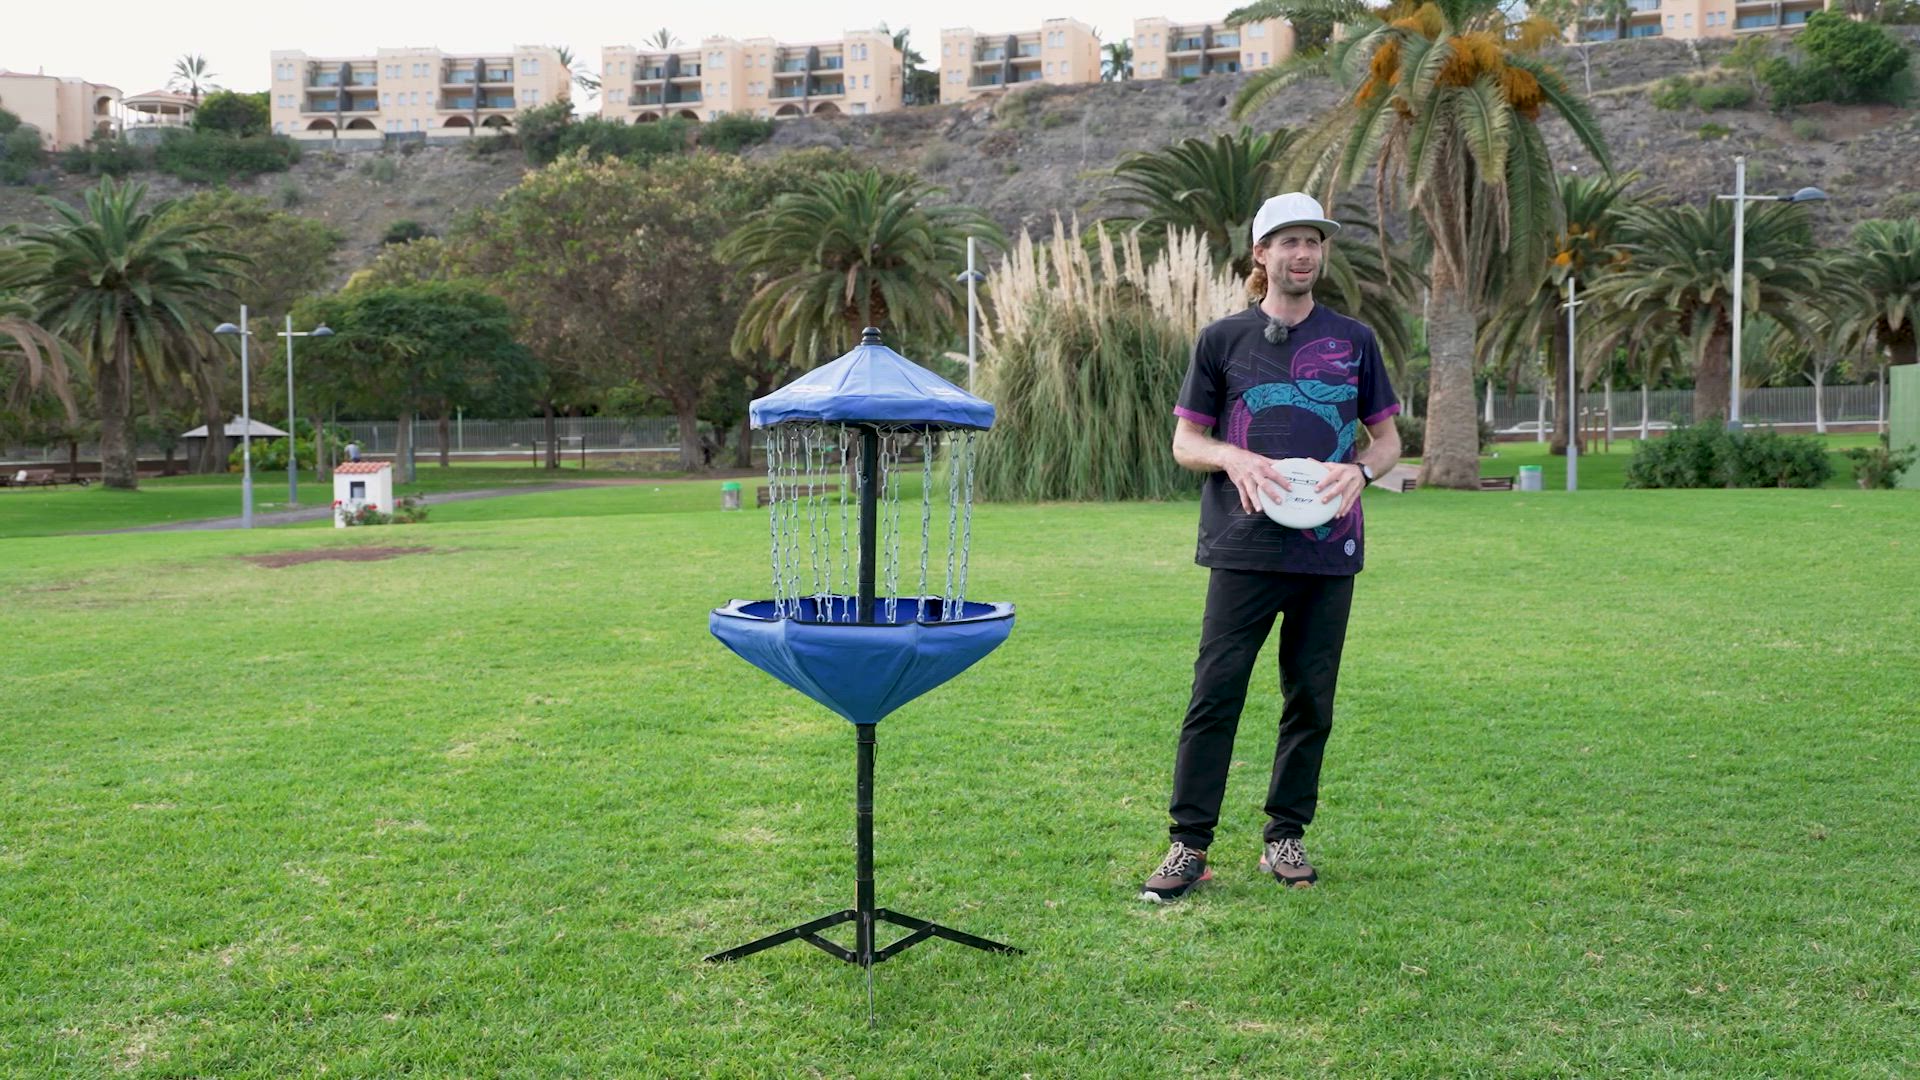
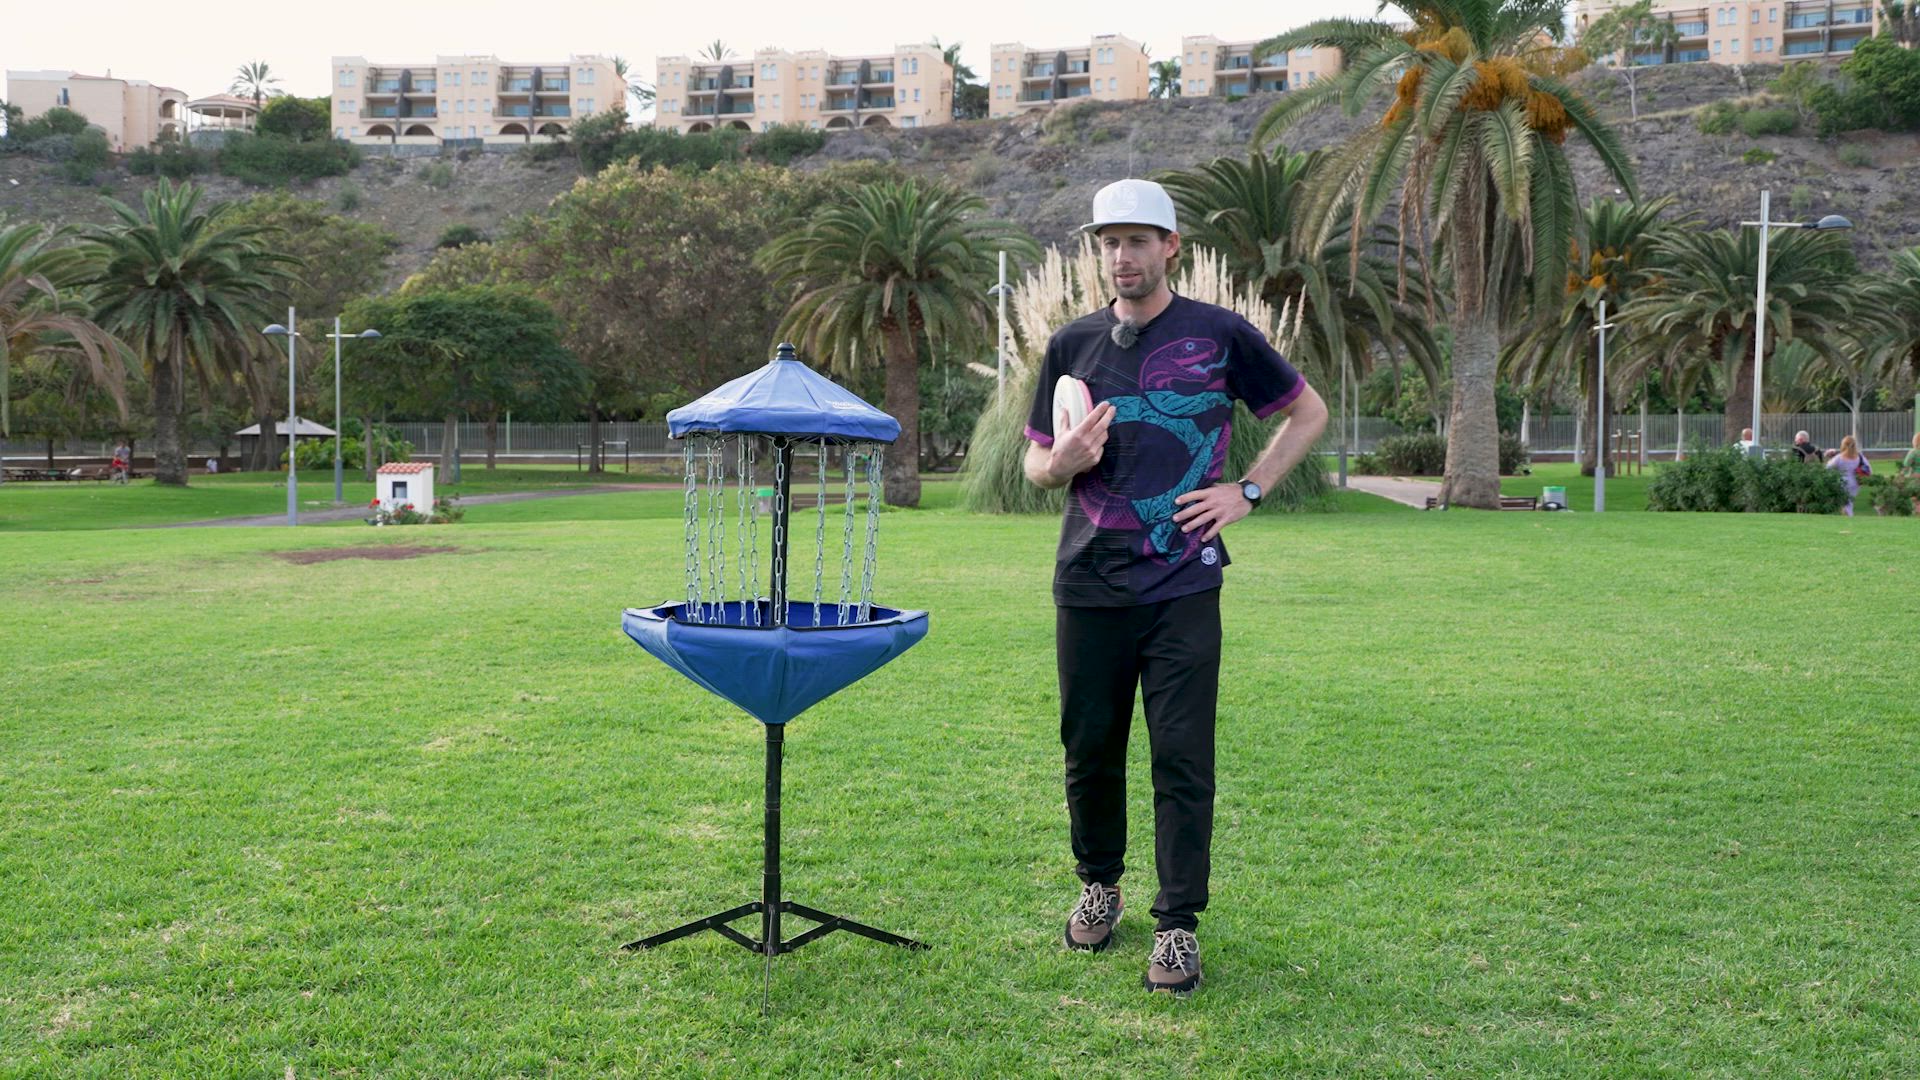
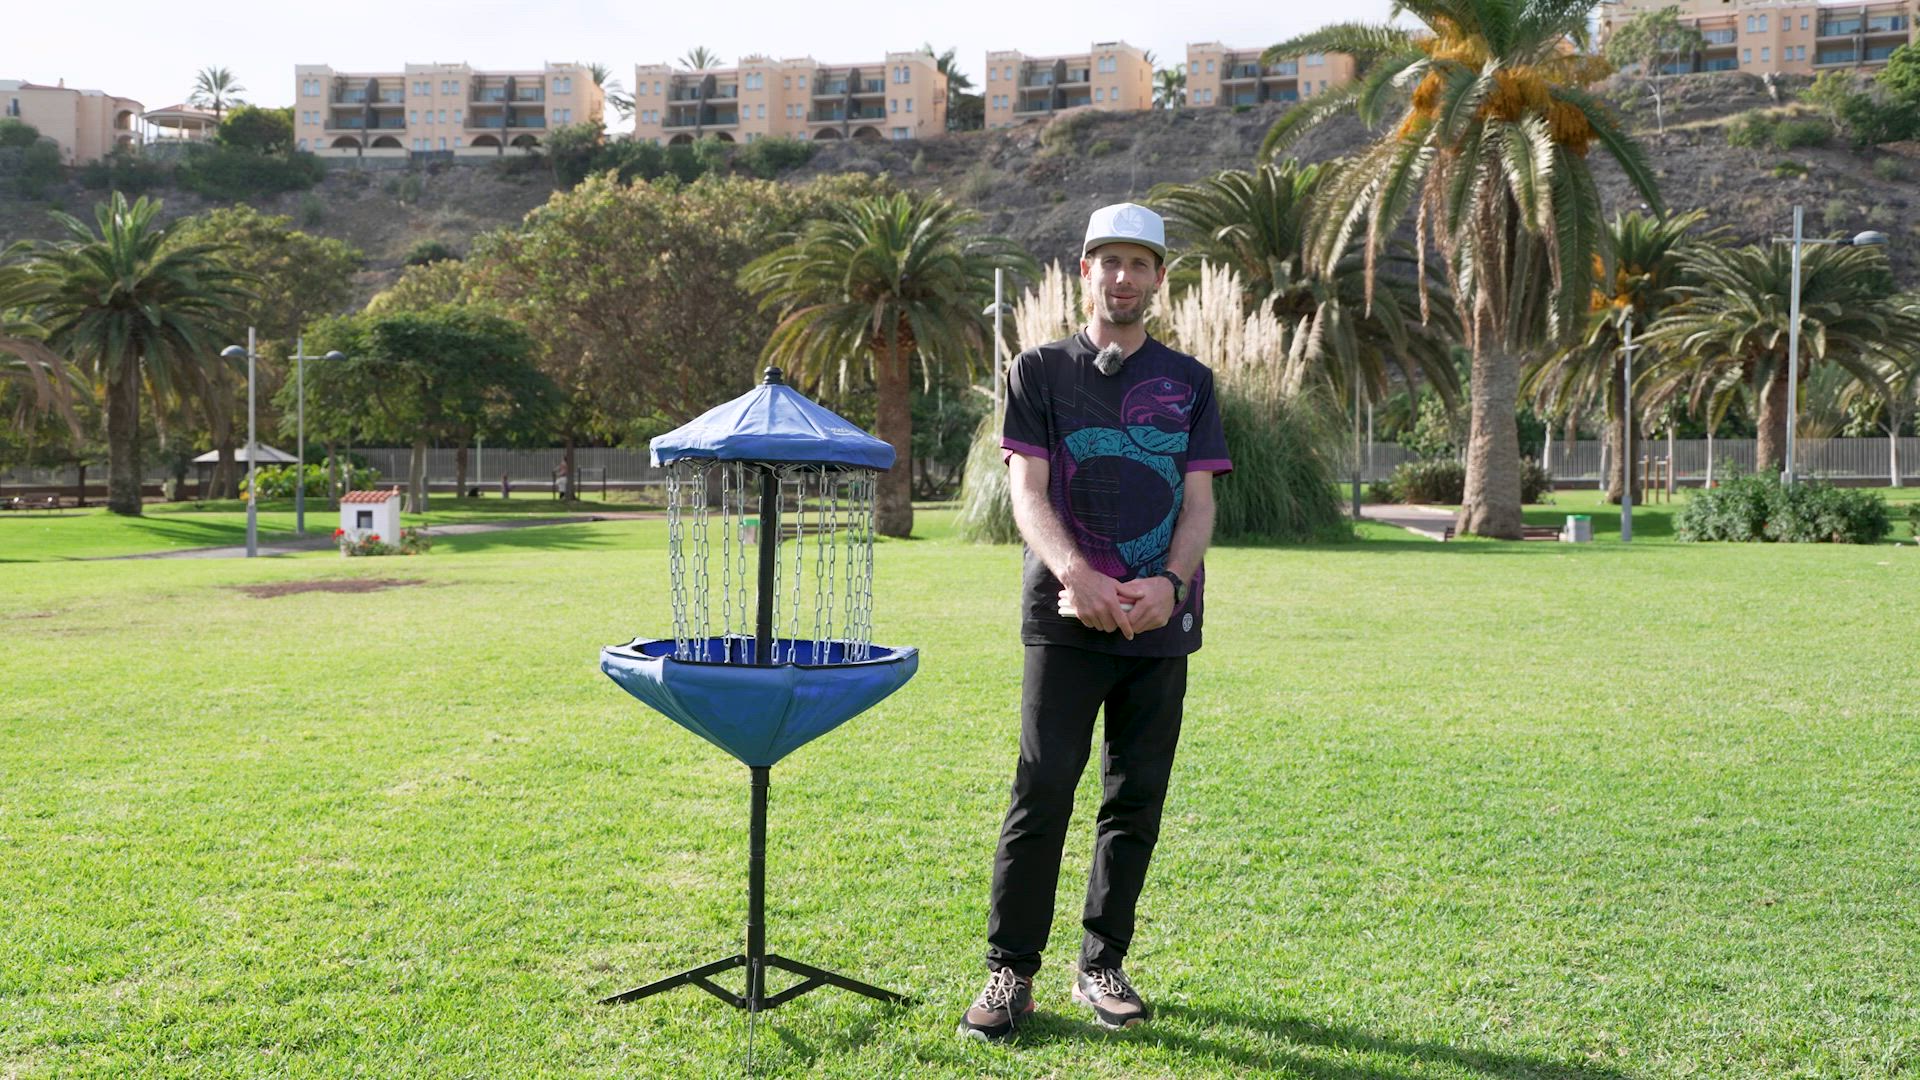
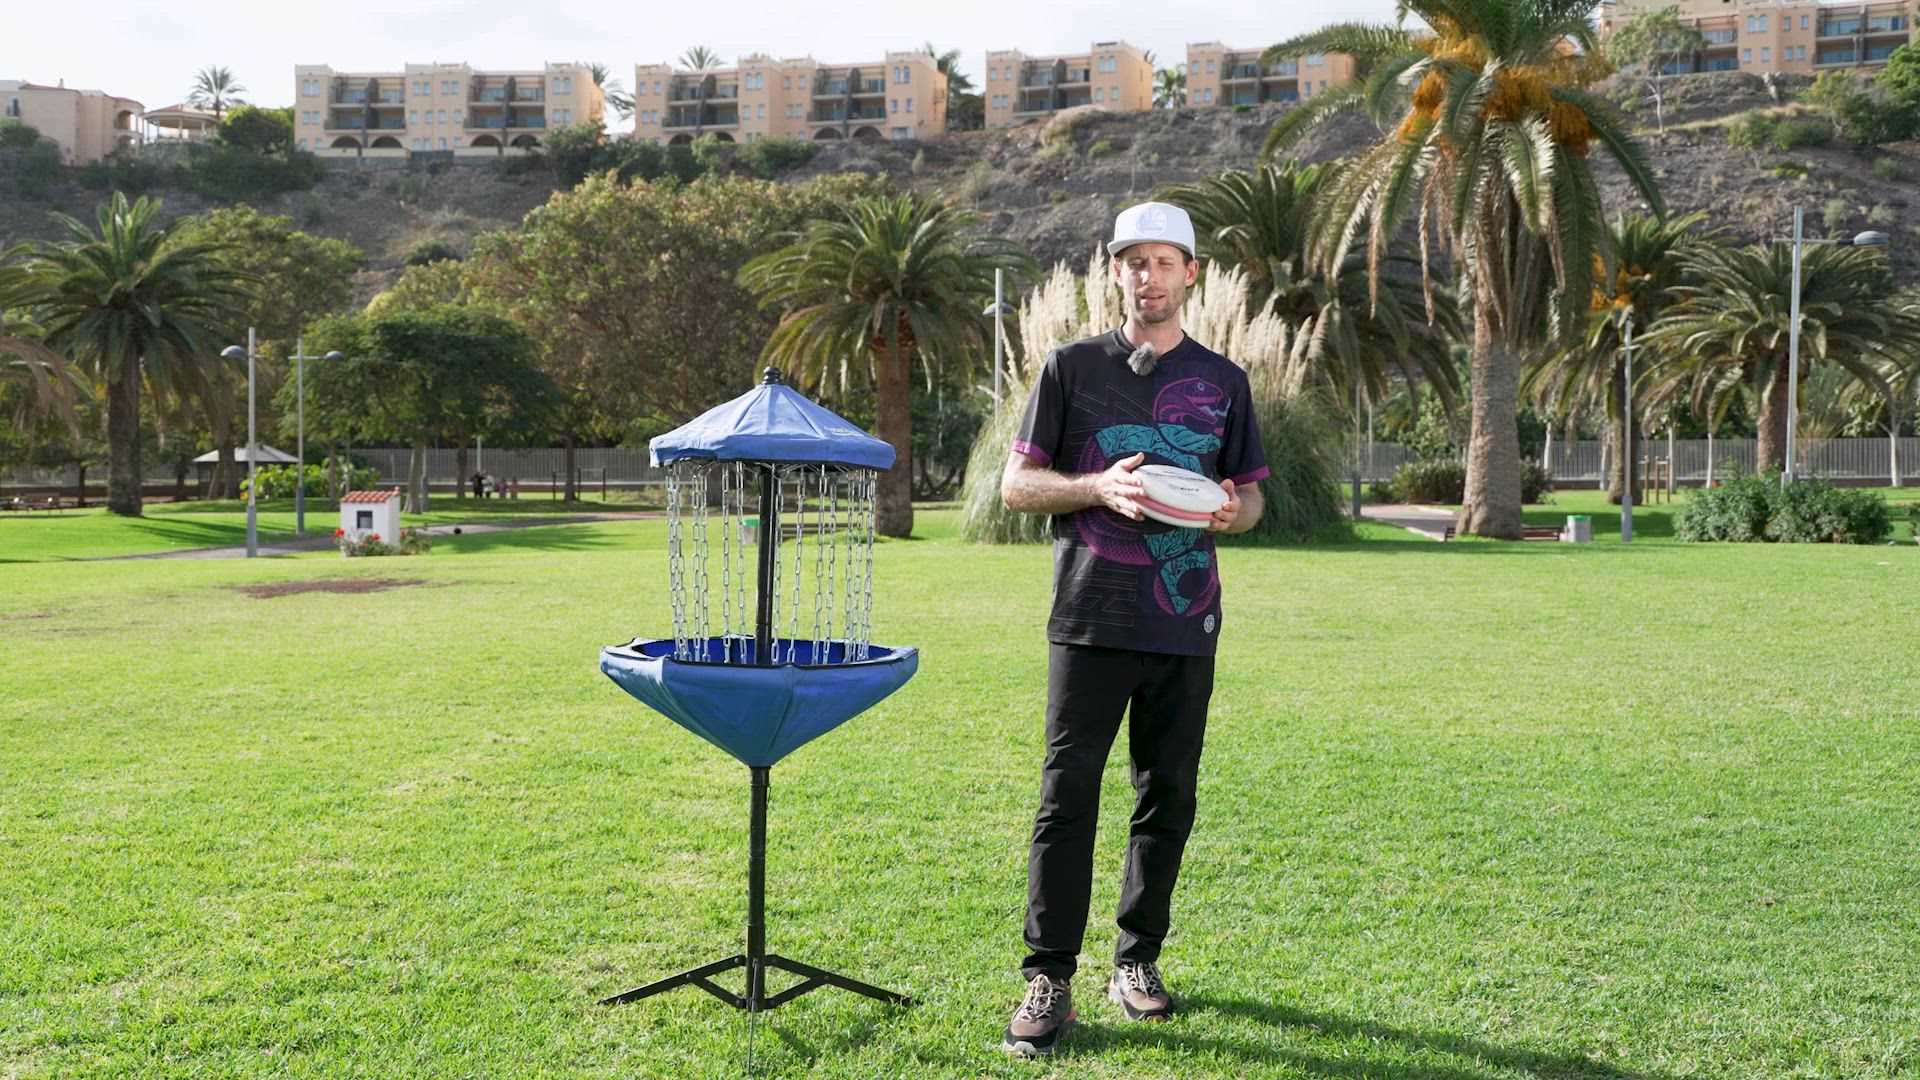
Just a quick reminder that there is always a way to practice putting. You don't need to go to a course or to a place that has baskets when you can get yourself a portable basket to carry with you.
Lesson - Portable basket
8.
Lesson - The target
1
Lesson - The target
1
04:06
Publish date
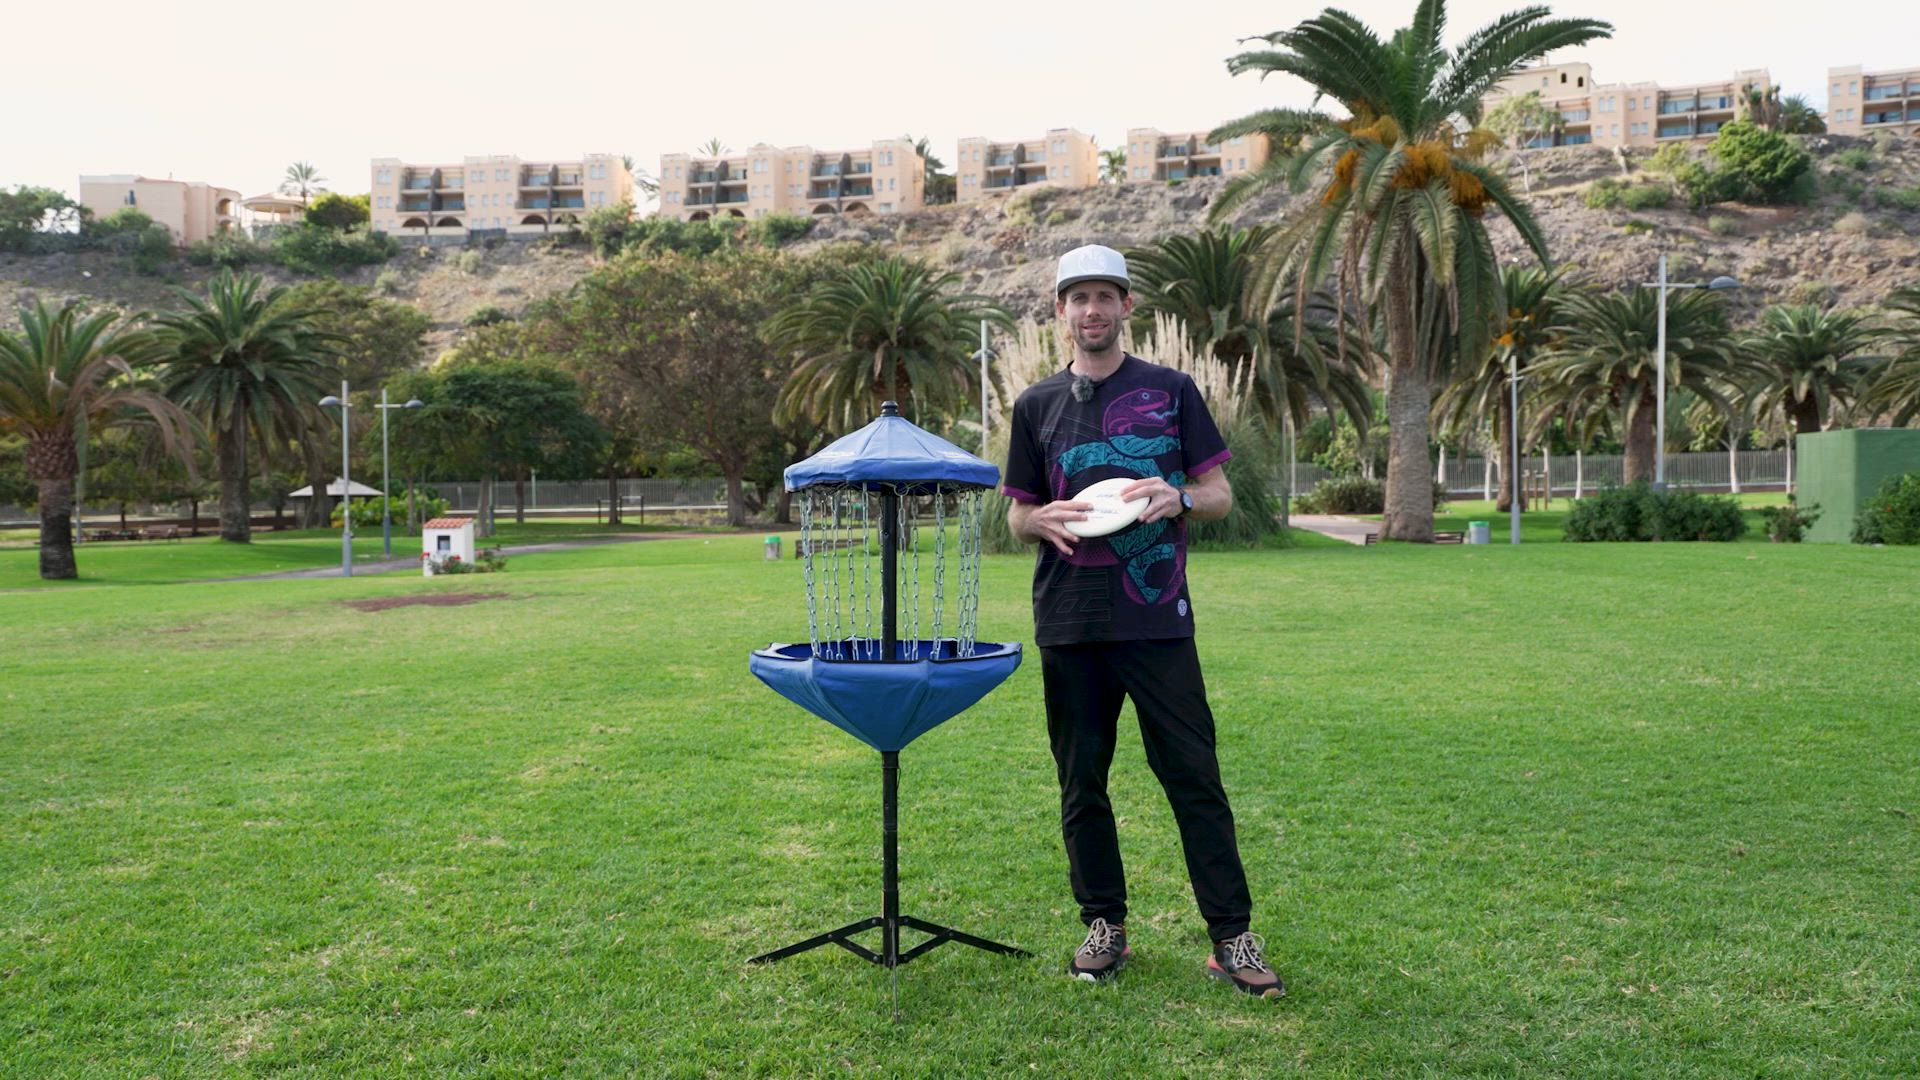
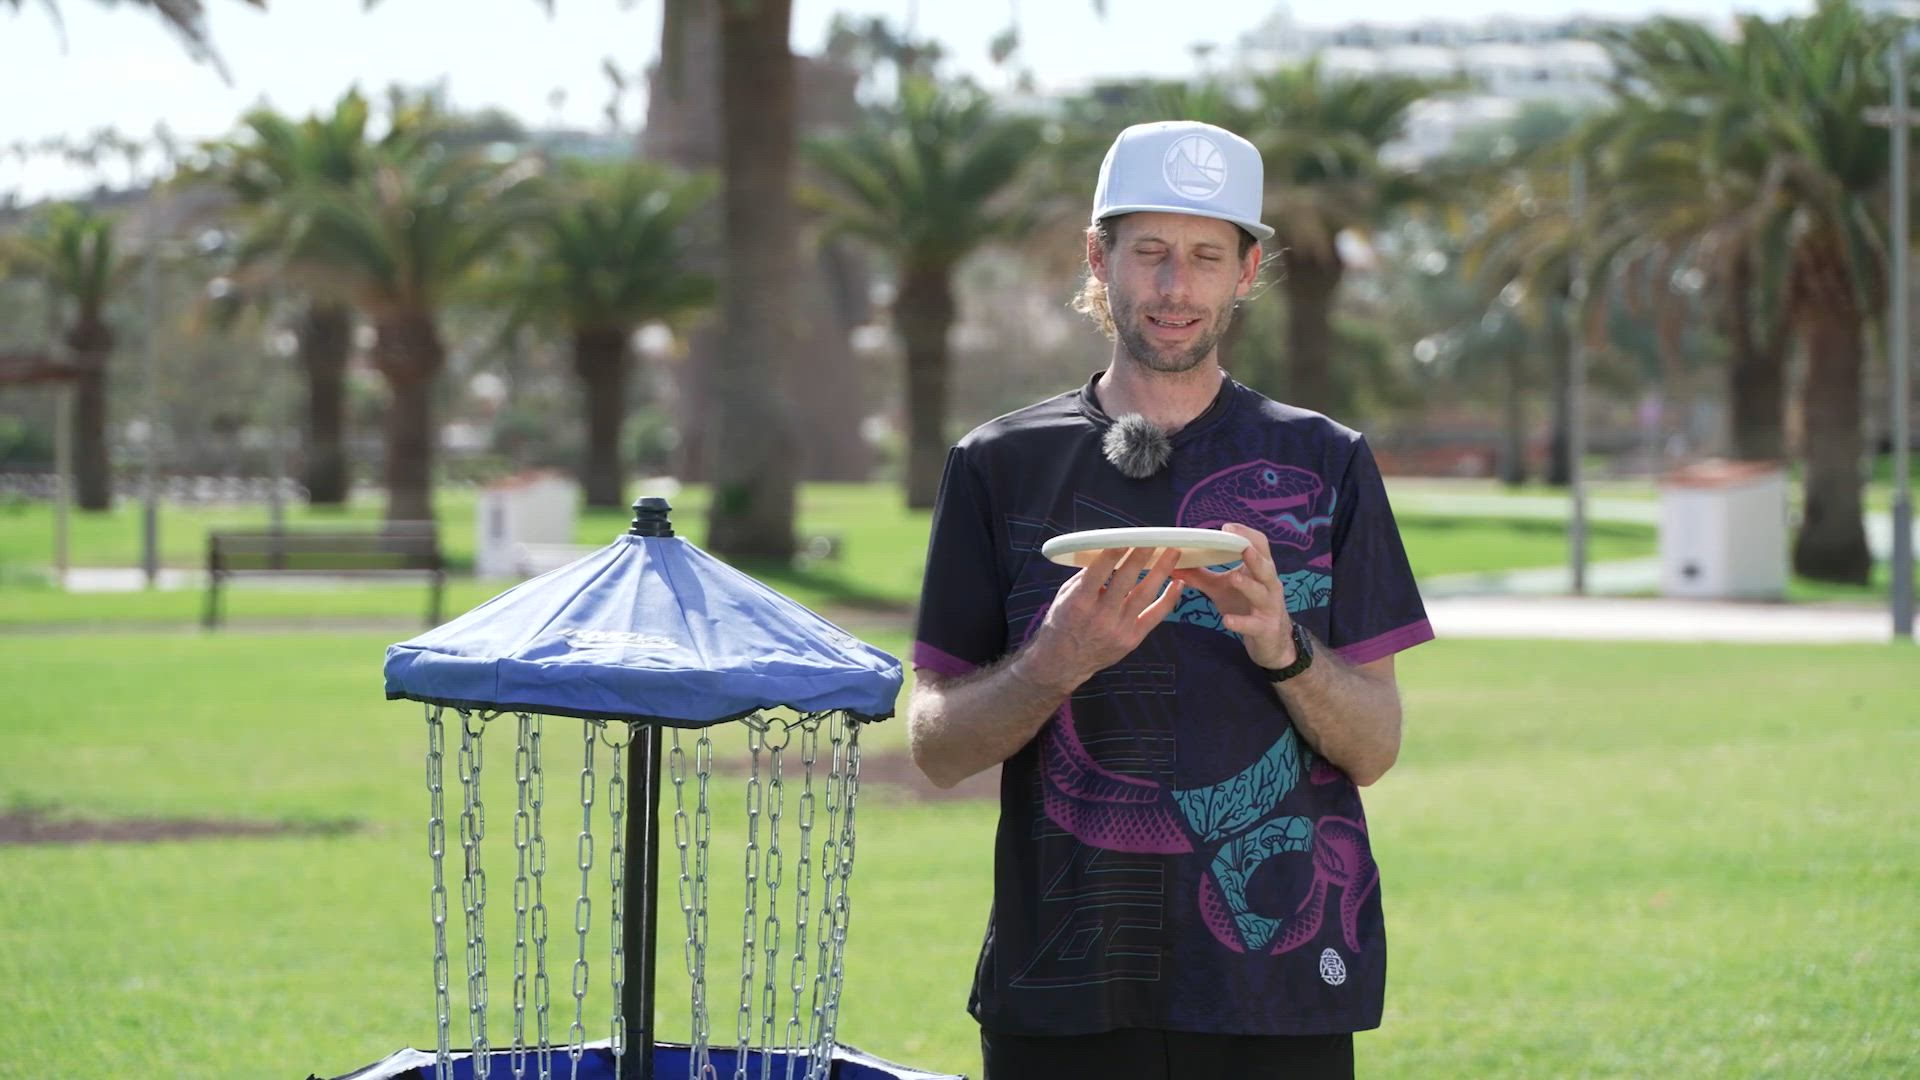
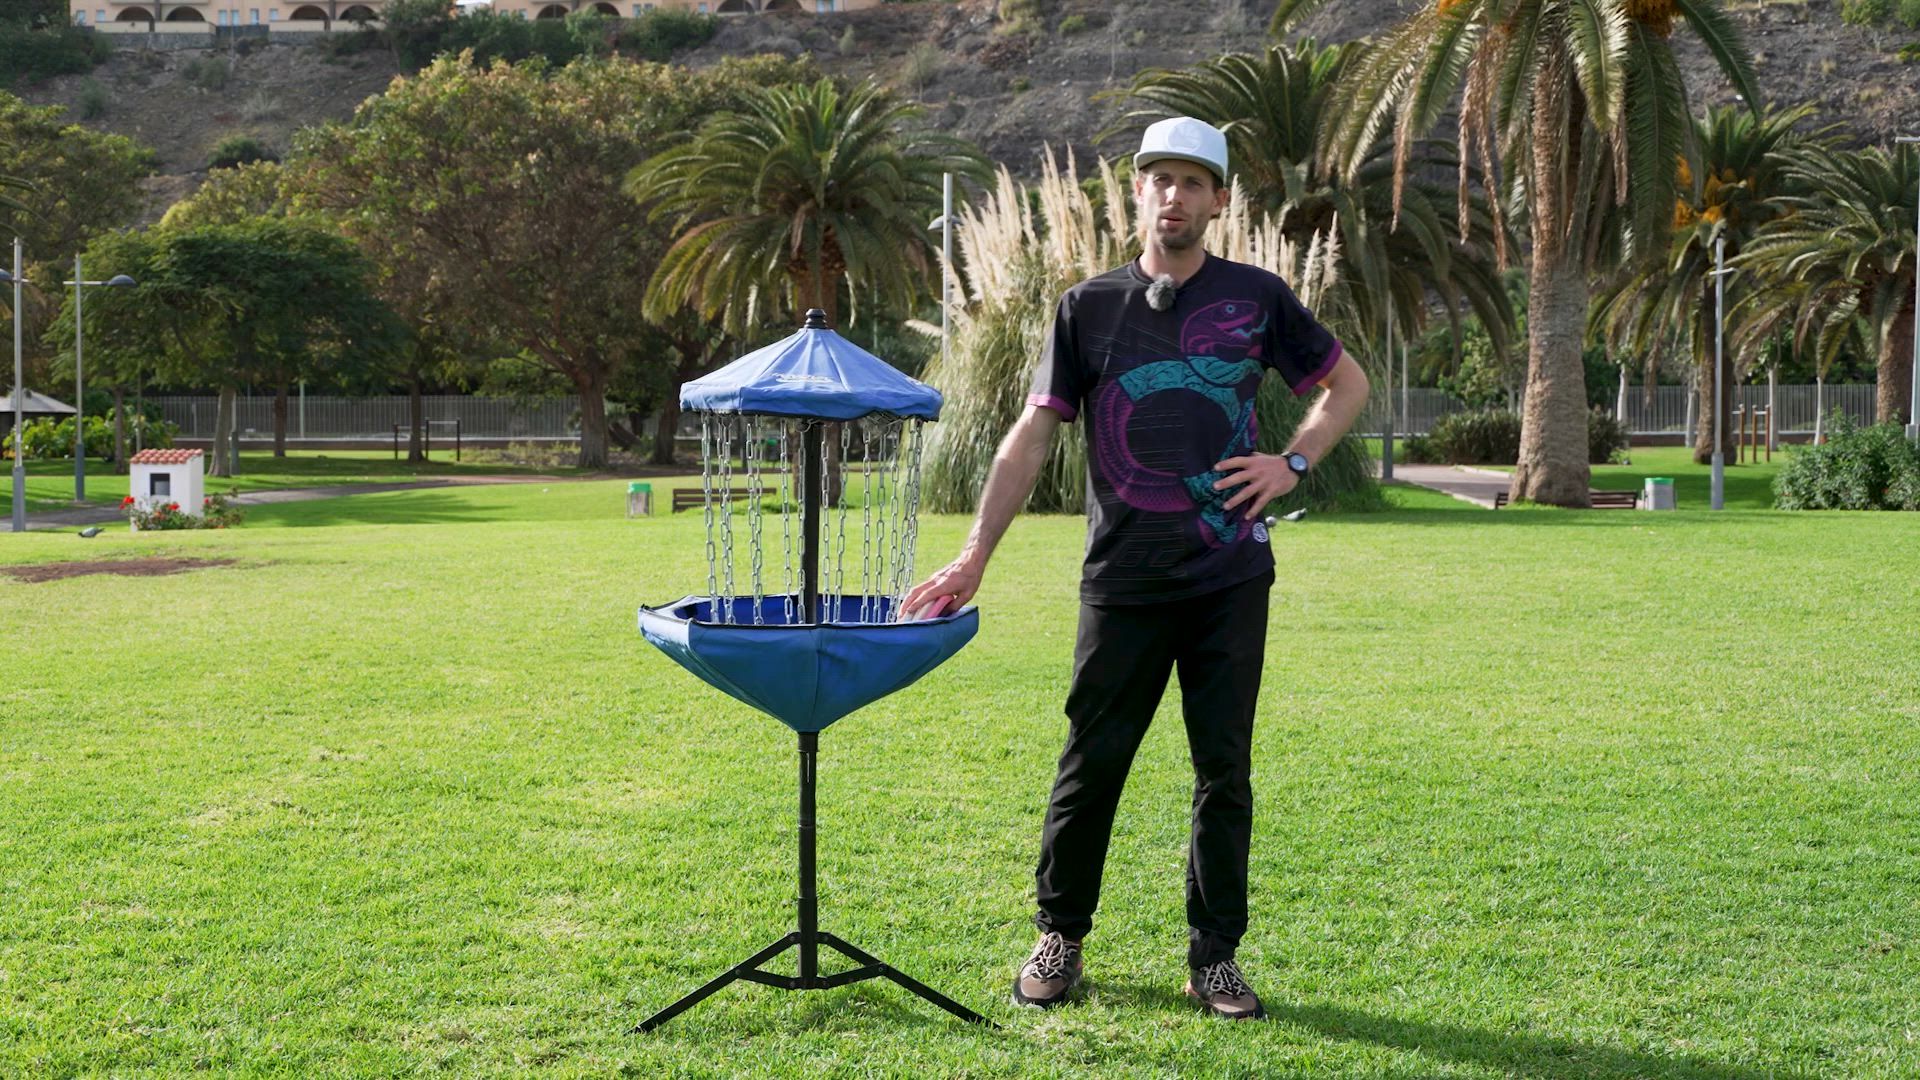
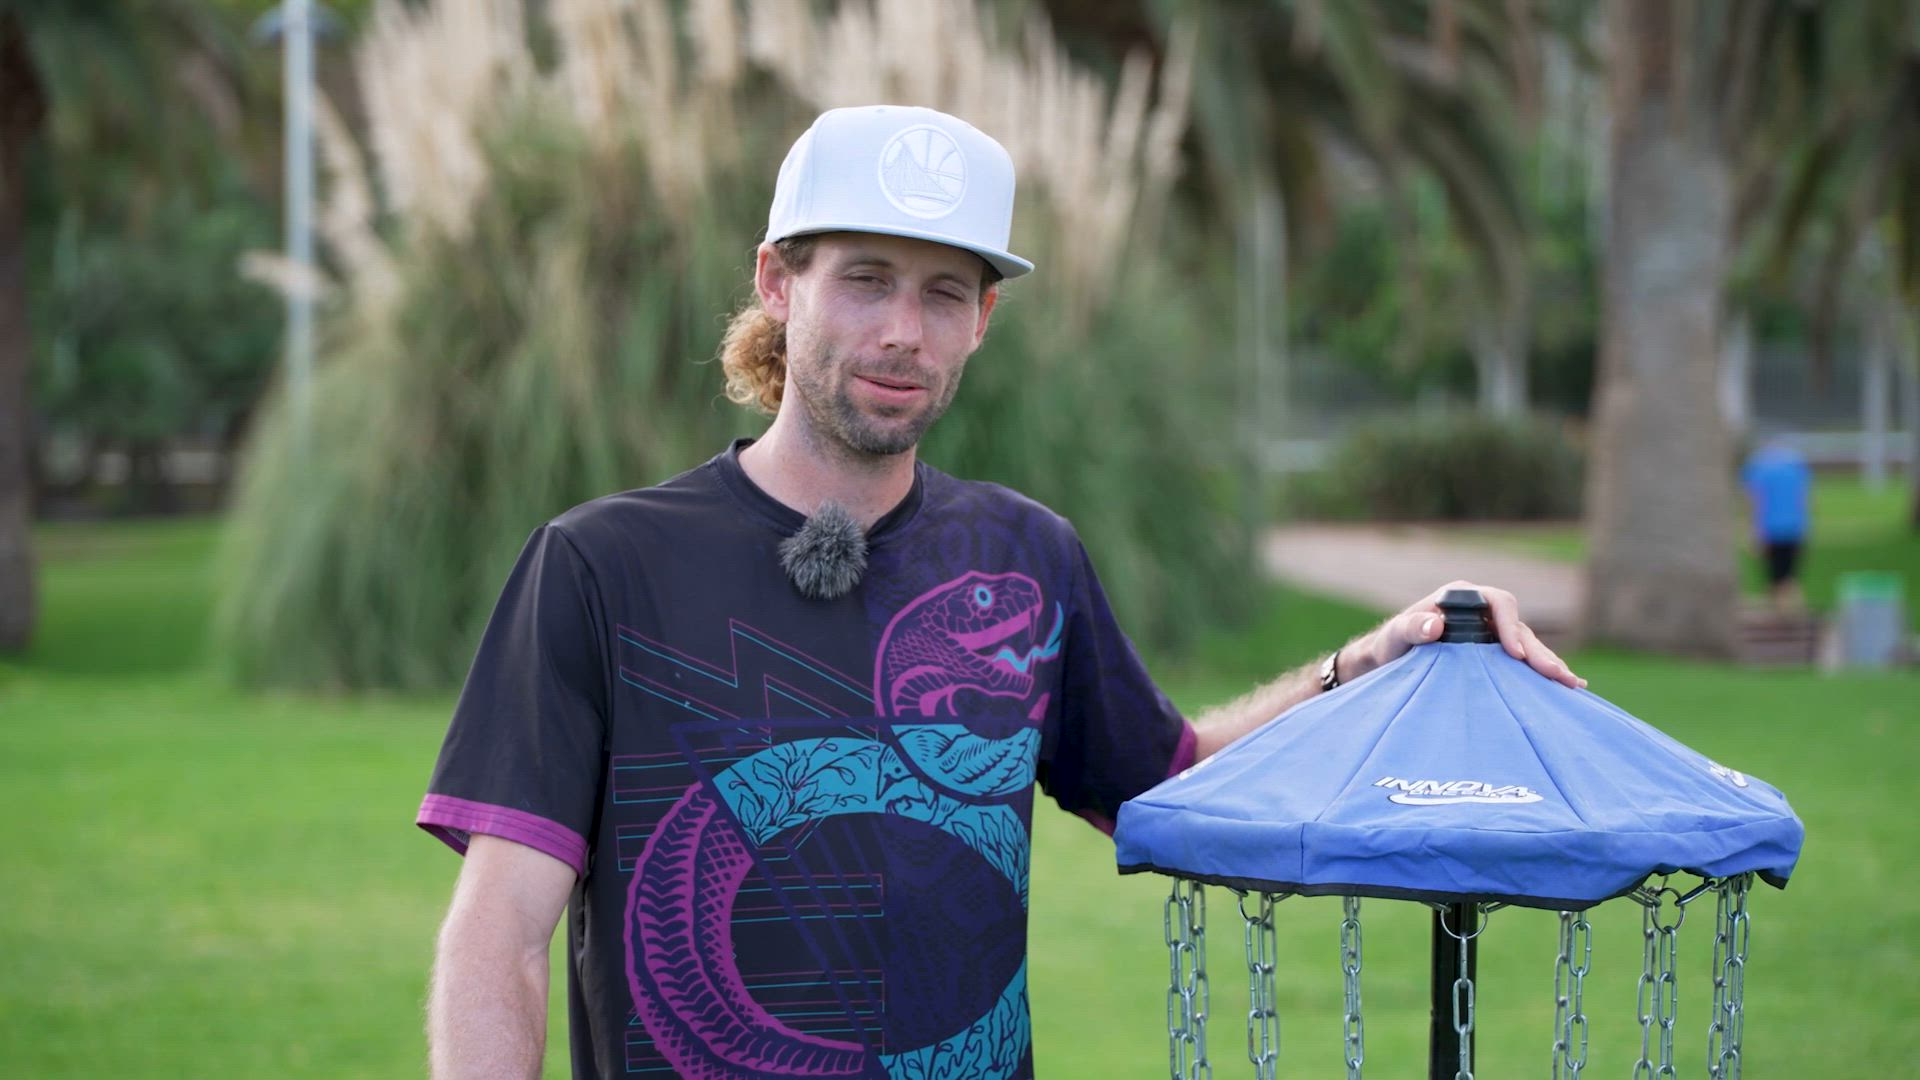
Let's talk about the target or the basket. The finish of the hole is when the disc stays rest in the basket. There are some finer points on where we should hit the basket to have the most consistent results. There points are good to take into consideration when we are practicing putting so we practice the good habits when we are working to become better putters.
Lesson - The target
9.
Putting Angles
4
Putting Angles
4
Publish date
Putting Angles
1.
Introduction to Angles
1
Introduction to Angles
1
00:36
Publish date
We have talked about the basic putting styles and putter types but the really good stuff happens from the angle control, Learning how the different angles will affect the flight of the disc will help you master the putting green.
Introduction to Angles
1.
Lesson - Neutral or flat angle
1
Lesson - Neutral or flat angle
1
02:58
Publish date
Wings of the putter are flat and level or symmetrical. This angle is best done with a stable or an understable putter. It is generally considered to be the safest way to approach the basket. It is also the least likely to roll away. This angle is also the least affected by the wind since the angles don't give any large surface for the wind to grab on to.
Lesson - Neutral or flat angle
2.
Lesson - Hyzer
1
Lesson - Hyzer
1
01:50
Publish date
The wing opposite to the hand is lower or downwards. Moves right to left for right-handed players. It is the most natural and predictable flight to master. It is also the most likely angle to stand up and roll away after hitting the basket or the ground. It has also greater chance to go through the chains because of this.
Lesson - Hyzer
3.
Lesson - Anhyzer
1
Lesson - Anhyzer
1
02:42
Publish date
The wing opposite your hand is higher. It will try to move left to right for right-handed backhand players. It is also the safest and softest way to approach the basket. Reduces ground movement to a minimum. Can be thrown very straight throughout the whole flight if momentum is forward and not to the side. It's also great in crosswinds with some caveats of course.
Lesson - Anhyzer
4.
Lesson - Nose up
1
Lesson - Nose up
1
01:51
Publish date
Let's check what we mean by talking about the nose of the disc and what does it mean when we talk about "nose up" -angle. This is the easiest way to produce maximum lift. It can be used to our advantage in low ceiling and uphill putting, but it can also provide distance control when needed. It also catches the most area when hitting the basket.
Lesson - Nose up
5.
Exercise - Nose Up
1
Exercise - Nose Up
1
04:11
Publish date
Now we practice the nose up angle. The key is to use the top of the grip to brush against the disc and the bottom to equalize the pressure between the fingers. It can be done with or without pop. Starting from as close to flat as possible increase the nose angle 5 times to effectively cover the spread of nose up angles in practice. The idea is to study this in neutral conditions and learn how the disc behaves in these situations. Note where we are most effective. Practice flat and level as well to have the nose up straight flight as a reference.
Exercise - Nose Up
6.
Lesson - Nose down
1
Lesson - Nose down
1
02:00
Publish date
What does "nose down" mean? It is the opposite to nose up, so effectively the nose of the disc is pointing down no the release. It has the least amount of lift and it requires the maximum effort to get the disc go forward. It's mostly used in getting up and over objects. Also downhill putts produce this angle naturally. Tall people might have more nose down putting style. It also will go downwards towards the basket after hitting the chains.
Lesson - Nose down
7.
Lesson - Rotation and how it effects the angles
1
Lesson - Rotation and how it effects the angles
1
01:07
Publish date
Generally speaking the rotation of the disc stabilizes the flight. Too little rotation makes the disc fade early, or makes it impossible for the disc to fly. Too much rotation stabilizes the flight so much that it will keep the angle that we have put on it. This is just a quick note on the subject and we will return to this later.
Lesson - Rotation and how it effects the angles
8.
Exercise - Wing angle
1
Exercise - Wing angle
1
02:55
Publish date
Let's study the wing angles by practicing. It's important to know how the wing angle changes the flight, so we do this exercise without the basket to be able to study the flight in a neutral setting. We cover the spread by having 3 different angles and learn the behavior of our putters through these angles. This might feel unnecessary but the point is to learn to use our putter to the maximum efficiency so a base study will help us to understand the finer details of how the wing angle effects the flight.
Exercise - Wing angle
9.
Next Level Putting
5
Next Level Putting
5
Publish date
Next Level Putting
1.
Introduction to putting
1
Introduction to putting
1

00:19
Publish date
Let's talk about the actual putting. All these lessons are made real in this segment.
Introduction to putting
1.
Lesson- Head movement in putting
1
Lesson- Head movement in putting
1
01:53
Publish date
Talking about the head and how it affects the direction where our putter is going. It's easy to concentrate on the hand only and then miss high or low, so pay attention to your head since the position of the head is determining the position of your whole body.
Lesson- Head movement in putting
2.
Exercise - Head movement experiment
1
Exercise - Head movement experiment
1
01:12
Publish date
Let's experiment a little with the head positioning. There is no better way to find out how our head directs our body than just trying out the extreme head tilts. When we try out the extreme head positions it becomes very clear what the neutral and comfortable position is where we are super loose and utilizing our body to the fullest.
Exercise - Head movement experiment
3.
Lesson - Power pocket in putting
1
Lesson - Power pocket in putting
1
02:01
Publish date
There is a power pocket in putting too, although it is not that much talked about. Essentially it is the same as in backhand power shots with a driver for example, but the area is smaller and the effect of going out from the power pocket is different. What we want to do is to try to get the maximal power and the release to be concentrated in that fairly small area to eliminate all sideways movements and be better in control of our putter.
Lesson - Power pocket in putting
4.
Exercise - Power pocket in putting
1
Exercise - Power pocket in putting
1
02:46
Publish date
Let's experiment a bit with the power pocket. We line up the power pocket or the zone with the aiming point and start short and work our way to extending that zone to a point where we start pulling to the left or right. This is a good experiment to see what the effect is when we go over the power pocket zone and start seeing the harmful effects of extending our hand too much. This way we find the area where we are the most effective and accurate.
Exercise - Power pocket in putting
5.
Lesson - Aiming and building a mental picture of the putt
1
Lesson - Aiming and building a mental picture of the putt
1
00:49
Publish date
A quick note on building a mental picture of your putt. It will help us to visualize the whole trajectory so we have a good reference frame when we practice.
Lesson - Aiming and building a mental picture of the putt
6.
Exercise - Alignment of the path
1
Exercise - Alignment of the path
1
02:18
Publish date
Alignment of the path and painting that mental picture. Taking all the variables into account and taking into consideration our style of putting, Matt gives an example on how he does the calculations and painting that mental picture before putting. This is a good exercise to build your routine when putting so that you are ready for any situation.
Exercise - Alignment of the path
7.
Lesson - Find your natural putt
1
Lesson - Find your natural putt
1
03:31
Publish date
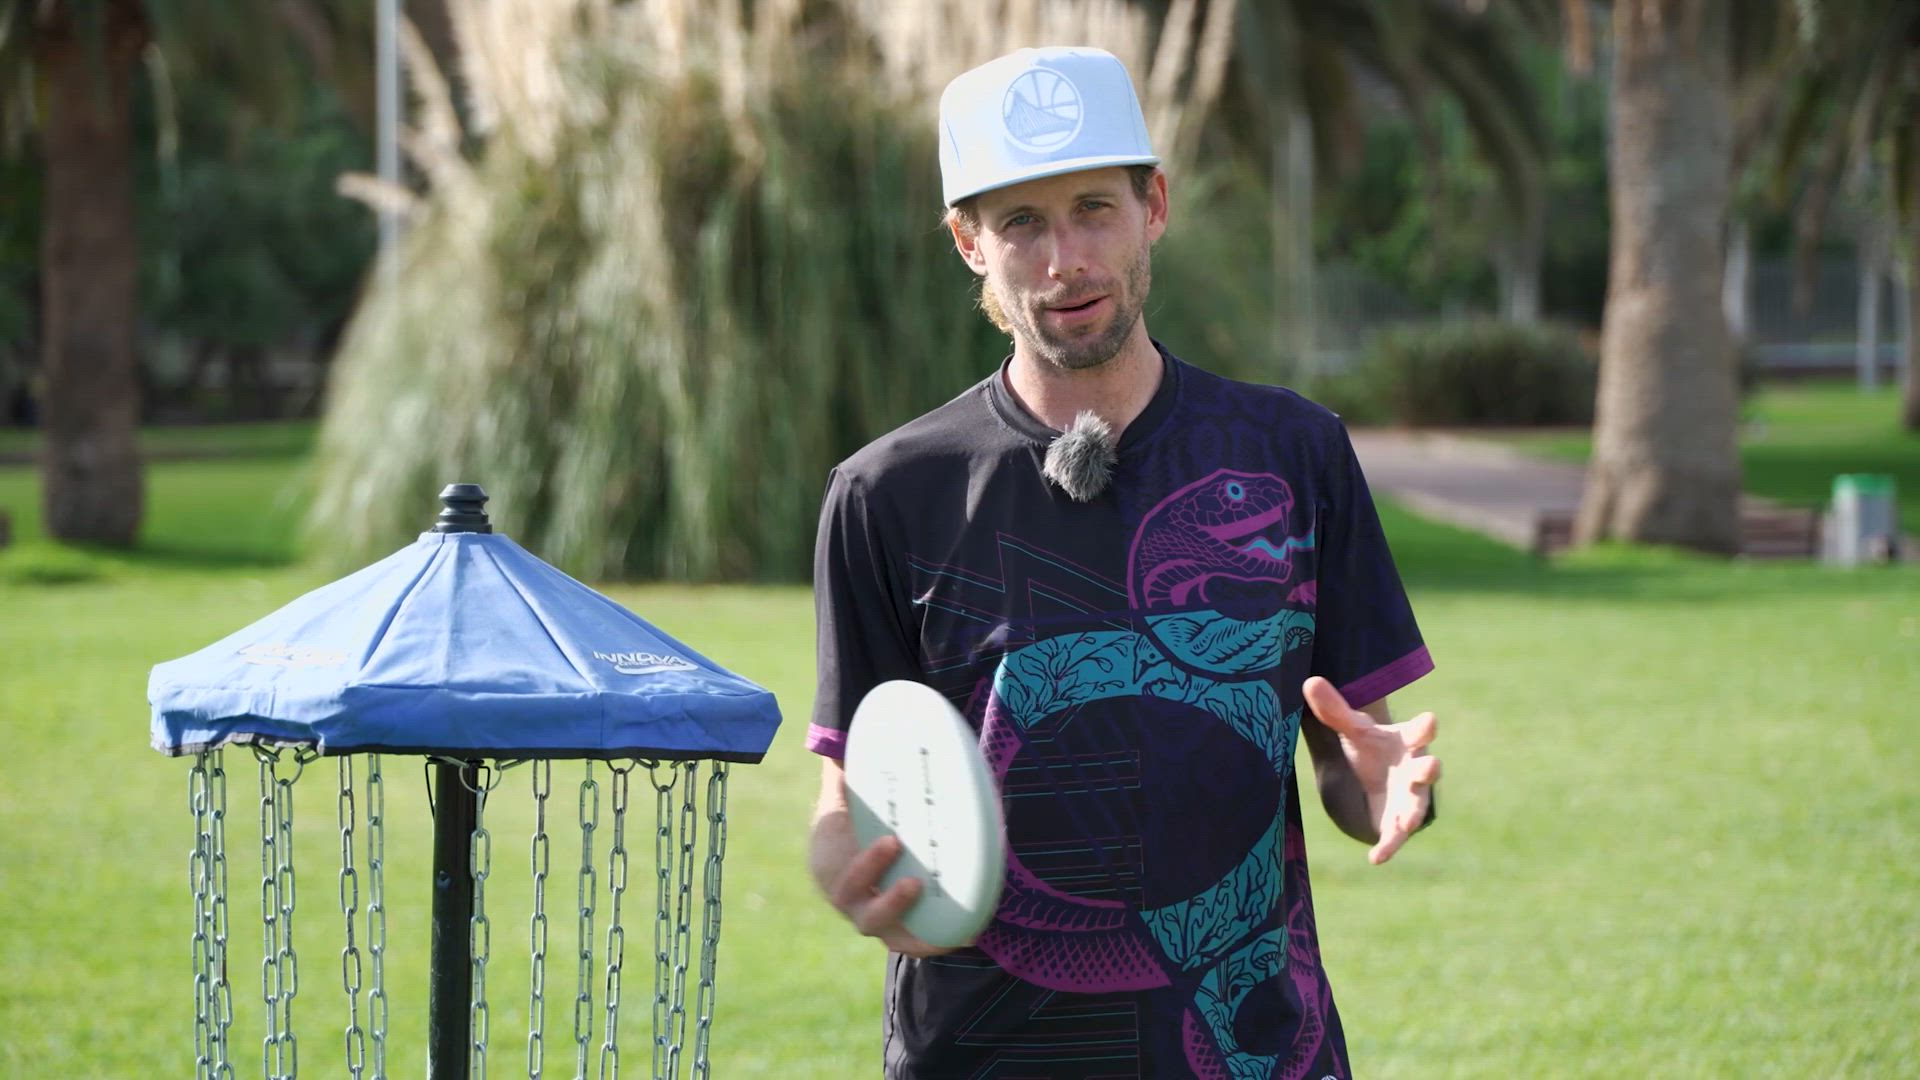
How to find our natural putt. There is too much emphasis on the target when practicing the actual putting, so here we get rid of the basket and concentrate on finding the natural way to do things by observing. Everyone has their own way of putting and when we find the most natural way to putt, we are more likely to succeed in a pressure situation. Natural putting style is also more repeatable and therefore it gives us more chance of succeeding.
Lesson - Find your natural putt
8.
Lesson - How to calibrate
1
Lesson - How to calibrate
1
01:44
Publish date
Everyone needs to adjust or calibrate their putt. Mind and body change from day to day. Here we go through what the theory is and what we need to do when we want to calibrate our putt.
Lesson - How to calibrate
9.
Exercise - How to calibrate
1
Exercise - How to calibrate
1

02:37
Publish date
Starting from the spot you want to hit on the target, move your aiming point and shift your body to the right and various intervals then back to the middle. Move left at various intervals and then back to the middle. Go up until you're putting into the top of the target and then back to the center. Start putting lower until you're putting into the cage and then back to the center. Continue to do this to reinforce the feeling of getting it right vs wrong and eliminate weak areas of your putt. Keep in mind that we are not enforcing the wrong habits, but we are learning how our body works and learning how to adjust to different situations.
Exercise - How to calibrate
10.

You might also like
Frequently Asked Questions (FAQ)
Add a Title